
Introduction
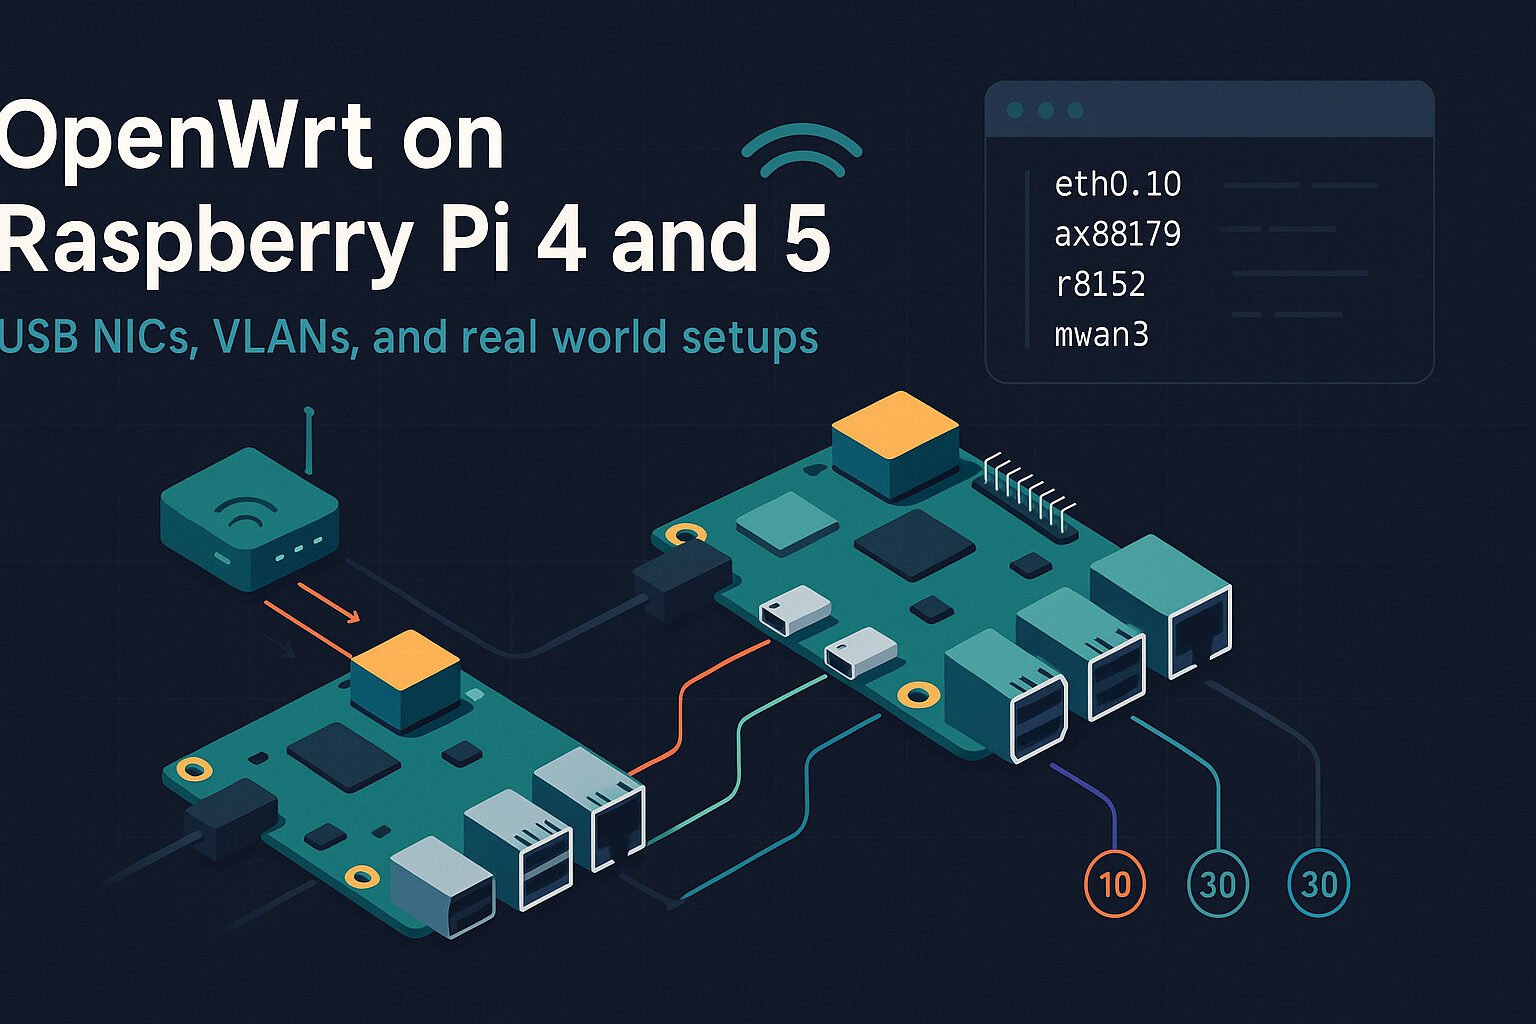
OpenWrt on Raspberry Pi 4 and 5 opens up a whole range of networking possibilities. With the addition of USB NICs and some smart VLAN configurations, you can turn a $50 hobby board into a serious piece of network gear. I’m not saying you’re building the next Cisco lab in your garage, but you might get close enough to scare your cable company.
You get an OS built for routing, a board that’s cheaper than dinner for two, and the flexibility to assign traffic any which way you want. Combine those with tools like LuCI, some Realtek or ASIX-based USB adapters, and you’re ready to start slicing your network into tidy little zones. If you’re asking “Why?”, you’re probably also still using your ISP’s router. Let’s fix that.
Key Takeaways
- Use known-good USB NIC chipsets like RTL8153 for reliability
- VLANs allow powerful traffic segmentation even with limited ports
- Assign firewall zones carefully to maintain network security
- Monitor temps and power to avoid weird crashes
- DSA simplifies modern switch and VLAN configurations
What OpenWrt Brings to Raspberry Pi
OpenWrt isn’t your usual desktop Linux
It’s a purpose-built distribution designed to route traffic, manage firewall rules, and handle things most Raspberry Pis weren’t born doing. But here we are, because the stock firmware on most consumer routers is as flexible as a brick.
Why Raspberry Pi with OpenWrt?
You get more than just a toy firewall. OpenWrt supports advanced features like VLAN tagging, QoS, and dynamic routing, all wrapped in a system that boots in seconds and runs off a microSD card. If you’ve got a Raspberry Pi 4 or 5, you’re already halfway there.
Modularity and Package Support
With opkg, OpenWrt’s package manager, you can install only what you need. You want VPN? Add WireGuard. Want to monitor traffic? Install vnStat. Need a GUI? Bring in LuCI. It’s a tight setup, and way lighter than a bloated desktop distro.
Custom Interface Management
OpenWrt doesn’t assume anything about your interfaces. You get to assign them, name them, bridge them, or ignore them. So when you plug in that USB NIC, it’s yours to use however you like, not just a second-class citizen like in most OSes.
Reliable Performance for Networking Tasks
OpenWrt is stripped down for speed. Less fluff, more packets moved per watt. On Raspberry Pi 4 and 5, it’s good enough to handle home router duties, lab environments, and even some small business setups—if you’re not trying to push gigabit across seven VLANs at once.
Raspberry Pi 4 vs Raspberry Pi 5 for Networking
The Pi 4 gets the job done, but the Pi 5 gets it done faster
If you’ve used the Pi 4 as a router, you know it can keep up with a basic home connection. It’s got a quad-core Cortex-A72 CPU and USB 3.0 ports. But the Pi 5 turns things up with a Cortex-A76, PCIe lanes, and better USB handling.
USB Layout and Bandwidth Sharing
The Pi 4 shares USB bandwidth across its two USB 3.0 ports. Plug in two high-speed USB NICs, and you’re already arm-wrestling the USB controller for bandwidth. The Pi 5 handles that better thanks to a dedicated controller and a real PCIe bus under the hood.
Thermals Under Networking Load
Both boards can get toasty when pushing packets. You’ll see CPU temps hit 70°C with sustained traffic, especially if you’re using USB NICs and VLANs. Stick a heatsink and fan on either model if you’re running it 24/7.
Power Supply Considerations
The Pi 4 wants 5V/3A minimum, and the Pi 5 prefers USB-PD adapters. If you’re adding multiple USB NICs, powered hubs are your friend. Unstable power causes reboots, interface drops, or worse—your spouse asking why the Wi-Fi sucks.
RAM and Storage Support
OpenWrt barely uses 100MB of RAM, so don’t get too excited about 8GB models. But faster microSD cards or USB SSDs do help with logs, packages, and general responsiveness. The Pi 5 can even boot from NVMe with an adapter.
Getting OpenWrt Installed and Booted
Spoiler alert: it’s easier than setting up your smart TV
To get started, download the correct OpenWrt firmware image for your Raspberry Pi model from the official site. Make sure it says ‘factory’ or ‘ext4-combined’ depending on whether you’re flashing from scratch or upgrading.
Flashing the Image
Use a tool like Rufus (Windows) or dd (Linux/macOS) to write the image to a microSD card. The process is about as thrilling as watching paint dry, but it’s important to get it right. Bad flash equals a Pi that just blinks at you with no purpose.
First Boot and Access
Stick the card in the Pi, power it on, and give it a minute. Plug in Ethernet and point your browser to 192.168.1.1. If nothing shows up, double-check cables or switch to a direct Ethernet connection.
Getting to the LuCI Interface
LuCI, OpenWrt’s web UI, usually comes pre-installed. If not, SSH into the Pi and run opkg update && opkg install luci. Once installed, access it via browser and start poking around. It’s not pretty, but it works.
Assigning Interfaces
On first boot, you’ve got eth0 as your default. That’s your LAN. Add a USB NIC and you’ll get eth1, eth2, or something equally exciting. From there, you can start defining WAN, LAN, VLANs, or whatever flavor of network you’re trying to juggle.
Choosing and Installing USB Network Interfaces
All USB NICs are not created equal
Sure, you can grab whatever dongle you’ve got lying in the junk drawer, but OpenWrt doesn’t play nice with everything. Some chipsets are flaky, some lack drivers, and others act like they’re drunk under load.
Chipsets That Work Well
Stick with Realtek RTL8153 and ASIX AX88179. These chipsets are known to behave under OpenWrt. You’ll find them in adapters like the TP-Link UE300 and Plugable USB 3.0. They’ve got kernel support, stable drivers, and they don’t spike CPU usage like no-name brands.
Driver Modules to Watch
OpenWrt will usually load r8152 for Realtek and ax88179_178a for ASIX. You can confirm with dmesg | grep eth. If you see errors or missing devices, you’re likely dealing with unsupported hardware. Time to return that Amazon special.
Performance and Power
USB 3.0 helps a lot, but you’re still limited by the bus. Expect around 300–400 Mbps per adapter in real-world conditions. That’s good enough for most use cases, but if you need gigabit routing, you’re better off with hardware that costs more than a pizza.
Using Powered USB Hubs
Multiple NICs mean more power draw. The Pi won’t always keep up, especially under load. If interfaces randomly disappear, your board isn’t haunted—it’s underpowered. A good powered USB hub fixes this and helps avoid weird behavior.
Understanding VLANs and Interface Separation
VLANs aren’t just for enterprise nerds anymore
Even if you’re not building a multi-floor office network, VLANs let you separate your smart fridge from your work laptop—because nobody wants their groceries sniffing their emails.
What a VLAN Actually Does
At its core, a VLAN (802.1Q) tags Ethernet frames with an ID that tells the switch or router which virtual network it belongs to. It’s like giving your data a badge that says, “I belong with these packets, not those sketchy ones.”
Why It Matters on a Raspberry Pi
When you’ve got one or two USB NICs, VLANs let you carve up a single physical port into multiple logical ones. You can have guest WiFi, IoT junk, and your work laptop all on different subnets using one cable. Pretty slick, right?
Use Cases That Actually Make Sense
- IoT Segmentation: Keep smart plugs and cameras away from your personal data
- Guest Networks: Isolate the neighbors’ kids’ devices from your NAS
- Multi-WAN: Run two ISPs with VLAN-tagged WAN inputs
- Management Interfaces: Create a VLAN just for SSH and LuCI
Mixing VLANs With USB NICs
Each USB NIC can carry multiple tagged VLANs or untagged ones as access ports. Your Pi becomes a switch-lite setup, assuming you configure it right and don’t unplug the wrong dongle mid-traffic.
Setting up VLANs in OpenWrt
Now for the part where you actually set it all up
If you’ve used LuCI before, you’ll either love or tolerate it. It works, but sometimes it’s like trying to teach your grandpa how to use Netflix. For VLANs, it gets the job done—if you know where to click.
VLAN Tagging via LuCI
Go to the “Network > Interfaces” section, then click “Devices” or “Switch” depending on your Pi model and OpenWrt version. You’ll assign VLAN IDs, choose tagged or untagged status, and map them to interfaces like eth0.10 or eth1.20. Yes, the dot matters.
Using the Command Line (UCI or ip)
If you prefer doing things the hard way (or you want precision), you can use UCI commands or edit /etc/config/network directly. Tagging a VLAN looks like this:
config interface 'guest'
    option ifname 'eth0.30'
    option proto 'static'
    option ipaddr '192.168.30.1'
    option netmask '255.255.255.0'
Simple, clean, no mouse required.
Access vs Trunk Ports
Access ports are untagged and carry one VLAN. Trunks are tagged and can carry many. Set your managed switch or VLAN-aware access point to expect the right tags. Otherwise, you’ll spend an afternoon wondering why nothing talks to anything.
Test It Before You Brag
Ping across VLANs, test isolation, verify DHCP scopes. Just because LuCI says it’s configured doesn’t mean your packets are going where they should. And if it all fails, don’t worry—OpenWrt has logs, and you’ve got coffee.
Distributed Switch Architecture and Raspberry Pi
swconfig is old news, meet DSA
If you’ve been using OpenWrt for a while, you probably remember swconfig. It worked, but only if you squinted at it right. These days, most boards—including the Pi 5—use DSA (Distributed Switch Architecture), which actually makes sense to humans.
What DSA Does Differently
DSA treats every switch port like a separate interface. No more abstract switch sections or magic numbers. You can assign VLANs directly to eth0.10, lan1.20, or any other logical device. It’s clean and more in line with how Linux normally handles networking.
Pi 4 vs Pi 5 in DSA Support
The Pi 4 has a single Ethernet port, so DSA doesn’t do much unless you’re using an external USB switch. The Pi 5, with better USB and PCIe support, benefits more from DSA because you can hang multiple NICs and even VLAN-tag them without weird hacks.
Configuring VLANs with DSA
Under LuCI, go to “Devices” and then “Bridge VLAN Filtering.” You’ll see options to tag interfaces, assign VLAN IDs, and set ports to tagged, untagged, or off. It’s way more transparent than the old method, and it makes debugging a lot less soul-crushing.
Realtek and MediaTek Chipsets
Adapters based on RTL8153 or MT7530 play well with DSA. They show up correctly, don’t disappear under load, and support tagging. Cheap switches without VLAN support still won’t magically work, but at least your Pi won’t be the weak link.
Assigning VLANs to Firewall Zones and Interfaces
This is where things get real
Just having VLANs isn’t enough—you need to tell the firewall what to do with them. OpenWrt uses zones to group interfaces and apply rules. If you skip this part, your VLANs either won’t talk to anything or will talk to everything, which is worse.
Creating New Zones in LuCI
Head to “Network > Firewall.” Add a new zone, give it a name like guest, then assign the VLAN interface (e.g. eth0.30). Set forwarding rules—usually you want it to go out to WAN but not into LAN. Masquerading should be on for internet access.
Using CLI to Assign Interfaces to Zones
If you like config files, crack open /etc/config/firewall and add:
config zone
    option name 'guest'
    list network 'guest'
    option input 'REJECT'
    option output 'ACCEPT'
    option forward 'REJECT'
    option masq '1'
    option mtu_fix '1'
It looks scary but it’s easier to copy-paste than scroll through LuCI’s endless dropdowns.
Separating WAN, LAN, and Guest VLANs
Each VLAN interface should go in its own zone. Don’t mix them unless you want a surprise. Assign firewall rules to block traffic between them unless you have a good reason (like allowing IoT devices to talk to your Pi-hole DNS).
Firewall Rules That Actually Work
You’ll probably want:
- Guest VLAN → WAN = allowed
- Guest VLAN → LAN = blocked
- IoT VLAN → DNS = allowed
- IoT VLAN → Internet = maybe
Custom rules can fine-tune things, but start with basics that protect your stuff without making everything unusable.
USB NIC Limitations and Workarounds
USB NICs are cheap and useful, but not perfect
They’re a great way to expand ports, but they weren’t designed for heavy, continuous traffic. Expect quirks. Some drop out. Others bottleneck. And sometimes they just vanish like socks in a dryer.
The USB Bus Isn’t Infinite
Your Pi has limited bandwidth on the USB controller, especially the Pi 4 where all USB 3.0 ports share the same bus. Stack up NICs, SSDs, and peripherals, and you’ll start seeing dropped packets or degraded throughput.
CPU Usage and Packet Load
Some USB NICs push too much work onto the CPU. Unlike onboard Ethernet with offloading features, these dongles make the CPU do the heavy lifting. Expect to see one core spike during file transfers or heavy routing between VLANs.
NICs That Misbehave Under Load
Some adapters just don’t like being busy. They disconnect, slow down, or randomly reset. If your interface disappears mid-transfer, check your power supply and dmesg logs. It’s probably not OpenWrt’s fault—it’s your $8 dongle’s.
Practical Workarounds
- Use powered USB hubs to isolate power issues
- Stick to known-good chipsets like RTL8153 and AX88179
- Avoid mixing USB 2.0 and 3.0 on the same hub
- Use VLANs to minimize the number of physical NICs needed
Know Your Limits
You’re not building a datacenter on a Pi. Keep expectations realistic. USB NICs are fine for WAN, LAN, or guest VLANs, but don’t expect full gigabit throughput or rock-solid enterprise uptime.
Real-life Examples of VLAN Segmentation
You don’t need to be a network engineer to benefit from VLANs
VLANs sound intimidating, but when you break it down, it’s just organized traffic control. Here’s how people actually use them at home and in small setups.
Example 1: Home Network With Guest WiFi
- VLAN 10 (LAN): Your main devices like PC, NAS, and printer
- VLAN 20 (Guest): Phones and tablets from visitors
- Firewall rules block VLAN 20 from accessing VLAN 10
- Both get internet access via WAN
Example 2: Isolating IoT Devices
- VLAN 30 (IoT): Smart bulbs, switches, and security cams
- Deny outbound traffic except DNS and NTP
- Allow limited communication to Pi-hole or internal MQTT broker
- Keeps sketchy firmware off your trusted LAN
Example 3: Multi-WAN With VLAN Tagging
- VLAN 40 (ISP 1): Tagged input from cable modem
- VLAN 50 (ISP 2): Tagged input from LTE failover
- Load balancing and failover handled by mwan3 package
- USB NICs assigned as WAN interfaces via VLAN
Example 4: Management VLAN for Admin Access
- VLAN 99 (Mgmt): Restricted interface for SSH and LuCI
- Only accessible from wired port or VPN
- Deny all inbound from WAN or guest VLANs
- Optional: disable wireless access to this zone
Example 5: Testing Lab Setup
- Use VLANs to isolate test VMs, open ports, and fake services
- Restore snapshots easily without affecting your main LAN
- Makes you feel like you know what you’re doing—even when you don’t
Monitoring and Maintenance
Just because it works now doesn’t mean it always will
Your Pi isn’t magical. Things break. Interfaces drop. CPUs overheat. If you’re not monitoring your setup, you’re one bad reboot away from your family thinking the internet is “down again.”
Traffic Monitoring Tools
- vnStat: Logs traffic over time, lets you see if your VLANs are doing anything weird
- bmon: Live bandwidth usage per interface—great for spotting hogs
- iperf3: Useful for benchmarking throughput between devices
Log Everything or Regret Nothing
OpenWrt logs are your first stop when something breaks. Use:
logreadfor system logsdmesgfor driver/kernel issuesjournalctlif you’ve enabled persistent logging
Watch for Thermal Throttling
Use vcgencmd measure_temp or install lm-sensors to monitor temps. If your Pi hits 80°C, it starts slowing down. And if it keeps going, it’ll just crash. Good times.
Keeping Packages and Firmware Updated
OpenWrt is stable, but updates matter. Use opkg update && opkg list-upgradable and update wisely. Don’t just shotgun install updates during a work Zoom call unless you like living dangerously.
Backups Save Your Weekend
Use the LuCI backup function or just archive /etc/config. Store it somewhere safe. That way when your nephew unplugs your Pi mid-upgrade, you’re not starting from scratch.
Improving Stability with Power and Cooling
If your Pi crashes under load, it’s probably not haunted—it’s just hot or underpowered
Running OpenWrt with USB NICs and VLANs pushes the Raspberry Pi harder than most projects. Add some smart power and cooling to avoid weird issues that are hard to diagnose.
Choose the Right Power Supply
- Pi 4: Needs 5V/3A minimum. Don’t cheap out with a phone charger.
- Pi 5: Supports USB Power Delivery. Use a quality PD power brick or you’ll be chasing phantom reboots.
- USB NICs: Draw real power. If you use more than one, plug them into a powered USB hub.
Avoid Brownouts and Undervoltage
If you see the lightning bolt icon or throttled CPU speed, your Pi is crying for help. Undervoltage causes silent crashes and data corruption. Powering USB devices externally fixes most of these.
Keep It Cool or Keep It Offline
Passive aluminum cases help, but if you’re running VLANs and pushing traffic, add a fan. Use an Argon ONE case or something with real airflow. Temps above 70°C are common under stress.
Monitoring Temp the Lazy Way
Run watch -n 2 vcgencmd measure_temp and see if your Pi gets toasty under load. If it stays below 65°C, you’re probably fine. If it hits 80+, don’t be surprised when it freezes mid-transfer.
Simple Cooling Hacks
- Remove the case lid (yes, really)
- Point a USB fan at the board
- Undervolt the CPU if you don’t need full speed
- Schedule heavy tasks for cooler times of day
Advanced Use Cases for VLANs on Raspberry Pi
You’ve got the basics, now let’s overcomplicate it (in a good way)
Once you’re comfortable with VLAN tagging and USB NIC juggling, you can start using your Pi for things that’ll actually impress your techie friends—or at least confuse them a little.
Multi-WAN Routing With VLAN Tags
Assign each WAN connection a VLAN ID and plug both into a managed switch that sends tagged frames to your Pi. With mwan3, you can set up:
- Load balancing
- Failover
- Policy-based routing
All without needing more than one Ethernet port.
Bridging VLANs Into Virtual Machines
If you run Proxmox or another VM host on a Pi 5 with PCIe expansion, bridge VLANs into VMs. Each VM can sit in its own VLAN, getting just the access it needs—great for firewall labs or testing insecure appliances.
Captive Portal Networks
Use VLANs to isolate guests, then redirect them to a splash page for WiFi access. Great for cafes, rentals, or just showing off. Install nodogsplash or coova-chilli for the actual redirect mechanism.
Segmented VPN Access
Run WireGuard in a specific VLAN zone. Keep VPN traffic off the LAN, and set strict forwarding rules. You can even route different VLANs over different VPN endpoints.
IoT Device Sandboxing
Put each category of IoT device in its own VLAN—cameras, sensors, appliances. Use DNS rules and firewall blocks to keep them in their lane. The Pi handles the routing logic and filtering like a pro.
Mobile Lab Setup
Using VLANs and USB NICs lets you bring a full lab in your backpack. One Pi, a switch, and a few cables = isolated environments for training, testing, or pretending you have a data center in your garage.
Known Issues and Fixes
Not everything goes to plan, and that’s okay
Even when you follow every step perfectly, stuff breaks. USB NICs flake out, VLANs don’t tag right, and sometimes the Pi just… forgets who it is. Here’s what to expect—and how to deal with it.
USB NICs Randomly Disconnecting
This one’s usually power-related. If your NIC vanishes during transfers or heavy routing, check your power supply. Use a powered hub or a beefier PSU. Also, run dmesg to catch errors.
VLAN Tagging Doesn’t Work on One Port
Some USB adapters support VLAN tagging, but not on all operating systems or drivers. Try another adapter with a known working chipset like RTL8153 or AX88179. If tagging still fails, it may be a switch misconfiguration.
Interface Naming Confusion After Reboot
Sometimes eth1 becomes eth2, or worse—your firewall rules stop working. Use MAC address-based assignment in /etc/config/network or add udev rules to lock names to specific NICs.
DSA Config Not Saving in LuCI
If your settings disappear after a reboot, double-check your syntax or try CLI configuration. Occasionally LuCI has caching issues that trick you into thinking things saved when they didn’t.
Slow Speeds Over USB NICs
USB NICs cap out at 300–400 Mbps in many cases, even on USB 3.0. That’s normal. If you need full gigabit, you’ll need better hardware. Or fewer VLANs. Or both.
LuCI Gets Unresponsive
This usually means your Pi is running out of memory or CPU is pegged. SSH in and run htop. If you see a runaway process, kill it. Reboot if things get weird, and check logs for what caused the spike.
FAQ
Can I run OpenWrt on a Raspberry Pi without any USB NICs?
Yes, but you’ll be limited to one Ethernet interface. You’ll need VLANs to separate traffic logically.
Do I need a managed switch to use VLANs?
Yes, if you plan to use VLAN trunking. Otherwise, you can only segment traffic locally on the Pi.
What’s the best USB NIC for OpenWrt on Pi?
Adapters with RTL8153 or ASIX AX88179 chipsets have the best support and reliability.
Can I use a Raspberry Pi as my main home router?
Absolutely. Just keep your traffic needs in mind—don’t expect gigabit throughput on USB NICs.
Why is my VLAN traffic not routing properly?
Check your firewall zones, interface assignments, and switch configuration. One misstep breaks the whole flow.