
Introduction
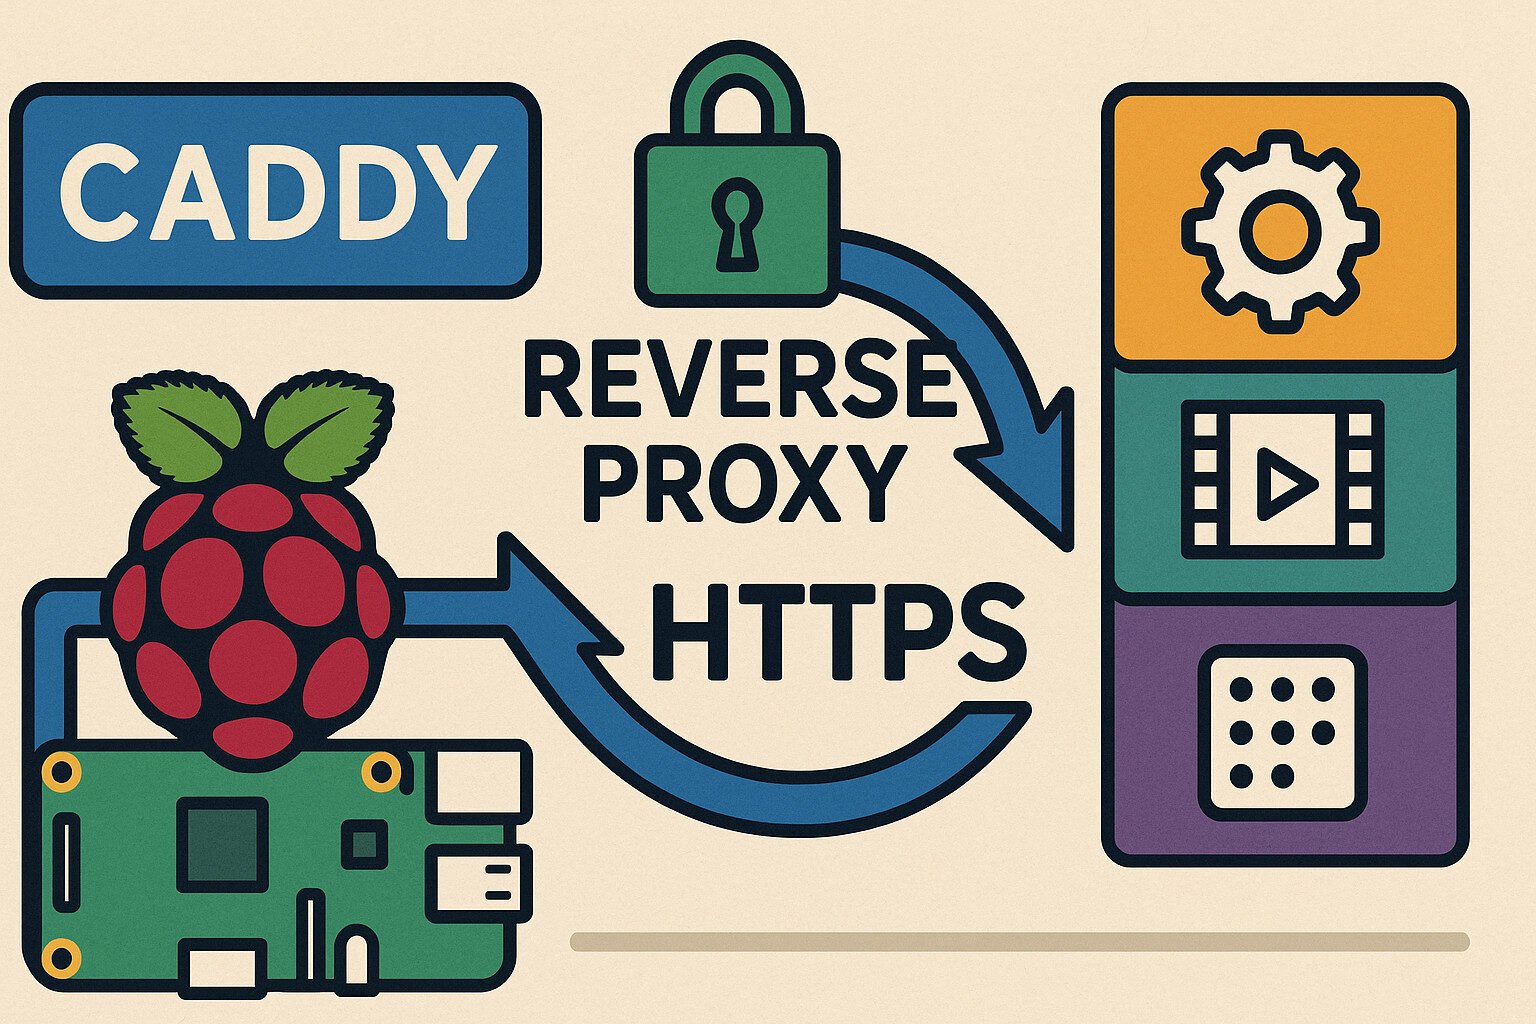
Caddy reverse proxy Raspberry Pi setups are quietly becoming the backbone of home labs everywhere. If you’re tired of fiddling with expiring certificates and buggy Nginx config files, you’re not alone. Caddy brings automatic HTTPS to your Raspberry Pi without the hair-pulling. It uses the ACME protocol to grab free certs from Let’s Encrypt and manages renewals like a responsible adult.
You can run everything from Pi-hole to Jellyfin behind it. That means real HTTPS with proper TLS 1.3, OCSP stapling, and even HTTP/2 support if you’re into that sort of thing. Combine that with DuckDNS or your favorite dynamic DNS flavor, and suddenly your home services don’t look like they were coded in 2003.
We’ll walk through how to get this going, and maybe even spare you a few headaches.
Key Takeaways
- Caddy automates HTTPS with minimal setup on Raspberry Pi.
- Dynamic DNS like DuckDNS bridges dynamic IP issues.
- Subdomains or paths let you host multiple services.
- Docker simplifies service management and networking.
- Logs, firewalls, and backups keep your system stable and secure.
Raspberry Pi Setup for Hosting
Choosing the Right Raspberry Pi Model
The Raspberry Pi 4 and Raspberry Pi 5 offer the most stability and performance for hosting multiple services. Both come with quad-core processors, and you’ll want at least 4GB of RAM. Older models like the Pi 3B+ might work, but you’ll run into memory constraints fast.
Power Supply and Storage
Stick with an official USB-C power supply rated at 5V 3A. A weak adapter can lead to throttling or unexpected shutdowns. For storage, use a quality microSD card or, better yet, connect an SSD via USB 3.0 for faster read/write speeds and longevity.
Installing a Lightweight OS
Raspberry Pi OS Lite and Ubuntu Server 22.04 LTS are both solid choices. Either one gives you a headless, SSH-ready base to install Caddy without wasting resources on a GUI.
Networking Basics
You’ll want a static IP address to avoid connection hiccups every time your Pi reboots. Set a static lease in your router’s DHCP settings or configure it manually in the OS. Also, forward ports 80 and 443 on your router to your Pi’s IP to allow external HTTPS access.
Package Updates and SSH Access
Run sudo apt update && sudo apt upgrade to make sure your system isn’t stuck in 2018. Enable SSH if it’s not already on with sudo systemctl enable ssh && sudo systemctl start ssh. You’ll need this for remote access as you set up your services.
Installing and Running Caddy
Installing Caddy on Raspberry Pi
Caddy provides a Debian package that works fine on Raspberry Pi OS and Ubuntu. Add the official repository like this:
sudo apt install -y debian-keyring debian-archive-keyring apt-transport-https
curl -1sLf 'https://dl.cloudsmith.io/public/caddy/stable/gpg.key' | sudo apt-key add -
curl -1sLf 'https://dl.cloudsmith.io/public/caddy/stable/debian.deb.txt' | sudo tee /etc/apt/sources.list.d/caddy-stable.list
sudo apt update
sudo apt install caddy
That’s it. No compiling from source, no strange dependencies, no drama.
Testing the Installation
Check that it installed correctly with:
caddy versionYou should see the version number pop up. If not, retrace your steps before you throw the Pi out the window.
Creating a systemd Service
Good news: the Caddy package includes a systemd service out of the box. That means you can control it like this:
sudo systemctl start caddy
sudo systemctl enable caddy
sudo systemctl status caddy
It’ll auto-start on reboot and behave like a real service. Logs are available via journalctl -u caddy.
Permissions and Web Root
By default, Caddy runs as a restricted user for security. If you want to serve static files, drop them into /var/www/html or update the Caddyfile to point wherever you like.
Understanding the Caddyfile
Basic Syntax Overview
The Caddyfile uses a clean, readable format. No nested brackets, no ten layers of indentation. Here’s a basic example:
yourdomain.duckdns.org {
  reverse_proxy localhost:3000
}
That’s all it takes to forward traffic from a public domain to a local service. Compare that to the 50-line Nginx config you’d usually write.
Routing Multiple Services
You can define multiple domains or subdomains like this:
nextcloud.duckdns.org {
  reverse_proxy 127.0.0.1:8080
}

jellyfin.duckdns.org {
  reverse_proxy 127.0.0.1:8096
}
Each block handles one service. You can mix in path-based routing too, though subdomains keep things cleaner when scaling up.
Common Directives
Some useful options you might want:
encode gzipto compress content.tls you@example.comto specify a notification address.loganderrorsto manage access and error logs.redirfor simple HTTPS or path redirects.
Reloading and Testing Configs
Once you’ve edited the Caddyfile, reload the config with:
sudo caddy reloadIf it fails, Caddy will tell you exactly what’s wrong. That’s a feature most other web servers could learn from.
HTTPS Without Pain: How Caddy Does It
ACME Protocol and Let’s Encrypt
Caddy uses the ACME protocol to automatically fetch certificates from Let’s Encrypt. No Certbot commands, no cron jobs, no duct-taped renewal scripts. It validates the domain via HTTP challenge or DNS challenge and installs the cert immediately.
TLS 1.3 and Key Management
Caddy defaults to TLS 1.3 with support for ECDSA and RSA keys. This combo offers better performance and security with minimal CPU usage, which is a big deal when your “server” is the size of a deck of cards.
Certificate Renewal
Certificates are renewed automatically before they expire. If you’ve ever let a cert lapse at 2 a.m. and woke up to five down alerts, you’ll appreciate this.
OCSP Stapling and HTTP/2
Caddy staples OCSP responses to TLS handshakes for faster verification. It also supports HTTP/2 and ALPN by default, which means you don’t need to enable anything manually.
Fallbacks and Graceful Failures
If cert issuance fails, Caddy logs the exact reason and doesn’t bring down your entire config. Other services still run. This alone makes it friendlier than most alternatives.
Using Dynamic DNS for Public Access
Why Use Dynamic DNS
Most home internet setups give you a dynamic IP address that changes periodically. That’s a problem if you want to access your Raspberry Pi from outside your network. Dynamic DNS services like DuckDNS or No-IP solve this by updating your domain to point to your current IP.
Setting Up DuckDNS
DuckDNS is free and easy to integrate with Raspberry Pi. After signing up and choosing a subdomain, install the update script:
mkdir duckdns
cd duckdns
nano duck.sh
Paste in the following:
echo url="https://www.duckdns.org/update?domains=yourdomain&token=yourtoken&ip=" | curl -k -o ~/duckdns/duck.log -K -Then make it executable and run it every five minutes with crontab:
chmod 700 duck.sh
crontab -e
*/5 * * * * ~/duckdns/duck.sh >/dev/null 2>&1
DNS Records and Propagation
After setup, your DuckDNS domain will resolve to your public IP. Caddy can now use it for certificate validation and serve your services over HTTPS. Remember to forward ports 80 and 443 on your router to the Pi’s local IP.
Dealing with NAT and CGNAT
Some ISPs use Carrier-Grade NAT which can break external access even with DDNS. In those cases, consider using a reverse tunnel service or get a static IP from your ISP (good luck).
Hosting Multiple Services with Caddy
Why Use One Reverse Proxy for All Services
Instead of exposing every service on a separate port, Caddy lets you consolidate access under one secure endpoint. This means fewer open ports, consistent TLS setup, and easier network management.
Practical Subdomain Example
Let’s say you have three services running:
- Nextcloud on port 8080
- Jellyfin on port 8096
- Pi-hole on port 8081
Your Caddyfile could look like this:
nextcloud.duckdns.org {
  reverse_proxy 127.0.0.1:8080
}

jellyfin.duckdns.org {
  reverse_proxy 127.0.0.1:8096
}

pihole.duckdns.org {
  reverse_proxy 127.0.0.1:8081
}
Each service gets its own subdomain, and all benefit from automatic HTTPS.
Path-Based Routing (If You Must)
If you’re stuck with one domain, you can use paths instead:
yourdomain.duckdns.org {
  handle_path /nextcloud/* {
    reverse_proxy 127.0.0.1:8080
  }
  handle_path /jellyfin/* {
    reverse_proxy 127.0.0.1:8096
  }
}
It’s not ideal for all apps, especially those that expect to live at the root, but it works for basic setups.
Using Docker for Isolation
Running services in Docker lets you isolate ports and dependencies. You can connect your Caddy container to the same Docker network and reference services by container name:
reverse_proxy nextcloud:80This avoids hardcoding IPs and simplifies scaling down the road.
Securing and Monitoring the Setup
Force HTTPS Across the Board
Caddy enforces HTTPS by default. You don’t need to set up redirects manually. Still, if you’re routing traffic internally or using HTTP for some services, add this to your Caddyfile to force secure access:
redir http://* https://{host}{uri}Add Basic Authentication
For services that lack built-in login protection (looking at you, Pi-hole), add basic auth to your reverse proxy block:
basicauth {
  user JDJhJDE0JHZtYnpuL3ZUc0o1dFhTRFZVT0huT1pIcGZWSGJ1UmFmcTRKUEVoREJmWnhMbEdMdmZkME9T
}
Use caddy hash-password to generate your own secure string.
Monitor with journalctl and Logs
You can view live logs with:
journalctl -u caddy -fOr check access logs in /var/log/caddy/access.log if you’ve set them up in your config. It helps to catch misconfigurations or spot suspicious requests.
Firewall and Port Protection
Use ufw to restrict access:
sudo ufw allow 22
sudo ufw allow 80
sudo ufw allow 443
sudo ufw enable
Add fail2ban to block brute-force login attempts or repeated bad requests. It pairs nicely with Caddy’s logs when used with a custom filter.
Health Checks and Notifications
For a home-grown setup, you can use curl or uptime-kuma to keep tabs on whether your services are online. Pair it with email alerts or push notifications for peace of mind.
Troubleshooting and Maintenance
Certificate Renewal Problems
If certs stop renewing, check your logs. It’s often due to:
- Domain not pointing to your current IP
- Port 80 blocked or redirected
- DDNS update not running
Run a manual reload with sudo caddy reload and tail the logs to see where it’s failing.
DNS Issues
Use dig yourdomain.duckdns.org to verify DNS resolution. If it points somewhere else, your DDNS script may be broken. Restart it and confirm your public IP with curl ifconfig.me.
Port Conflicts
If Caddy can’t start, something else may be using ports 80 or 443. Use sudo lsof -i :80 to find the culprit. Often it’s another web server like Apache.
Service Not Reaching
Double-check your internal service is running and reachable on the correct port. Use curl 127.0.0.1:8080 or whatever port it lives on. If Docker is in play, confirm the network settings.
Logs and Maintenance Scripts
Set up logrotate to prevent logs from eating up space. Add system health checks or scripts to monitor service uptime. Keep apt upgrade in your regular routine to patch vulnerabilities.
Backups Matter
Snapshot your Caddyfile and Docker volumes regularly. Store backups off-device in case the SD card turns into a coaster one day.
Final Thoughts
Using Caddy on a Raspberry Pi to reverse proxy multiple services with automatic HTTPS is one of those setups that just works. It doesn’t ask for much, runs quietly in the background, and handles certificates so you don’t have to.
For a headless little board, the Pi can punch way above its weight when paired with a lean server like Caddy. You get TLS 1.3, HTTP/2, and full ACME support without writing bash scripts in a fit of rage. Whether you’re hosting Nextcloud, streaming Jellyfin, or blocking ads with Pi-hole, everything stays neat, secure, and accessible.
Stick with regular updates, keep your Caddyfile clean, and don’t forget backups. With that, your home server just got a serious upgrade in usability and security.
FAQ
Can I run Caddy and other services on the same Raspberry Pi?
Yes, just ensure your Pi has enough RAM and CPU headroom. Docker can help isolate them.
What if my IP address changes frequently?
Use a Dynamic DNS service like DuckDNS and a cron job to update it.
Do I need to open ports on my router?
Yes, forward ports 80 and 443 to your Raspberry Pi for public HTTPS access.
Is Caddy better than Nginx for Raspberry Pi?
Caddy is easier for HTTPS and low-maintenance setups. Nginx is more flexible but harder to configure.
How often does Caddy renew certificates?
Automatically before expiration, usually within 30 days.
References
- Caddy Server Documentation
- DuckDNS Setup Instructions
- Raspberry Pi OS Lite
- Docker for Raspberry Pi
- Let’s Encrypt ACME Protocol