
How to create a WiFi internet radio player with Raspberry Pi is a straightforward project where we assemble the components, configure the software, and enjoy streaming stations wirelessly. With a Raspberry Pi (RPi) using the MoOde Audio Player you can transform your Raspberry Pi into a versatile music streamer. MoOde is a feature-rich audio software that allows you to stream from a variety of sources such as internet radio stations, local music files, and even premium streaming services. The Raspberry Pi is the perfect platform for this project due to its small form factor, low power consumption, and ability to connect to various audio devices like USB DACs, Bluetooth speakers, and more.
This guide will walk you through the entire process, from gathering the necessary hardware to configuring MoOde for internet radio streaming. I tried various other images, but they either hadn’t been updated for a while, and were missing packages, or withheld features to compel purchasing an upgrade.
You’ll also learn how to enhance audio quality, integrate advanced features, and troubleshoot common issues.
I loved my internet radio. I have a Tangent Quattro that I spent $200 on and used it every day. Then Qualcomm shut down the Reciva aggregator that the receiver relied on, rendering it useless. Well, the years passed by, and I now have a replacement!
Key Takeaways
Getting the Necessary Hardware and Software
Raspberry Pi Models and Recommendations
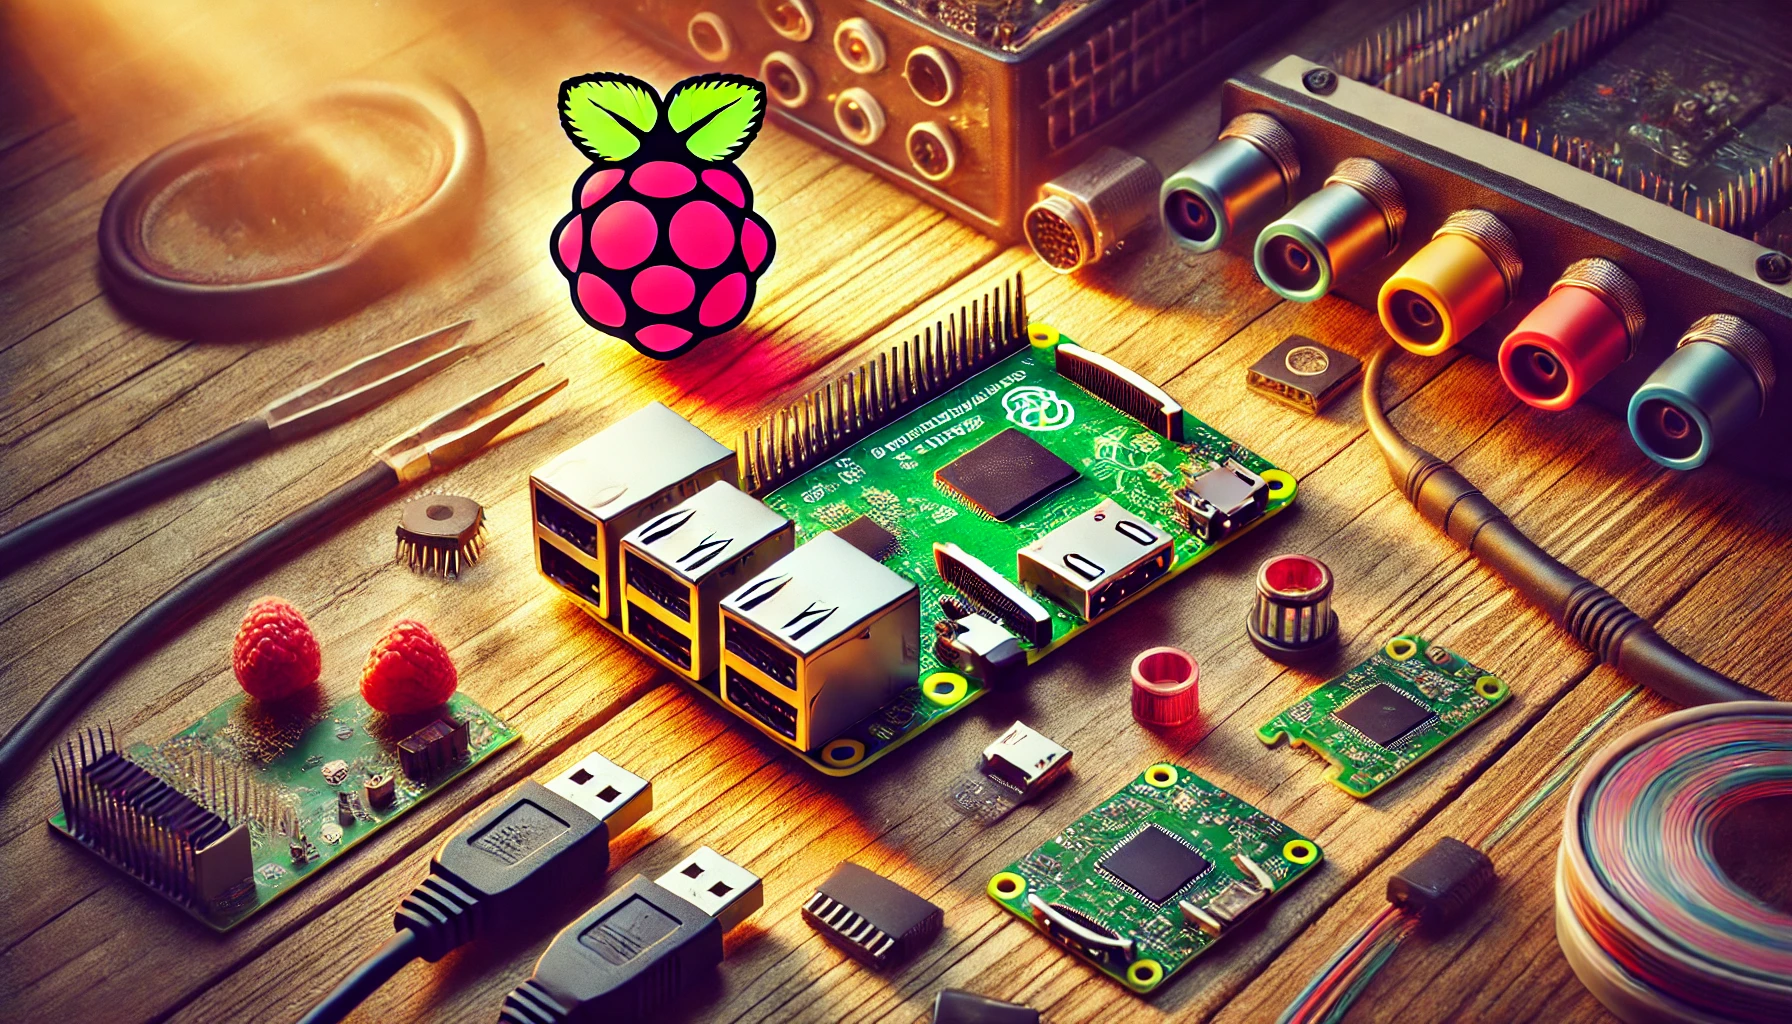
To begin your project, you will need a Raspberry Pi. The Raspberry Pi 3 and Raspberry Pi 4 are the best choices due to their faster processing power and built-in Wi-Fi capability. These models also feature USB ports and Ethernet for network connectivity. If you’re using an older model like the Raspberry Pi 2 or Raspberry Pi Zero, a Wi-Fi dongle or an Ethernet cable will be necessary to connect to the internet.
Other important hardware includes:
- MicroSD card (8GB or higher) to store the MoOde image and system files.
- Power supply with at least 5V/2.5A for stable performance.
- Optionally, an external USB DAC can be added for better sound quality, as the built-in 3.5mm audio jack is not ideal for high-fidelity audio.
Downloading and Flashing MoOde to an SD Card Using Raspberry Pi Imager
Let’s create a WiFi internet radio player with Raspberry Pi by downloading and flashing MoOde to an SD card using Raspberry Pi Imager.
To set up your Raspberry Pi with the MoOde Audio Player, follow these steps:
- Download the MoOde Audio Image:
- Visit the MoOde Audio website and download the latest image file compatible with your Raspberry Pi model. The latest version of the imager has the MoOde option under “Media Player OS” as well.
- Install Raspberry Pi Imager:
- Navigate to the Raspberry Pi Imager download page and download the installer for your operating system.
- Follow the on-screen instructions to complete the installation.

- Prepare the SD Card:
- Insert a MicroSD card (at least 8GB) into your computer’s card reader.
- Ensure the card is properly formatted. If it’s not, you can use the SD Card Formatter tool to format it.
- Flash the MoOde Image to the SD Card:
- Launch Raspberry Pi Imager.
- Click on Choose OS.
- Select Use custom at the bottom of the list.
- Browse and select the MoOde image file you downloaded earlier.
- Click on Choose Storage and select your SD card from the list.
- Once both the OS and storage are selected, click Write to begin the flashing process.
- Wait for the process to complete; this may take several minutes.
- Configure Advanced Options (Optional):
- Before writing the image, you can access advanced settings by pressing
Ctrl + Shift + X(orCmd + Shift + Xon macOS) in Raspberry Pi Imager. - Here, you can set the hostname, enable SSH, configure Wi-Fi settings, and more.
- After configuring, proceed with the writing process as usual.
- Before writing the image, you can access advanced settings by pressing
- Finalize Setup:
- Once the flashing process is complete, safely eject the SD card from your computer.
- Insert the SD card into your Raspberry Pi.
- Power on the Raspberry Pi; it should boot with the MoOde Audio Player interface.
Setting Up MoOde Web UI
We can set up the MoOde Web UI by accessing the Raspberry Pi’s IP address through a web browser and configuring the audio settings for our internet radio player.
Once the Raspberry Pi is powered on and booted from the MicroSD card with the MoOde image, it will automatically broadcast its web-based user interface. The MoOde Web UI allows you to configure audio settings, add internet radio stations, and manage your music library.
Accessing the MoOde Web UI
- Connect your Raspberry Pi to the network:
- If you’re using Ethernet, connect the cable from your Raspberry Pi to your router.
- If you’re using Wi-Fi, you’ll need to configure Wi-Fi settings in the MoOde Web UI.
- Find the Raspberry Pi’s IP Address:
- Use a network scanner like Fing (available for smartphones) or check your router’s admin panel to find the IP address of the Raspberry Pi.
- Alternatively, you can access the web UI using the hostname
http://moode.localon most networks. (or the hostname you set up in the Raspberry Pi Imager followed by .local)
- Open the MoOde Web UI:
- Enter the Raspberry Pi’s IP address or hostname into the browser of any device connected to the same network.
- The MoOde Web Interface will load, allowing you to configure the system.
Connecting The Internet Radio Player to The Network
We can connect the internet radio player to the network by configuring the Raspberry Pi’s WiFi settings to access our home network.
Wi-Fi vs Ethernet: Pros and Cons
Choosing between Wi-Fi and Ethernet for your Raspberry Pi’s network connection depends on your needs and environment. Here’s a breakdown:
- Wi-Fi offers flexibility, allowing you to place the Raspberry Pi anywhere within your router’s range. It’s convenient, especially for wireless setups where you don’t want cables running across your space.
- Ethernet, on the other hand, provides a more stable and reliable connection. This is crucial if you are streaming high-bitrate internet radio stations or large FLAC files, as Ethernet reduces the chances of buffering or dropouts.
Configuring Wi-Fi on MoOde
- Access the MoOde Web UI via Ethernet or direct connection.
- Navigate to the Network settings in the UI.
- Choose your Wi-Fi network from the available SSIDs and enter the network password.
- MoOde will reconnect to the Wi-Fi network, and you can now unplug the Ethernet cable if desired.
Setting a Static IP Address
To simplify future access, it’s recommended to assign a static IP address to the Raspberry Pi. This prevents the Pi’s IP address from changing, making it easier to reconnect to the MoOde interface.
- In the MoOde Web UI, go to Network Configurations.
- Set the IP mode to static and enter an IP address that’s within your router’s range (e.g.,
192.168.1.100). - Save the settings and reboot the Pi.
Audio Output Options
We can choose from various audio output options like HDMI, a 3.5mm jack, or external USB DACs to customize the sound quality of our Raspberry Pi internet radio player.
Built-in Audio vs External DAC
The Raspberry Pi comes with a built-in 3.5mm audio jack, but its audio quality is often not sufficient for high-fidelity sound. For significantly better performance, consider using an external USB DAC or a Pi HAT DAC that connects to the Raspberry Pi’s GPIO header.
- USB DACs are easy to use—just plug one into a USB port on the Raspberry Pi, and configure MoOde to output sound through it.
- Pi HAT DACs attach directly to the GPIO pins and offer a cleaner and more efficient way to process sound, especially if you’re building a compact, all-in-one device.
To configure the audio output:
- Connect the DAC (either USB or Pi HAT).
- Open the MoOde Web UI.
- Go to Audio Configuration and select the DAC as the preferred output device.
- Test the audio by playing an internet radio station or a local music file.
Using Bluetooth Audio Output
MoOde also supports Bluetooth for streaming audio to Bluetooth-compatible devices such as speakers or headphones.
- In the MoOde Web UI, navigate to the Bluetooth settings.
- Enable Bluetooth and set the Bluetooth output as the primary audio device.
- Pair your Bluetooth speaker or headphones by making them discoverable and selecting them in the MoOde interface.
- After pairing, sound from MoOde will be directed to the Bluetooth device.
Configuring MoOde for Internet Radio
We can configure MoOde for internet radio by adding radio station URLs in the MoOde Web UI under the “Radio” tab and saving them to our playlist for easy access.
One of the most exciting features of MoOde Audio is its ability to stream music from thousands of internet radio stations. You can listen to stations from around the world, including popular genres such as jazz, classical, pop, or even niche options like ambient or world music.Accessing Popular Internet Radio Stations
MoOde comes with a large selection of preconfigured internet radio stations. To access these:
- Open the MoOde Web UI.
- Navigate to the Radio tab.
- You’ll find a list of preloaded stations categorized by genre and region. Click on any station to start streaming instantly.
Adding Custom Radio Streams
You may want to add your own favorite internet radio stations that aren’t included by default. MoOde allows you to manually input the streaming URLs of these stations:
- In the MoOde Web UI, go to the Radio section.
- Click on Add to input a custom stream.
- Enter the station name, stream URL (usually an M3U or PLS link), and other relevant details.
- Save the station, and it will now appear in your list of available radio stations for streaming.
Saving Favorite Radio Stations
If you frequently listen to specific stations, you can save them to your favorites for easy access:
- While playing an internet radio station, click the heart icon or a similar option in the MoOde Web UI to add it to your favorites.
- Your favorite stations can be quickly accessed from the Favorites section under the Radio tab.
Enhancing Audio Quality in MoOde
We can enhance audio quality in MoOde by adjusting the equalizer settings, enabling audio resampling, and using high-quality external DACs for improved sound performance.
Whether you are using an external DAC or the built-in audio output, MoOde offers a range of customization options to improve your listening experience, especially for audiophiles.Digital Signal Processing (DSP) Settings
MoOde includes a set of DSP tools that allow you to adjust audio playback. These tools help with tasks like resampling, crossfeed, and equalization, which can enhance your audio output.
- In the MoOde Web UI, navigate to the Audio Config section.
- Here, you can enable and configure the DSP settings to suit your listening preferences:
- Resampling: This adjusts the audio stream to a higher or lower bitrate depending on your system’s capabilities. For high-quality systems, increasing the sample rate can improve sound clarity.
- Crossfeed: Designed for headphone users, crossfeed allows you to simulate a more natural stereo image by mixing some of the left and right channels.
- Parametric Equalizer: MoOde offers a built-in equalizer to fine-tune specific frequencies. You can adjust bass, mids, and treble according to your speakers or room acoustics.
Using I2S DACs for Better Sound Quality
If you’re looking for high-fidelity audio, using an I2S DAC (which connects via the GPIO pins of your Raspberry Pi) can provide even better sound quality than a standard USB DAC.
- Install an I2S DAC such as the HiFiBerry or Allo Boss DAC on your Raspberry Pi’s GPIO header.
- In the MoOde Web UI, go to Audio Config, and under Output, select the I2S DAC.
- MoOde automatically supports many I2S DAC models, so simply select yours from the drop-down list, and restart the Pi if necessary.
Exploring Audio Filters and Equalizer Options
MoOde also comes with built-in audio filters and customizable equalizer settings to further refine your sound output:
- Low-pass filters can help reduce unwanted high frequencies or noise, especially when using subwoofers.
- The 10-band graphic equalizer allows you to adjust specific frequency ranges to tailor the sound to your preferences.
- In the MoOde Web UI, open the Audio Config section.
- Enable the Graphic EQ and manually adjust the sliders to boost or reduce different frequency ranges.
- Save the settings and test your audio with different genres to find the best balance.
Adding Local Music Files
We can add local music files to MoOde by connecting a USB drive or using network-attached storage (NAS) and scanning the directories through the MoOde library settings. This flexibility makes MoOde a powerful solution for those who want to combine streaming and local music libraries.
Using a USB Drive for Local Music
If you have music stored on a USB drive, MoOde can easily access and play these files:
- Connect the USB drive to one of the Raspberry Pi’s USB ports.
- MoOde will automatically detect the drive and index the files. You can verify this by going to the Library section in the MoOde Web UI.
- Once indexed, the music files will appear under the Local library in MoOde.
- You can organize, play, and add these tracks to playlists directly from the Web UI.
Setting Up a Network Share (NAS)
If your music collection is stored on a Network Attached Storage (NAS) device or another computer, MoOde can connect to these shared folders over the network:
- In the MoOde Web UI, go to the Sources tab.
- Select Add Network Share.
- Enter the details of your NAS or shared folder, including the IP address, share name, and login credentials (if required).
- MoOde will scan the network share and index the music files for playback in the Library section.
Storing Music on the MicroSD Card
If space permits, you can also store music directly on the MicroSD card that’s running MoOde:
- Connect to the Raspberry Pi over the network using SFTP or a file transfer tool.
- Copy your music files into the
/var/lib/mpd/musicdirectory on the Pi. - MoOde will automatically scan this folder and add the music to the library.
Advanced Features
MoOde Audio Player offers a wide array of advanced features that enhance its capabilities as a music streaming and management platform. These features are particularly useful if you want to integrate multi-room audio, stream music from premium services, or improve your setup with audio processing tools.
UPnP and DLNA for Multi-Room Audio
MoOde supports UPnP (Universal Plug and Play) and DLNA (Digital Living Network Alliance), allowing you to stream music to compatible devices around your home. This is particularly useful for creating a multi-room audio system, where you can play synchronized music in multiple rooms, or control playback from other devices like smart TVs or smart speakers.
- In the MoOde Web UI, navigate to the Audio Config section.
- Enable UPnP/DLNA Renderer.
- Once enabled, MoOde will appear as an audio renderer on other DLNA/UPnP clients (such as smartphones, computers, or smart devices).
- You can then stream music from any UPnP/DLNA-capable media server on your network to MoOde.
Integrating Spotify, TIDAL, and Other Streaming Services
We can integrate Spotify, TIDAL, and other streaming services into our WiFi internet radio player with Raspberry Pi by using compatible APIs and third-party software like MoOde. MoOde is compatible with popular music streaming services like Spotify and TIDAL through integrations such as Spotify Connect. This feature allows you to stream music directly from your Spotify app to the MoOde system without needing additional hardware or apps.
- In the MoOde Web UI, go to the Audio Config section.
- Enable Spotify Connect.
- Open the Spotify app on your phone or computer, and select MoOde as the playback device under Available Devices.
- For TIDAL or other services, you can use UPnP or compatible plugins to stream music through MoOde.
MoOde’s Advanced Audio Processing Features
We can leverage MoOde’s advanced audio processing features to enhance the sound quality of our WiFi internet radio player with Raspberry Pi. For audiophiles or those who want more control over their audio output, MoOde offers advanced audio processing options like Direct Stream Digital (DSD), FLAC decoding, and ALSA (Advanced Linux Sound Architecture) support.
- DSD Playback: MoOde supports DSD files, which provide ultra-high-quality audio and are commonly used by audiophiles. To enable this, navigate to the Audio Config section and ensure your DAC supports DSD playback.
- FLAC: MoOde can play lossless FLAC files, ensuring that you get the highest possible audio quality from your digital music collection.
- ALSA Settings: MoOde utilizes ALSA for sound processing, providing lower latency and better sound quality.
Synchronized Multi-Room Playback with Snapcast
We can achieve synchronized multi-room playback with Snapcast by using it alongside our WiFi internet radio player on Raspberry Pi.
- In the MoOde Web UI, go to Audio Config.
- Enable Snapcast Server on your main Raspberry Pi (the master).
- On other Raspberry Pi devices running MoOde, enable Snapcast Client.
- Now, all your MoOde-powered devices will play the same stream at the same time, creating a seamless multi-room audio experience.
Troubleshooting Common Issues
When troubleshooting common issues while building a WiFi internet radio player with Raspberry Pi, we should check for proper network connections, correct software installation, and ensure compatible audio hardware.
No Sound Output
If you’re not getting any sound from your Raspberry Pi, check the following:
- Check Audio Output Configuration:
- In the MoOde Web UI, go to Audio Config and ensure the correct output device (e.g., USB DAC, I2S DAC, or Bluetooth) is selected.
- Verify that the volume is not muted in the Playback section.
- Check Connections:
- Make sure that your speakers or headphones are properly connected.
- If using an external DAC, ensure the device is correctly plugged into the Raspberry Pi and powered if needed.
- Reboot the System:
- Sometimes, a simple restart can resolve audio issues. Reboot the Raspberry Pi through the MoOde Web UI.
Network Issues
Network-related problems can prevent MoOde from streaming internet radio or accessing your local music files:
- Wi-Fi Signal Strength:
- If you are using Wi-Fi, ensure that the Raspberry Pi has a strong signal. Poor signal strength can cause buffering or loss of connection.
- Try moving the Raspberry Pi closer to your router or switch to a wired Ethernet connection for more reliable streaming.
- IP Address Conflicts:
- If you’re having trouble accessing the MoOde Web UI, ensure that the Raspberry Pi’s IP address hasn’t changed unexpectedly. Assigning a static IP address as discussed earlier can help avoid this issue.
- Check Network Settings:
- In the MoOde Web UI, review the Network Config section to ensure the correct Wi-Fi SSID or Ethernet connection is active.
Buffering or Lag During Streaming
Buffering issues are usually caused by network problems or by the stream bitrate being too high for the available connection speed.
- Reduce Stream Bitrate:
- In the MoOde Web UI, lower the bitrate of the internet radio stream. This is especially helpful if your internet connection is slow or unstable.
- Check Your Internet Connection:
- Ensure your internet connection is stable and fast enough to handle high-quality audio streaming. Ethernet is recommended for consistent performance.
- Stream from Local Files:
- If internet streams frequently buffer, consider streaming local files from a NAS, USB drive, or MicroSD card for uninterrupted playback.
MoOde Web UI Not Loading
If you can’t access the MoOde Web UI through your browser:
- Check the Raspberry Pi’s IP Address:
- Use a network scanner app like Fing or check your router’s admin panel to verify the Raspberry Pi’s current IP address.
- Restart the Raspberry Pi:
- Sometimes the Pi may lose its network connection. A quick restart from the MoOde Web UI or via SSH can resolve this.
- Clear Browser Cache:
- If the Web UI fails to load properly, try clearing your browser’s cache or using a different browser.
Conclusion
Setting up an internet radio with a Raspberry Pi and MoOde Audio Player is a powerful way to enjoy high-quality music from online radio stations, local files, and even streaming services like Spotify and TIDAL. The flexibility and customization offered by MoOde allow you to create a personalized audio experience with options for enhanced sound quality using DACs, Bluetooth speakers, and multi-room playback through UPnP/DLNA and Snapcast. Additionally, by using advanced features such as DSP tools, parametric equalizers, and FLAC or DSD playback, you can tailor your listening experience to suit your preferences and audio environment.
Throughout this guide, we’ve explored how to:
- Select and set up the required hardware for the project.
- Download, flash, and configure MoOde on a Raspberry Pi.
- Stream from popular internet radio stations and add custom stations.
- Enhance the audio quality using external devices like USB DACs and I2S DACs.
- Manage local music files using USB drives, network shares, or the MicroSD card.
- Troubleshoot common issues such as audio output problems, network connectivity, and buffering.
With this project, you not only gain the benefits of an internet radio but also the flexibility to expand your setup into a fully-fledged audio system capable of multi-room playback and streaming from a variety of sources.
FAQ
Can Raspberry Pi be used for both building a WiFi Internet Radio Player and Web Scraping with Beautiful Soup?
Yes, the Raspberry Pi can be utilized for both building a WiFi Internet Radio Player and Web Scraping with Beautiful Soup. There are numerous resources available for a web scraping tutorial raspberry pi to guide users through the process of combining these functionalities on the device.
Can I use any Raspberry Pi model to build an internet radio?
Yes, you can use most Raspberry Pi models, but for the best performance, it’s recommended to use Raspberry Pi 3 or Raspberry Pi 4 due to their built-in Wi-Fi and faster processors. Raspberry Pi Zero and Raspberry Pi 2 are also possible, but you might need an external Wi-Fi dongle or an Ethernet connection for internet access.
Do I need a USB DAC to improve sound quality?
While the Raspberry Pi has a built-in 3.5mm audio jack, using an external USB DAC or a Pi HAT DAC can significantly improve sound quality, especially if you’re using high-end speakers or headphones. The built-in audio tends to produce noise and lacks clarity compared to external DACs.
How do I add custom internet radio stations in MoOde?
You can add custom streams by navigating to the Radio section in the MoOde Web UI. Click Add to manually input the station’s name and URL. Once saved, the station will appear in your list of available stations.
Can I control MoOde from my smartphone or tablet?
Yes, you can access the MoOde Web UI from any device with a web browser connected to the same network, including smartphones and tablets. Simply enter the IP address or hostname of your Raspberry Pi into the browser to control playback, manage settings, and browse your music library.
Can I use MoOde for multi-room audio playback?
Yes, MoOde supports multi-room audio through protocols like UPnP, DLNA, and Snapcast. You can set up multiple Raspberry Pis running MoOde in different rooms and synchronize playback across all of them using Snapcast for perfect synchronization.