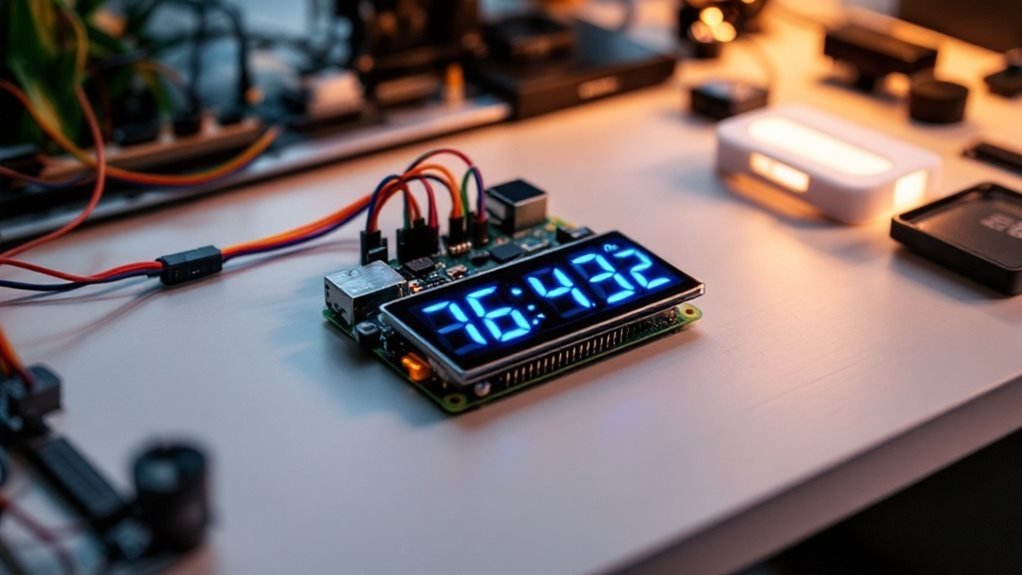
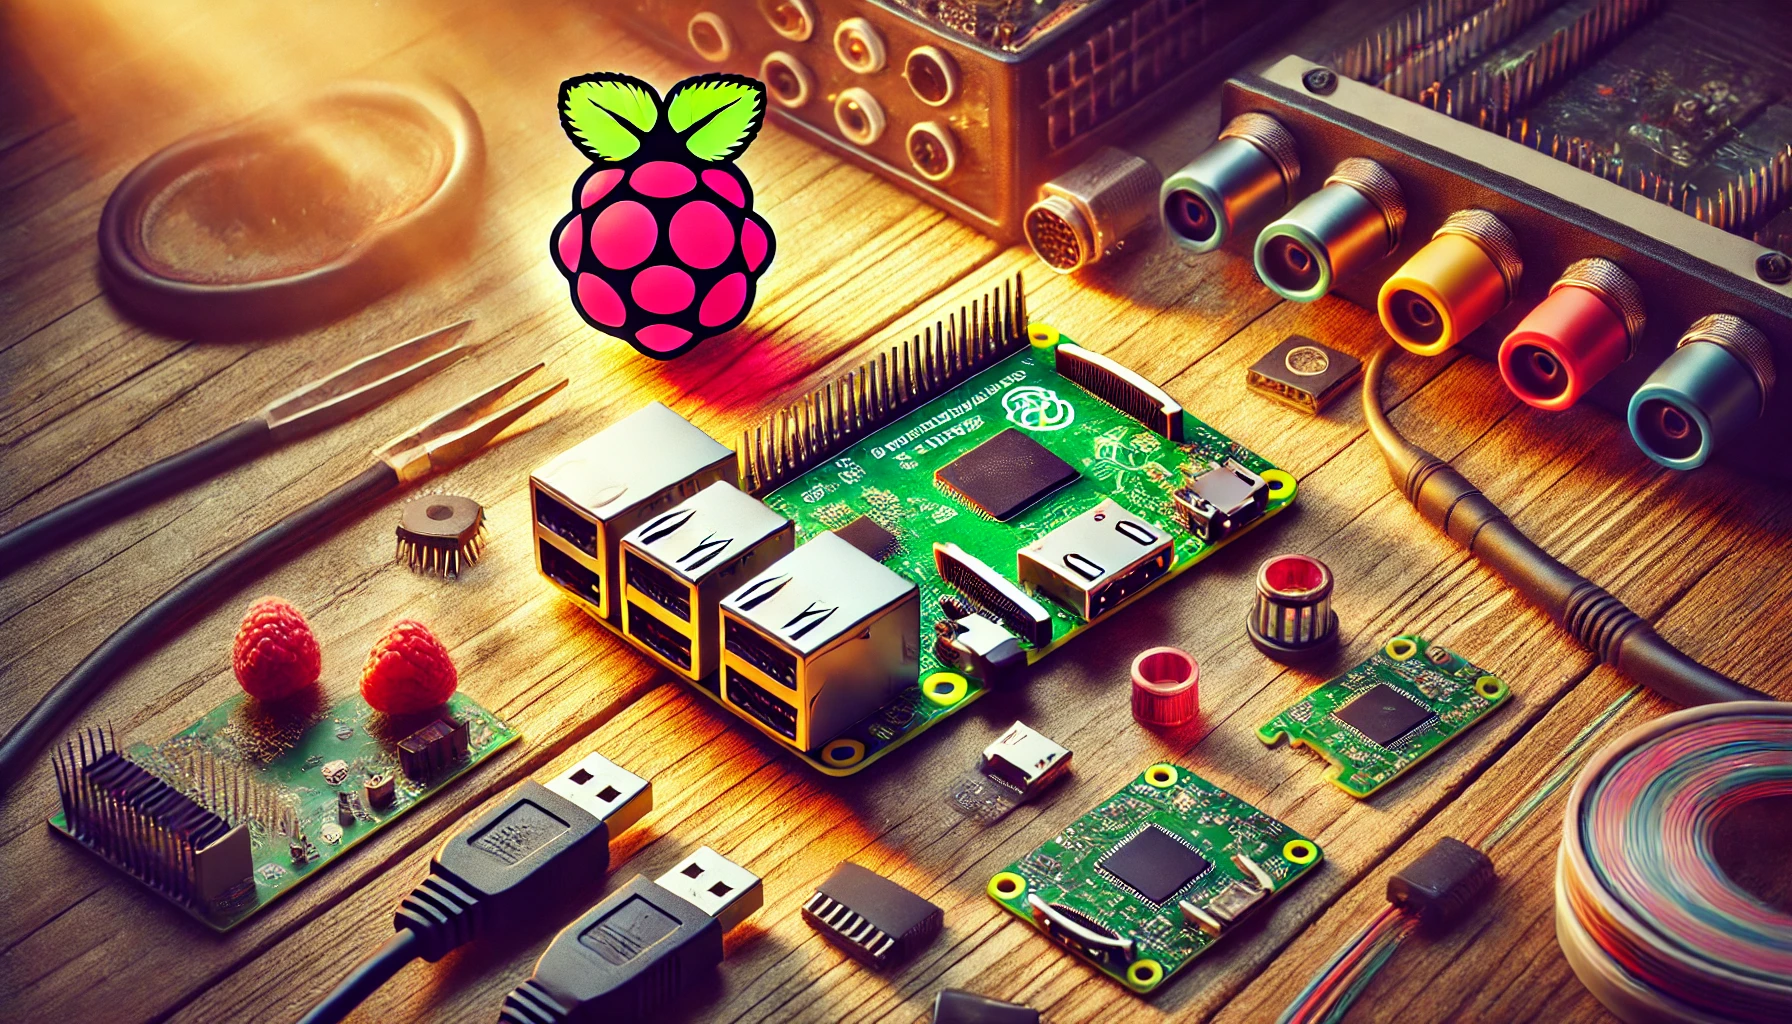
Building a DIY smart thermostat usin a Raspberry Pi requires specific hardware components and technical expertise. The core setup includes a WiFi-enabled Raspberry Pi (such as Pi 4 or Pi 3 B+), temperature sensors (DHT22 or DS18B20), a relay module for HVAC control, and a display interface. Essential software components involve Raspbian OS, Python libraries for GPIO control, and database integration for data logging.
The system requires proper wiring of HVAC connections, sensor calibration, and implementation of control logic for temperature regulation. Security measures include encrypted protocols and firewall configuration. This DIY approach offers advanced features like remote access, automation, and energy consumption monitoring – with proper implementation steps outlined in our detailed guide.
Key Takeaways
Required Hardware and Components
Smart thermostat hardware requirements integrate specific components for a Raspberry Pi-based system.
The foundational build starts with a WiFi-enabled Raspberry Pi, with models like the Pi 4 drawing power from a 15W PSU. Mercury-free design ensures safe environmental operation while providing precise digital control. The system’s GPIO pins allow for direct sensor connections that enable accurate temperature monitoring and control.
A breadboard pairs with 10-20 female-to-male jumper wires, enabling rapid prototyping and circuit validation.
The control interface depends on a 3-channel relay module (SainSmart’s 4-channel version proves reliable), working alongside 2N2222 NPN transistors for switching functions.
Circuit stability comes from precise resistor values: three 2.2k ohm and three 10k ohm units create the proper voltage dividers.
HVAC compatibility demands proper GPIO mapping for R (power), Y (cooling), G (fan), and O (heat pump) connections.
User interaction stems from either a compact 1602 LCD screen or Raspberry Pi’s 7-inch capacitive touchscreen, both mounting securely to a standard 3-gang electrical box.
Environmental data flows through DHT11 or DHT22 digital sensors, measuring both temperature and relative humidity.
The final build connects through 18AWG solid copper conductors from relays to HVAC terminals, while screw blocks ensure reliable wire retention.
Advanced configurations benefit from an Arduino Pro Trinket’s precision ADC and professional DIN rail enclosures for structured installations.
Wiring the Temperature Sensors

Temperature sensor wiring is a critical component that determines the accuracy and reliability of your Raspberry Pi-based smart thermostat system.
These sensors require strategic mounting at chest height (approximately 5 feet from the floor), with unobstructed line-of-sight to optimize their wireless communication capabilities. Like commercial smart thermostats, the system enables automatic temperature adjustments based on occupancy patterns. The system enhances home comfort by creating temperature consistency throughout different rooms, similar to commercial solutions.
Each sensor’s effective range spans 50 feet from the central control unit, with signal strength diminishing through common building materials like drywall (30% loss), brick (60% loss), or concrete (90% loss).
Dallas DS18B20 or DHT22 sensors work well in single-zone setups, while Zigbee-enabled units like the Xiaomi Aqara excel in multi-zone configurations.
The wiring setup supports both wireless and hardwired configurations. Battery-operated sensors need a 3V lithium cell connection with proper ground isolation using 10kΩ resistors.
Wall-mounted units connect via 22 AWG stranded wire, concealed behind their mounting plates for a professional finish while maintaining serviceability.
The sensors communicate through industry-standard protocols – Bluetooth Low Energy (2.4 GHz) offers 50-foot range indoors, while WiFi (802.11b/g/n) extends to 150 feet.
Connection testing involves verifying data transmission rates (>1 sample/minute), signal strength (-60dBm or better), and temperature accuracy (±0.5°C).
Document each sensor’s MAC address, physical location, and wiring diagram in a centralized system log. Include calibration offsets and communication protocol settings for comprehensive maintenance reference.
Setting Up the Raspberry Pi
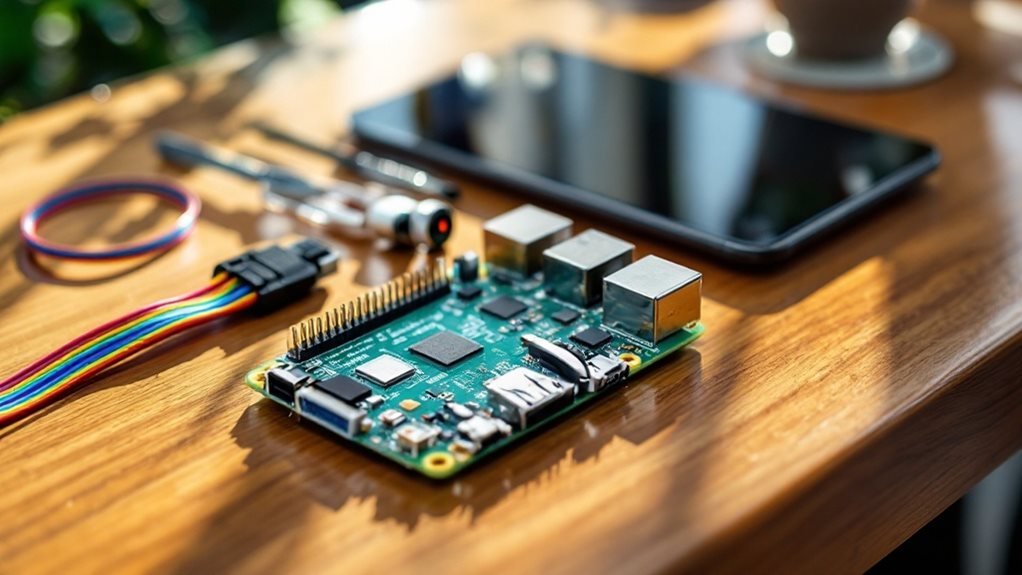
Raspberry Pi Setup for Smart Thermostat
Hardware and Software Configuration
The setup of a Raspberry Pi for a smart thermostat involves both hardware and software configurations to ensure optimal performance. Integrating the system with a 4-channel relay module allows precise control over multiple heating zones in your home. The thermostat can be enhanced with air quality monitoring capabilities using optional CO2 sensors.
Initial Setup
- Downloading the Latest Raspbian OS Version:
- Start by downloading the latest version of the Raspbian OS onto a microSD card. A Raspberry Pi 3 or later is ideal for smart thermostat applications due to its built-in WiFi and enhanced CPU.
- Raspberry Pi’s WiFi Configuration:
- Configure the Raspberry Pi’s WiFi using ‘raspi-config’, and enable SSH for remote access.
sudo raspi-config nonint do_wifi_ssid 'your_wifi_ssid'
sudo raspi-config nonint do_wifi_passphrase 'your_wifi_password'
sudo raspi-config nonint do_ssh 0
3. Core Package Installation:
– Install essential packages such as Python3, Flask web framework, and MariaDB/MySQL database.
sudo apt update
sudo apt install python3-pip mariadb-server
4. I2C Interface Setup:
– Set up the I2C interface and activate the necessary kernel module for temperature sensor drivers.
sudo raspi-config nonint do_i2c 05. VPN Implementation:
– Implement a VPN using OpenVPN for encrypted remote system access.
sudo apt install openvpnDevelopment Phase Configurations
- Python Libraries:
- Install Python libraries such as RPi.GPIO for pin control and drivers for temperature sensors like DHT22 or DS18B20.
sudo pip3 install RPi.GPIO Adafruit_DHT2. Database Setup:
– Set up MariaDB tables to store temperature data.
CREATE DATABASE thermostat;
USE thermostat;
CREATE TABLE temperature_readings (
id INT AUTO_INCREMENT PRIMARY KEY,
temperature FLOAT,
humidity FLOAT,
timestamp TIMESTAMP DEFAULT CURRENT_TIMESTAMP
);
”’
3. Security Hardening:
– Implement strong password policies, set up UFW firewall rules, enable rate limiting for SSH connections, and ensure regular system updates.
sudo ufw allow 22/tcp
sudo systemctl enable ufw
sudo ufw enable
sudo ufw limit ssh
Configuration Examples
- Enable I2C interface
sudo raspi-config nonint do_i2c 0- Install essential packages
sudo apt install python3-pip mariadb-server- Secure SSH access
sudo ufw allow 22/tcp
sudo systemctl enable ufw
sudo ufw enable
sudo ufw limit ssh
Additional Considerations
- Temperature Sensor Wiring:
- Ensure the temperature sensors are correctly wired. For example, DHT sensors have only three connections, and DS18B20 sensors can be connected using existing in-wall thermostat wires.
- Automation and Threshold Logic:
- Implement threshold logic to avoid short-cycling of the heating or cooling system. For example, toggling the heat only when the temperature is outside a certain threshold (e.g., +/- 0.5°C).
- Remote Access and Control:
- Set up the thermostat to be controlled via a web interface, smartphone app, or other remote methods such as TCP/IP socket messages or integration with smart home systems like Home Assistant.
This streamlined setup creates a robust foundation for smart thermostat development while maintaining security and reliability.
Installing Essential Software Packages
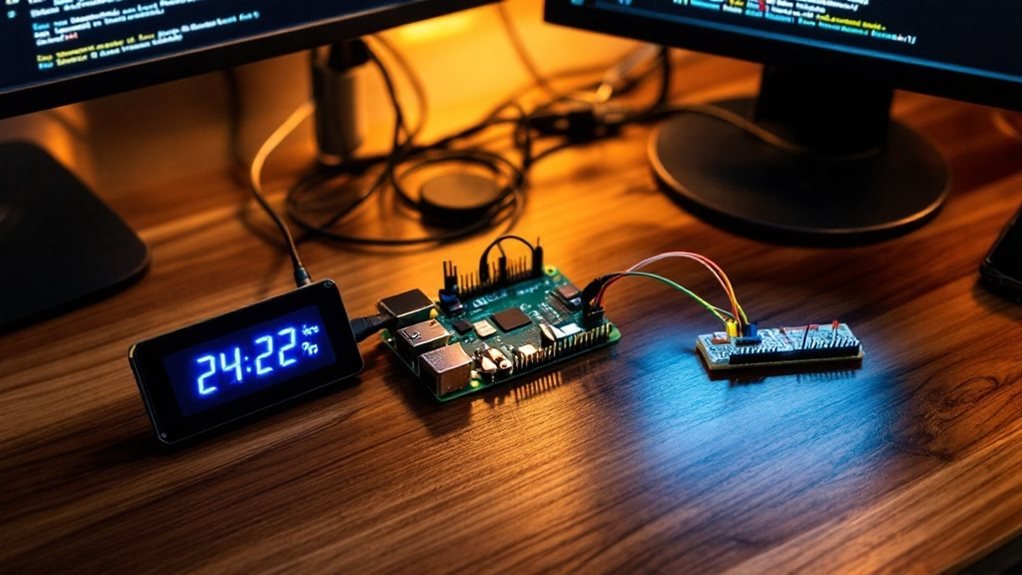
Software installation for smart thermostats is a crucial process that demands systematic package management and configuration. The foundation begins with a fully updated Raspberry Pi OS, achieved through two primary commands: ‘sudo apt update’ and ‘sudo apt upgrade’. Integration with Home Assistant automation allows for advanced scheduling and control features. The system utilizes Python and TypeScript for implementing client-server communication features.
| Package Category | Essential Components |
|---|---|
| Web Server | Apache2, PHP 8.x |
| Database | MySQL 8.0, PHPMyAdmin 5.x |
| Programming | Python3.9+, pip 21.x |
| Security | OpenVPN 2.5+, SSL/TLS |
| Utilities | Git 2.x, Mosquitto MQTT 2.0 |
Software deployment follows a structured sequence:
1. Web stack installation:
sudo apt install apache2 php8.02. Database implementation:
sudo apt install mysql-server phpmyadmin3. Programming environment setup:
sudo apt install python3-pip4. Security framework:
sudo apt install openvpnEach software component requires specific configurations:
- Apache2: Virtual host setup in ‘/etc/apache2/sites-available’
- PHP: Memory limits and execution time in ‘php.ini’
- MySQL: User privileges and remote access in ‘my.cnf’
- OpenVPN: Client certificates in ‘/etc/openvpn’
The software stack integrates through standardized protocols:
- HTTP/HTTPS for web services
- TCP/IP for database connections
- MQTT for device communication
- SSL/TLS for encrypted data transfer
These software components create a robust, secure, and efficient thermostat control system.
Programming the Control Logic
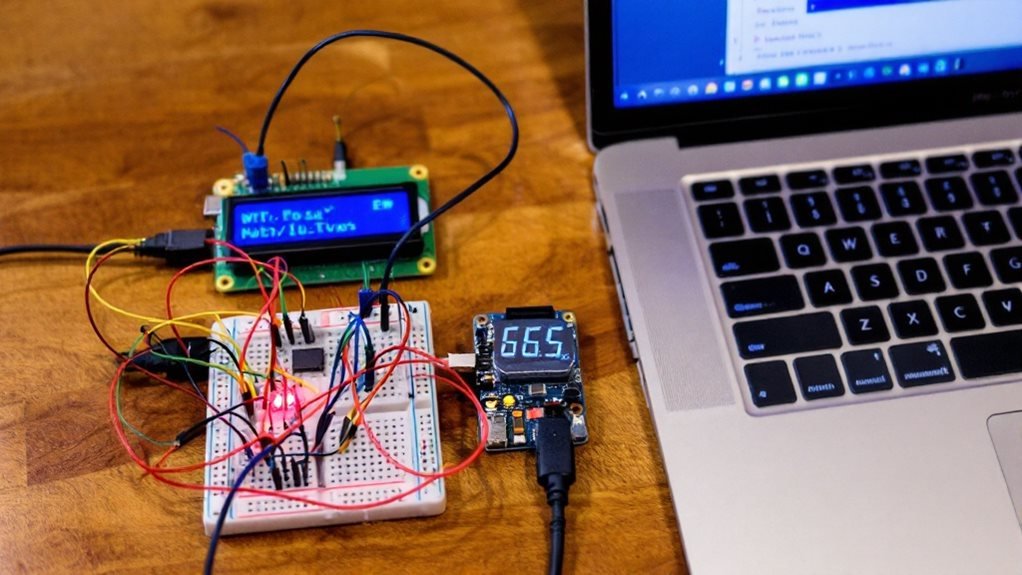
Control logic programming is the backbone of modern smart thermostat systems, combining precise temperature monitoring, relay control, and intelligent decision-making. The smart control algorithm processes real-time data from digital temperature sensors and executes commands based on user-defined parameters. The system requires network independence to ensure continuous operation without cloud connectivity. The implementation utilizes Python scripts to handle sensor data processing and system control functions.
DS18B20 and MCP9808 temperature sensors deliver high-precision readings at programmable intervals, ensuring consistent performance. The control system’s hysteresis band maintains a 2-degree buffer zone around setpoints, protecting HVAC equipment from harmful rapid cycling.
Essential Control Logic Components
- Temperature Monitoring Systems:
- These systems scan every 30-60 seconds, with built-in error handling:
- Primary sensor validation
- Backup sensor activation
- Data averaging algorithms
- Advanced Hysteresis Controls:
- These optimize HVAC cycling:
- Adjustable temperature differentials
- Mode-specific deadbands
- Dynamic setpoint adjustments
- Relay Management Protocols:
- Ensure safe operation:
- Minimum runtime enforcement
- Cool-down periods
- Emergency shutoff triggers
- Smart Automation Features:
- Enhance user experience:
- Time-based programming
- Remote access protocols
- Mobile app integration
Additional Safeguards and Integrations
The control system employs multiple safeguards: dual-mode lockout prevention, independent heating/cooling setpoints, and encrypted remote access. These features integrate with popular home automation platforms like HomeKit, SmartThings, and Google Home through standardized APIs.
Creating the Web Interface

Web interface design is the foundation for connecting users with smart thermostat controls. HTML5 and CSS3 create the responsive framework, adapting seamlessly to smartphones, tablets, and desktop screens.
The interface presents temperature controls, operating modes, and system indicators in an intuitive layout.
RESTful APIs power the interface’s core functions through structured JSON communication between the frontend and Raspberry Pi controller. Users interact with live temperature readings, set custom heating schedules, and manage multiple heating zones through clear, minimalist controls.
The interface displays boost mode, temporary override settings, and night temperature preferences through toggle switches and sliders.
Temperature monitoring relies on specific sensors – DS18B20 digital probes or Adafruit MCP9808 precision ICs – to feed real-time data to the display. A 5V relay module switches the heating system on and off based on user settings.
The interface includes:
- Sensor calibration tools with ±0.5°C accuracy
- Relay status LEDs showing heating state
- JWT authentication protecting API endpoints
- Swagger/OpenAPI documentation for third-party integration
- Push notifications for temperature alerts
- System status updates via WebSocket
The interface’s modular design lets users customize layouts while maintaining consistent functionality. Error handling provides clear feedback when sensor readings fail or network issues occur. Regular security updates protect user data and system access through encrypted connections.
Remote Access and Security
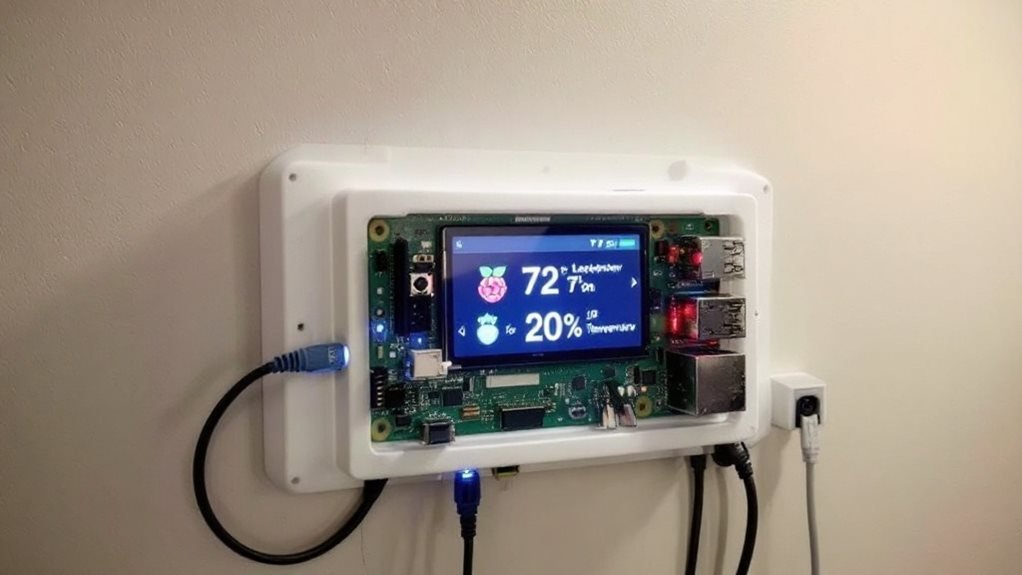
Remote access and security is essential for protecting smart thermostats running on Raspberry Pi systems. The implementation demands sophisticated safeguards that shield against unauthorized access while maintaining seamless operation.
Remote connectivity relies on encrypted protocols like HTTPS and MQTT, which create secure channels for data transmission. These protocols integrate with popular smart home platforms including HomeKit, Google Home, and Amazon Alexa.
A properly configured network infrastructure uses:
- WPA3 WiFi encryption
- Static IP addressing (e.g., 192.168.1.100)
- Restrictive firewall rules (limiting ports 8883 for MQTT, 443 for HTTPS)
- DNS security extensions (DNSSEC)
The security implementation includes:
- TLS 1.3 encryption for HTTPS and MQTT communications with 256-bit keys
- Two-factor authentication using Time-based One-Time Passwords (TOTP)
- Network isolation through VLANs and separate IoT networks
- Real-time intrusion detection systems (IDS) with Fail2Ban
The system’s protection extends beyond software. UL-listed relays protect electrical circuits, while automated monitoring alerts users to unusual patterns. Weekly security updates patch vulnerabilities, and detailed logs track access attempts through tools like Grafana and Prometheus.
Specific examples of secure implementations include:
- Mosquitto MQTT broker with ACLs
- Nginx reverse proxy with SSL termination
- UFW firewall configuration
- Docker containers for service isolation
These measures create defense-in-depth protection while maintaining user-friendly remote access to the thermostat’s controls.
Testing and Calibration
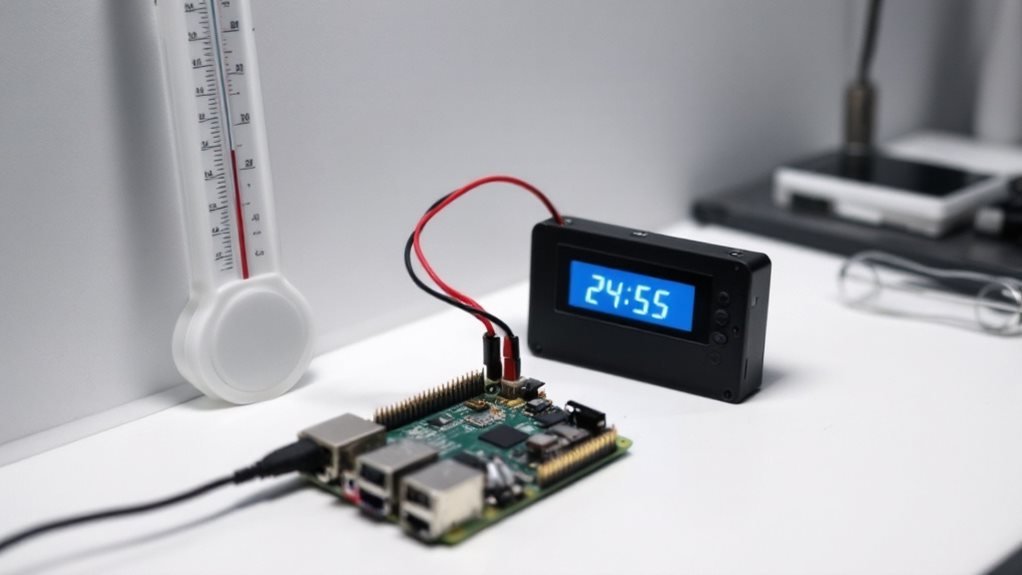
Testing and calibration is a critical quality control process that optimizes HVAC system performance.
The calibration workflow integrates precision measurements with digital diagnostics to map thermal response curves at 0.5°F increments. Modern smart thermostats undergo multi-point verification using specialized test chambers that simulate extreme temperatures from -20°F to 120°F.
The process records response times, validates temperature accuracy, and confirms proper staging of heating/cooling cycles. Digital calibrators collect data points across humidity levels ranging from 20-80% RH while monitoring power consumption patterns.
Final calibration steps include PID loop tuning, deadband adjustments, and fail-safe trigger verification. These calibration parameters get stored in non-volatile memory to maintain accuracy between power cycles.
The calibrated thermostat’s performance metrics must meet or exceed ASHRAE Standard 90.1 requirements for temperature control precision.
Frequently Asked Questions
How Much Money Can I Save Annually by Using a Custom Smart Thermostat?
Based on average statistics, implementing a smart thermostat can yield approximately $50 in annual savings, with potential energy reductions of 12.5-13.4% for heating and 13.9-16.1% for cooling consumption.
Can This Project Interfere With My Home’s Existing HVAC Warranty?
Installing a custom thermostat can void your HVAC warranty, as manufacturers typically require professional installation. Non-authorized modifications may result in denied warranty claims and potential liability for system damages or malfunctions.
What Is the Average Lifespan of a DIY Smart Thermostat?
DIY smart thermostats typically last 5-7 years, approximately half the lifespan of commercial units, due to component quality variations, potential calibration issues, and limited environmental protection compared to professionally manufactured thermostats.
Is Programming Knowledge Absolutely Necessary, or Can I Use Pre-Made Scripts?
While programming knowledge is beneficial, pre-made scripts and projects provide viable alternatives. Users can successfully implement functional systems using existing solutions, though basic technical comprehension helps with configuration and troubleshooting when needed.
How Does the Energy Efficiency Compare to Commercial Smart Thermostats?
Energy efficiency is comparable to commercial thermostats when properly configured, utilizing sensor data and automation. Local processing can reduce cloud-service energy consumption, while customizable scheduling and multi-zone control optimize HVAC operation effectively.
Summing Up
Building a custom smart thermostat with Raspberry Pi offers a cost-effective, flexible solution for home climate control automation. The integration of temperature sensors, control logic, and web interface capabilities enables precise environmental management while providing valuable data insights. Through proper implementation of security protocols and rigorous calibration, this DIY approach delivers professional-grade functionality at a fraction of commercial costs. The system’s expandability allows for future enhancements and integration with other smart home components.
