
Introduction
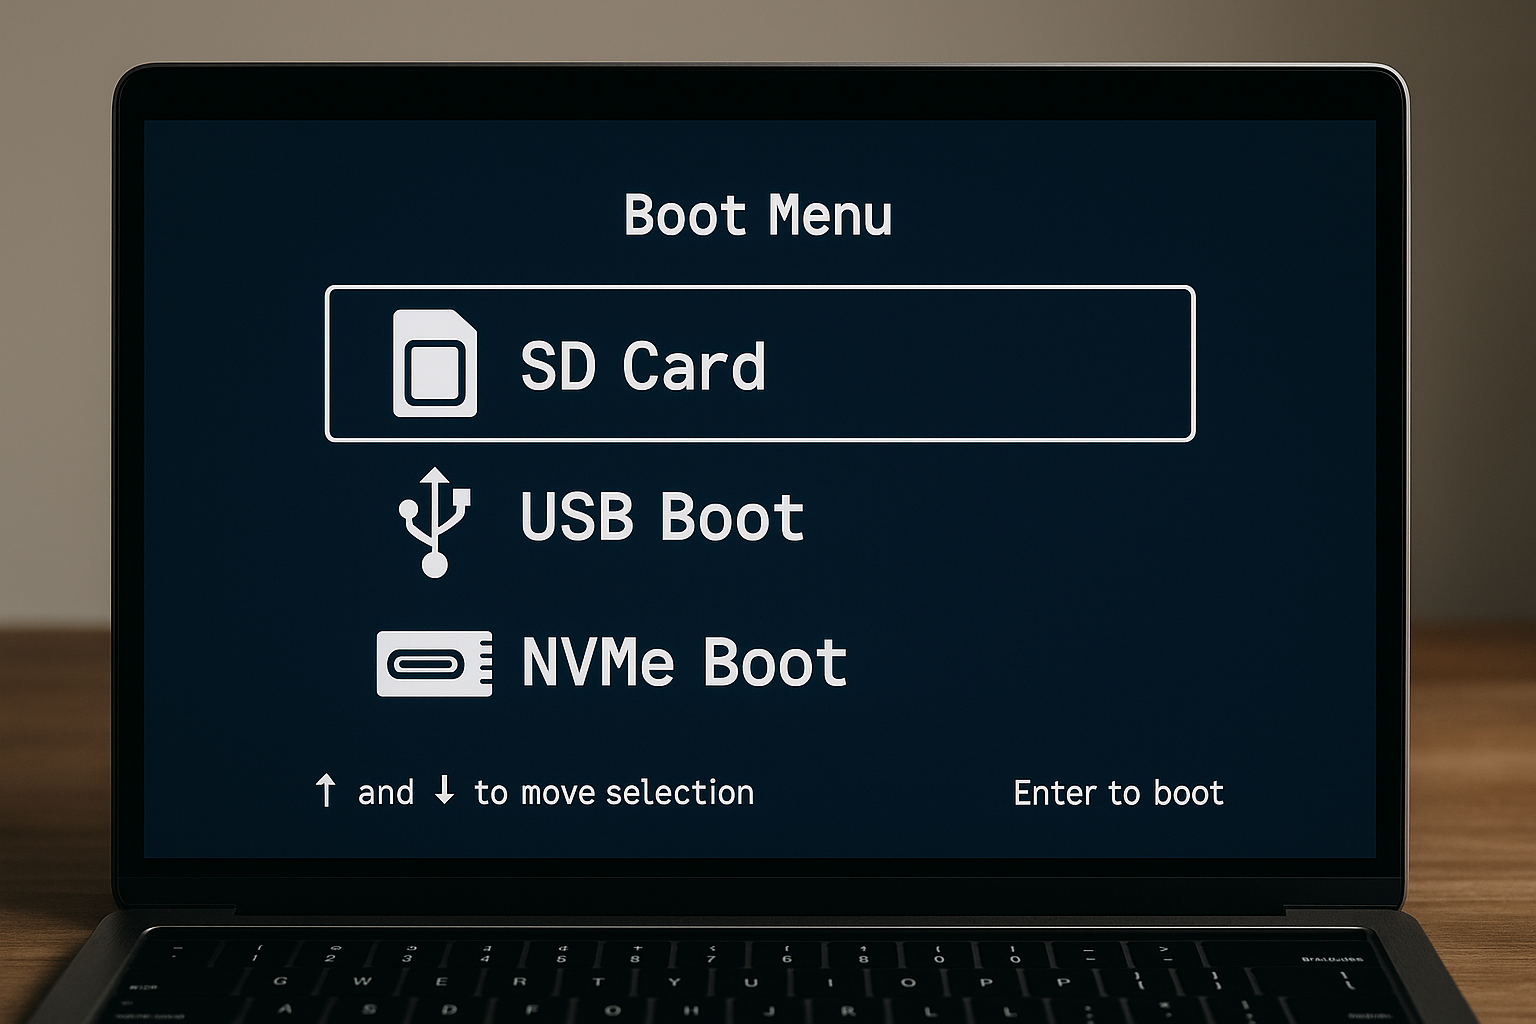
If you’re trying to get your Raspberry Pi 5 to boot from SD, USB, and NVMe without feeling like you’re assembling IKEA furniture without a manual, you’re not alone. The Pi 5 boot menu is like a stubborn mule—super handy once it’s trained, but the setup can be a bit of a puzzle. You’ve got EEPROM firmware controlling your bootloader, config files whispering to your hardware, and three different storage devices all wanting to be first in line.
This guide gives you the specifics: no fluff, just what works. You’ll walk through real setups, actual configurations, and the minor chaos that comes with getting multiboot working smoothly on SD cards, USB drives, and NVMe SSDs. Because let’s face it, if you’re already messing with NVMe on a Pi, you’re deep in the game.
Key Takeaways
- Raspberry Pi 5 supports booting from SD, USB, and NVMe with EEPROM control
- Boot order is customizable using rpi-eeprom configuration
- Multiboot setups can be managed using PINN, BerryBoot, or manual configs
- Cloning, backups, and power stability are key to reliable operation
- Thermal management is essential for NVMe performance
Raspberry Pi 5 Boot Infrastructure
Boot chain overview
The Raspberry Pi 5 doesn’t boot like your average desktop. It starts from a built-in Boot ROM that checks for an EEPROM on the board. If it finds it, it pulls in your bootloader from EEPROM. This is where boot order magic happens. The EEPROM tells the system whether to try SD, USB, or NVMe first, and you can tweak that behavior.
Media compatibility and detection
The SD card slot still defaults as the primary boot medium unless you’ve been messing with the EEPROM settings. USB 3.0 ports are faster, but they’re picky with power. NVMe, riding on the Pi 5’s PCIe lane, brings high-speed boot options that are stable once you work out any thermal or power quirks. Detection priority depends on how you set boot_order in the EEPROM config.
EEPROM and Bootloader Mechanics
Modifying EEPROM settings
Now, this is where most folks get nervous—messing with EEPROM sounds like something that could brick your Pi, but it’s more forgiving than you’d think. You can update or configure the bootloader using rpi-eeprom-update. Set your boot order with a hex code like 0xf2541, where each digit stands for a device priority. Want NVMe first? Adjust the order accordingly.
EEPROM management tools
Run sudo rpi-eeprom-update -a to flash the latest stable firmware. If something goes sideways, you can recover with the Pi’s EEPROM recovery image via SD card. There’s also vcgencmd bootloader_config for checking current settings. Each EEPROM release brings changes to boot stability, especially with USB and NVMe.
Multiboot Concepts and Configurations
Multiboot principles
Here’s the deal: your Pi can’t magically detect every OS spread across different drives unless you’ve set it up right. You’ll need separate partitions for each operating system. Each OS must have its own /boot and root filesystem, and you’ll need a bootloader that can read and switch between them, or use GPIO tricks to change which device gets priority.
Multiboot utilities
You’ve got options. BerryBoot lets you load multiple OSes from a single interface but compresses them into squashfs images, which some folks hate. PINN gives you more flexibility and can install OSes to separate devices. For full manual control, just set up partitions manually and edit your cmdline.txt and config.txt on each OS to point to the correct rootfs. You get full control, but also full responsibility.
Installing and Flashing Operating Systems
Preparing installation media
Before you start juggling SD cards and USB sticks, get your images straight. rpi-imager is the go-to for flashing Raspberry Pi OS, Twister OS, and even Ubuntu. You can also use dd if you enjoy typing long commands and hoping nothing breaks. Windows users might go with Win32DiskImager. The file system matters—use FAT32 for /boot, ext4 for rootfs, and exFAT only if you’re desperate and like surprises.
Media-specific OS installs
For SD cards, stick with Raspberry Pi OS or Twister OS—they play nice. USB drives are great for Ubuntu, Kali, or Manjaro, especially with faster flash drives or SSDs. NVMe works well for DietPi or Arch Linux ARM, and you’ll get better performance if you’re not sharing power with other hungry USB devices. Flash your OS to the correct device and make sure the boot partition is intact.
Setting Boot Priorities and Failover Options
Boot order strategy
The EEPROM uses a hex value to define boot order. Each nibble (yeah, that’s a tech word) tells the Pi where to look. For example, 0xf2541 might tell it to try NVMe first, then USB, then SD. You edit this in the EEPROM config using a tool like rpi-eeprom-config. Get this wrong and you’ll be wondering why your Pi suddenly forgot it had a drive.
GPIO or physical OS selector
If you’re running a headless setup or just like to complicate your life, GPIO pins can be rigged up to select boot sources. It takes a little scripting and wiring, but it works. Some folks set up physical toggles or rotary switches that change the boot parameters before power-on. It’s not plug-and-play, but it’s effective once set up correctly.
USB and NVMe Specific Considerations
USB boot requirements
Not every USB drive is created equal. Some work fine, others flat-out refuse to boot. Look out for drives using cheap bridge chips or ones that pull too much power. USB 3.0 gives you speed, but it also needs stability. If your Pi boots halfway then dies, your USB device might be asking for more juice than the Pi can deliver.
NVMe booting stability
NVMe support on the Pi 5 is great—as long as you keep things cool and don’t cheap out on adapters. Thermal throttling is a real concern, especially in enclosed cases. Pick a known-compatible adapter board and keep your SSD’s power consumption under 2.5W if you don’t have external power. If the Pi doesn’t see your drive, it’s probably the adapter or boot order—not the Pi.
Managing Clones and System Backups
Full OS clones
Once you’ve got a working setup, the smartest thing you can do is clone it. Use dd for a full byte-for-byte copy or rsync if you prefer a smarter sync that skips empty blocks. rpi-clone works well for backing up SD cards to USB or NVMe, and it keeps UUIDs and labels straight if you’re careful. Just don’t mix them up and overwrite your working system—been there.
Data safety
Back up your EEPROM files before making changes, especially if you’re pulling in beta firmware. Use vcgencmd bootloader_version to check what you’re running, and always copy bootcode.bin, config.txt, and cmdline.txt before editing. Sync config changes across devices if you’re managing multiple boot sources. Otherwise, you’ll boot into the wrong OS and wonder where your desktop went.
Custom Boot Menus and UI Enhancements
Boot menu creation
You won’t get a fancy boot screen by default, but you can fake one. Add logic in config.txt or use a script to dynamically modify which OS boots. This requires tweaking your /boot/cmdline.txt on each OS to point to the correct root partition. If you want visuals, consider BerryBoot or a lightweight rEFInd setup.
Visual and remote boot selection
For a more hands-on solution, GPIO switches or even small LCDs like the PiTFT can give you real-time OS selection. If you’ve got a PiKVM or similar setup, you can even use a remote keyboard to hit a boot choice key. That’s a lot of wires and configs for something you’ll probably change twice a month, but hey, it works.
Troubleshooting Common Boot Issues
Diagnostics and indicators
The Pi 5 talks to you through LED blinks, you just have to speak fluent blinking. Green means activity, red means power. If there’s no green, the Pi probably didn’t find a valid boot device. Hook up a UART cable or check /boot/diagnostic.txt (if it even got that far) for clues. Also try dmesg after boot if you make it to a login screen.
Known boot blockers
A messed-up config.txt can kill your boot faster than you can say “overlay error.” Common issues include pointing to nonexistent partitions, wrong UUIDs, or missing overlays. If the Pi just sits there with the red LED, try swapping the boot media or holding the recovery button (if you’ve wired one). Also, make sure your power supply isn’t throwing brownouts—those will break your heart and your boot.
Optimizing Boot Speed and System Stability
Performance tips
Want to shave seconds off your boot? Start with noatime and async mount options in your fstab. Disable unnecessary services with systemctl and set your EEPROM’s boot delay to 0 if you’re not relying on USB initialization time. Every little tweak helps, especially on SD cards where speed is… optimistic.
Power and cooling considerations
Thermal throttling is the silent killer of NVMe performance. Slap a heatsink on that SSD or install a fan if your enclosure traps heat like a cheap microwave. Also, use the official PSU or a solid third-party one rated for 5V 3A minimum. Underpowered setups cause boot failures that look like file system errors but are really just voltage drops.
Best Practices for Long-Term Use
Maintaining multiboot setups
Multiboot is only as good as your maintenance habits. Update your EEPROM occasionally, and test your OSes after each firmware change. Label partitions clearly and back up config.txt before you forget what you changed. You will forget. It’s just a matter of time.
Future upgrades and OS additions
Leave some unpartitioned space if you plan to add another OS later. You can grow your file systems with resize2fs after installing, and overlays can let you run lightweight variations without duplicating everything. Don’t hardcode UUIDs unless you’re ready to fix them after every clone.
Example Multiboot Setups
Developer: Ubuntu on NVMe, Pi OS on USB
NVMe gets you quick boots and fast package installs with Ubuntu. Keep Raspberry Pi OS on USB for testing and backup. Just set the EEPROM boot order to try NVMe first, then USB.
Tinkerer: Twister OS on SD, Kali Linux on USB
Run flashy desktop environments and daily drivers from SD with Twister OS. Kali sits on USB, ready for occasional pen-testing without messing with your main system.
Media Center: LibreELEC on NVMe, RetroPie on SD
Let your NVMe handle 4K video playback with LibreELEC. Keep RetroPie on SD for casual gaming. Add a GPIO switch to select OS at boot based on which jumper is closed.
Final Tips and Considerations
Keep a fallback SD card handy, especially when testing new boot orders. If everything breaks, pop it in and boot back to sanity. Always test your setup on a monitor before going headless—nothing’s worse than a silent failure with no clue where to start.
Also, keep a backup of your EEPROM and boot files. Label everything, use UUIDs wisely, and if you’re sharing power across USB and NVMe, watch those voltages. Your Pi 5 can handle a lot, but it’s not a miracle worker. And yeah, don’t forget to breathe.
FAQs
Can I boot multiple OSes from the same USB stick?
Yes, if you partition it properly and configure each /boot and root filesystem correctly. You’ll need to manually edit cmdline.txt and use a boot manager.
How do I switch OSes on a headless Raspberry Pi?
Use a GPIO-based selector or default to different boot media using the EEPROM’s boot order. You can also SSH in and change boot config files remotely.
Why isn’t my NVMe showing up on boot?
Common culprits include poor power delivery, unsupported adapter boards, incorrect boot order, or outdated EEPROM firmware.
References
- Raspberry Pi EEPROM Documentation
- Pi 5 Multiboot Discussion – Raspberry Pi Forums
- BerryBoot Official Site
- PINN OS Installer GitHub
- rpi-eeprom GitHub Repository