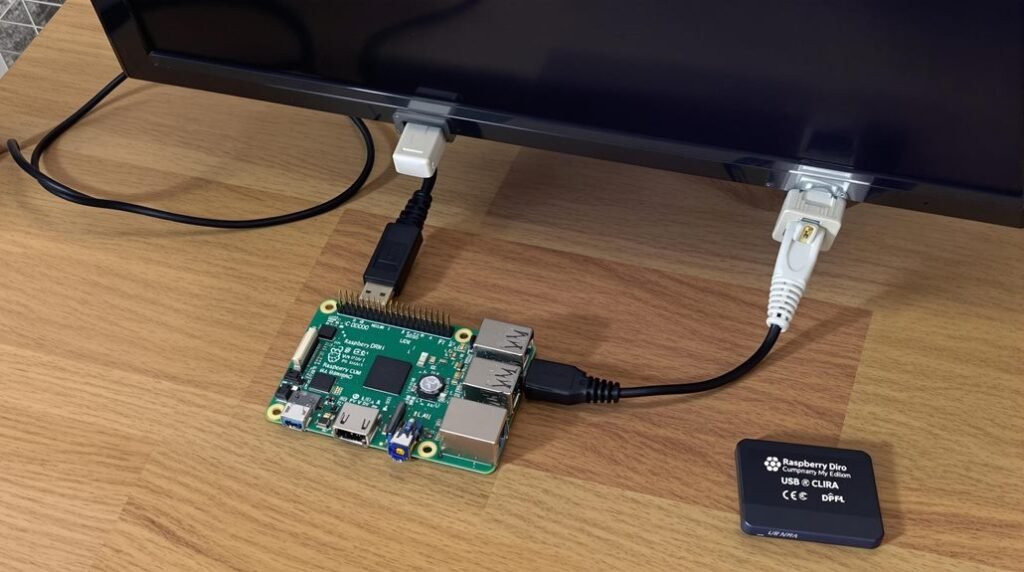
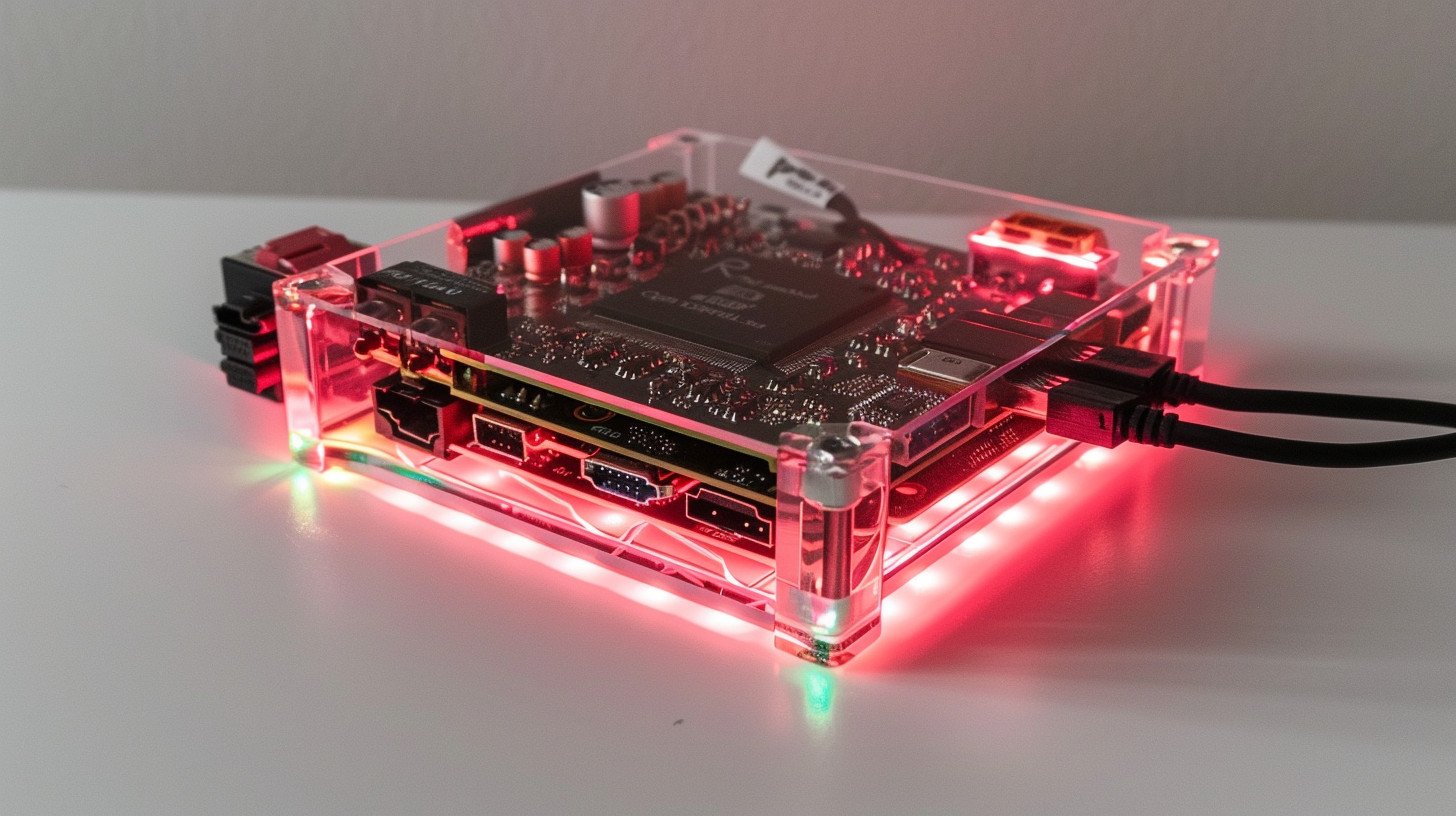
You’ll need a Raspberry Pi, external SSD, and stable power supply to build a robust IPTV server. Install Raspberry Pi OS Lite as your base system, then set up TVHeadend software for managing your IPTV streams. Format your SSD with ext4 filesystem and enable TRIM support for excellent performance. Configure your storage with proper UUID mounting and permissions for TVHeadend access. Disable unused features like Wi-Fi and Bluetooth to keep power consumption under 0.5A. Monitor system temperatures to stay below 70°C for dependability. Modern SSDs like the Samsung T7 or Crucial MX500 will deliver speeds approaching Gigabit ethernet’s ceiling. The following steps will transform your Pi into a professional-grade IPTV powerhouse.
Key Takeaways
Required Hardware Components
A Raspberry Pi IP Server requires specific hardware components for optimal performance and reliability.
The core component starts with a Raspberry Pi single-board computer, either the Pi 3 B+ or Pi 4 model. These units need a reliable 5V/3A power supply unit to prevent system instability and crashes. The Pi 4 supports faster processing speeds and more RAM, making it ideal for multiple simultaneous streams. A high-quality 5V supply is essential for maintaining stable operation and preventing voltage-related issues. Passive cooling solutions are recommended for optimal thermal management during continuous operation.
Storage needs include a high-speed microSD card (Class 10 or higher) for the operating system. A 32GB card provides ample space, while an external SSD adds faster read/write speeds for content storage. Popular choices include the Samsung 860 EVO or Crucial MX500 series SSDs.
Network equipment plays a crucial role. The server needs either:
- A direct ethernet connection (preferred for stability)
- A USB 3.0 gigabit ethernet adapter
- A dual-band WiFi connection (built into Pi 4)
For TV functionality, add:
- Digital TV tuner (Hauppauge WinTV or AverMedia Volar)
- F-type coaxial connectors
- Signal splitters for multiple tuners
- TV aerial or satellite dish connection
Setup tools include:
The Pi’s compact size lets you mount all components in a standard media cabinet, creating a powerful, energy-efficient IP server that handles multiple streaming requests.
Software Installation Guide
Raspberry Pi IPTV Server installation is a straightforward process that transforms your mini-computer into a powerful streaming hub. This guide covers essential setup steps for beginners and advanced users. Before beginning, ensure you have a Digital TV USB Dongle (View on Amazon) connected to receive broadcast signals.
Your server needs TVHeadend, the core streaming software that manages live TV channels and recordings. Install it through the command line:
sudo apt-get update
sudo apt-get install tvheadend
The server setup requires Kodi media center and its TVHeadend add-on for the user interface. Supporting 4K video playback, this combination delivers excellent streaming quality on newer Raspberry Pi models. After installation, you’ll see the default login screen – change the preset username (‘admin’) and password (‘123456’) right away.
Connect your server to Kodi by:
- Opening Kodi settings
- Selecting PVR & Live TV
- Adding your Pi’s IP address
- Setting the HTSP port (usually 9982)
Your server needs these specific configurations:
- EPG (TV Guide) sources
- Channel groups
- Recording paths
- Network settings
Customize your server’s performance by:
- Setting buffer sizes
- Adjusting streaming quality
- Creating user profiles
- Setting up remote access
Test your server by:
- Playing a live channel
- Recording a show
- Checking EPG data
- Verifying stream quality
This setup creates a reliable IPTV system that streams content across your home network. Back up your config files to protect your settings.
IP: xxx.xxx.xxx.xxx
Port: 9981 (web interface)
Port: 9982 (HTSP streaming)
TVHeadend Setup Process

Raspberry Pi IP Server setup with TVHeadend is a straightforward process that transforms your Pi into a powerful streaming hub. Your server’s web interface becomes available at your Pi’s IP address on port 9981, where you’ll create permanent admin credentials for security.
The server configuration starts with TV tuner setup through the interface. After initial setup, you’ll need to create an IPTV network to manage your streaming channels. Kodi integration enhances media management capabilities with additional streaming features. You’ll scan for channels and integrate them into your system. Your Pi server manages user access through built-in controls, with streaming capacity linked to your tuner count.
Your Raspberry Pi IP Server needs stable network settings for reliable streaming. A static IP helps maintain consistent remote access, while proper NAT/PAT setup enables external connections. The server runs on two main ports: 9981 for the web interface and 9982 for streaming services. Common media players like VLC, Kodi, or Plex can connect to your server for testing. For example, if your Pi’s IP is 192.168.1.100, you’d enter “http://192.168.1.100:9981” in your browser to access the control panel.
Key hardware specs for optimal performance include:
- Raspberry Pi 4 (2GB RAM minimum)
- USB TV tuner
- Ethernet connection (preferred over Wi-Fi)
- External storage for recordings
- Active cooling solution
Network Configuration Steps
Network configuration is essential for a Raspberry Pi IPTV server’s reliable performance. The setup requires two key network interfaces: a primary Ethernet connection (eth0) to your ISP router and a secondary interface (eth1) through a USB-to-Ethernet adapter. The Zyxel C3000Z modem provided by your ISP requires this dual-interface setup for optimal functionality.
Your Raspberry Pi IPTV server needs a fixed IP address of 192.168.25.102 on eth0. The secondary network (eth1) creates a dedicated 10.10.10.0/24 subnet for your streaming devices. This dual-network design keeps your IPTV traffic separate from regular home network usage.
The server’s DHCP service, managed through dnsmasq, assigns IP addresses from 10.10.10.50 to 10.10.10.100 to connected devices. Each device gets a 24-hour address lease. Your VPN client routes IPTV traffic through secure channels, protecting your streaming content.
Critical checks include:
- IP address verification
- DNS resolution testing
- VPN connection status
- Firewall rule effectiveness
- MAC filter operation
The firewall settings must:
- Allow IPTV streams (ports 554, 1935, 8080)
- Enable VPN traffic
- Block unauthorized access
- Permit DNS queries
- Support DHCP operations
Regular system updates and network monitoring tools like iftop or nethogs help track bandwidth usage and spot potential issues. This proactive approach prevents streaming interruptions and maintains optimal performance of your Raspberry Pi IPTV server.
Storage and Performance Optimization
Raspberry Pi IPTV Server optimization depends on strategic storage choices and performance tuning. Your server’s reliability hinges on storage selection, with standard SD cards offering limited 50MB/sec speeds and poor write endurance. USB 3.0 devices unlock better performance potential. Operating in command-line interface mode results in 9W power draw with an SSD attached.
| Component | Basic Setup | Maximized Setup | Pro Setup |
|---|---|---|---|
| Storage | SD Card | USB 3.0 Flash | SSD Drive |
| Speed | 40MB/sec | 100MB/sec | 125MB/sec |
| Reliability | Low | Medium | High |
| Cost | $ | $$ | $$$ |
The IPTV server reaches peak performance with Raspberry Pi OS Lite and an external SSD for DVR storage. Samsung 860 EVO or Crucial MX500 SSDs deliver speeds approaching Gigabit ethernet’s ceiling. Point TVHeadend’s recording directories to your SSD, and turn off unused features like Wi-Fi and Bluetooth to cut power draw. Keep power consumption under 0.5A for optimal operation – modern SSDs like the Samsung T7 draw just 0.2A more than flash drives while offering 4x the speed and 10x the lifespan.
Key setup tips:
- Format SSDs with ext4 filesystem for Linux compatibility
- Enable TRIM support for SSD longevity
- Mount storage using UUID to prevent boot issues
- Set correct permissions for TVHeadend access
- Monitor temperatures to stay under 70°C
These changes transform a basic Raspberry Pi into a robust IPTV powerhouse with professional-grade stability and speed.
Frequently Asked Questions
Can I Run Multiple TV Tuners Simultaneously on One Raspberry Pi?
You can run multiple tuners simultaneously with proper concurrent tuner support, but you’ll need to meet specific hardware requirements like adequate power supply and USB ports to handle the load effectively.
How Many Concurrent Streaming Clients Can the Raspberry Pi IPTV Server Support?
You’ll support 4-8 concurrent streaming clients, depending on your internet bandwidth and video quality requirements. For the best performance, keep transcoding to one stream and use ethernet connections over Wi-Fi whenever possible.
Will My Remote Control Work With This IPTV Setup?
Your remote control integration options are flexible! You’ll likely have compatibility through HDMI-CEC with your TV remote, or you can use Bluetooth remotes, wireless keyboards, or even your smartphone as a controller.
Does the TV Tuner Need to Be Physically Connected During Initial Setup?
Yes, you’ll need to have your USB TV tuner physically connected during the initial setup. This allows the system to recognize your compatible TV tuner and configure it properly for streaming your content.
Can I Access Recorded Shows While Away From My Home Network?
Yes, you can access your recorded shows remotely! You’ve got multiple remote access options including SSH tunneling, VPN connections, or web interfaces. Consider offsite data storage for even more freedom to stream your content anywhere.
Summing Up
Setting up your Raspberry Pi IPTV server isn’t as complex as it might seem. You’ve now got a fully functional streaming system that can handle live TV, recordings, and media playback across your network. Remember to regularly update your TVHeadend software, monitor your storage usage, and check network performance. With proper maintenance and the configurations you’ve implemented, you’ll enjoy reliable IPTV streaming through your customized Raspberry Pi server.


