You can create a digital library using a Raspberry Pi 4 by setting up the basic hardware components, including RAM (1GB to 8GB), a microSD card, and network connectivity. First, install Raspberry Pi OS and update the system. Then, install Calibre ebook software and configure the content server to manage your digital collection. Add your ebooks in formats like EPUB, MOBI, and AZW to your designated storage location. Set up remote access through SSH or VNC for easy management, and implement security measures like strong passwords and firewall rules. The complete setup process offers additional features to enhance your digital library’s functionality.
Key Takeaways
Required Hardware and Components For Raspberry Pi Digital Library
Raspberry Pi Digital Library components are the building blocks of an efficient, automated book management system. The core unit, a Raspberry Pi 4 Model B, comes with RAM options from 1GB to 8GB to match your library size. Its GPIO pins and Ethernet port make connecting devices simple. Anti-theft capabilities protect against unauthorized book removal from the library.
The scanning system uses these parts:
- IR sensors for tracking user movement
- Pi Camera Module V2 for reading barcodes
- Raspberry Pi PoE HAT for stable power
- Mini TFT display for user instructions
- External USB drives for book storage
At the system’s heart, the Pi runs library management software that handles:
- Book checkouts and returns
- User authentication
- Inventory tracking
- Late fee calculations
- Usage statistics
The storage setup includes:
- Primary USB 3.0 drive for the database
- Backup drive for data protection
- Network storage option through the Pi’s Ethernet port
For testing and setup, you’ll need:
- Breadboard for prototyping
- Jumper wires for connections
- Power supply rated at 5V/3A
- MicroSD card (32GB minimum)
This digital library system turns a standard Raspberry Pi into a complete library management tool. Each part works together to create a reliable, user-friendly experience for both librarians and readers. The low power consumption makes it an ideal choice for continuous library operations without significant energy costs.
Setting Up Your Raspberry Pi
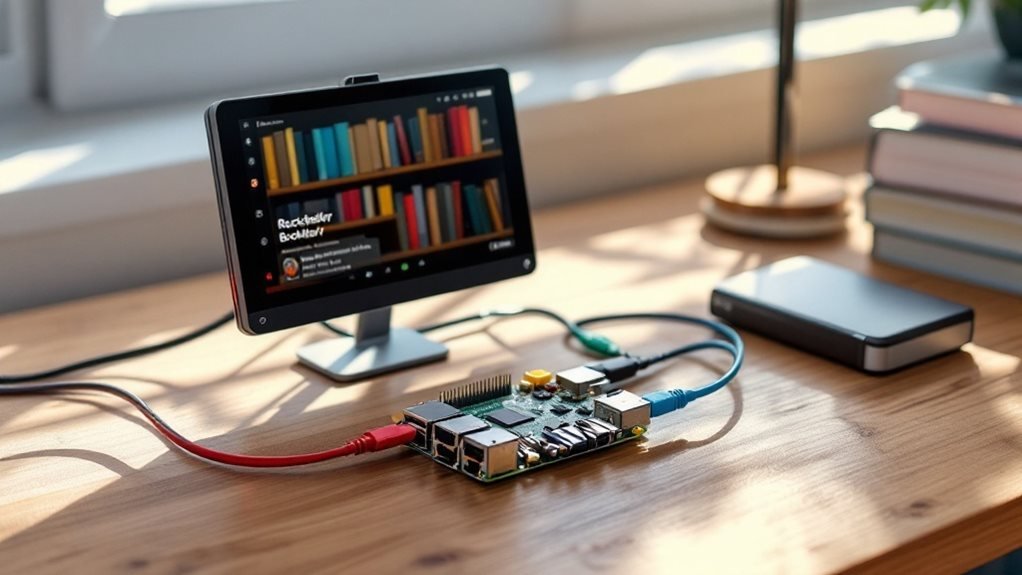
Raspberry Pi Digital Library setup is a straightforward process that transforms your single-board computer into a powerful eBook server. Your library requires a Raspberry Pi 2 or newer for optimal performance.
Your digital library journey starts with the essential hardware prep – downloading the latest Raspberry Pi OS and flashing it to your microSD card using the official Raspberry Pi Imager. After inserting the card and booting up, you’ll run through basic setup steps and update your system.
The library’s network foundation comes next. You can plug in an Ethernet cable for direct connection or use Wi-Fi. For remote setups, you’ll want to set up your network details during the OS installation. Your digital collection needs key software like PHP, NGINX web server, and COPS – a user-friendly eBook manager. Adding Python lets you build custom features for your library later. A powered USB hub is recommended for connecting external storage devices to ensure stable performance.
Lock down your digital collection with strong security measures. This means:
- Changing the default password
- Setting up secure SSH access
- Installing a firewall (like UFW)
- Opening only needed ports (typically 80 and 443)
Create your library’s home with this command:
mkdir -p ~/storage/eBooksSet the right file permissions and configure NGINX to serve your books. Test your setup by typing your Pi’s IP address followed by ‘/ebooks’ in your browser (example: 192.168.1.100/ebooks). Your digital library should now display your collection, ready for browsing from any device on your network.
This compact library server provides:
- 24/7 access to your books
- Easy organization tools
- Multi-device compatibility
- Low power consumption
- Simple backup options
Installing Calibre Ebook Software
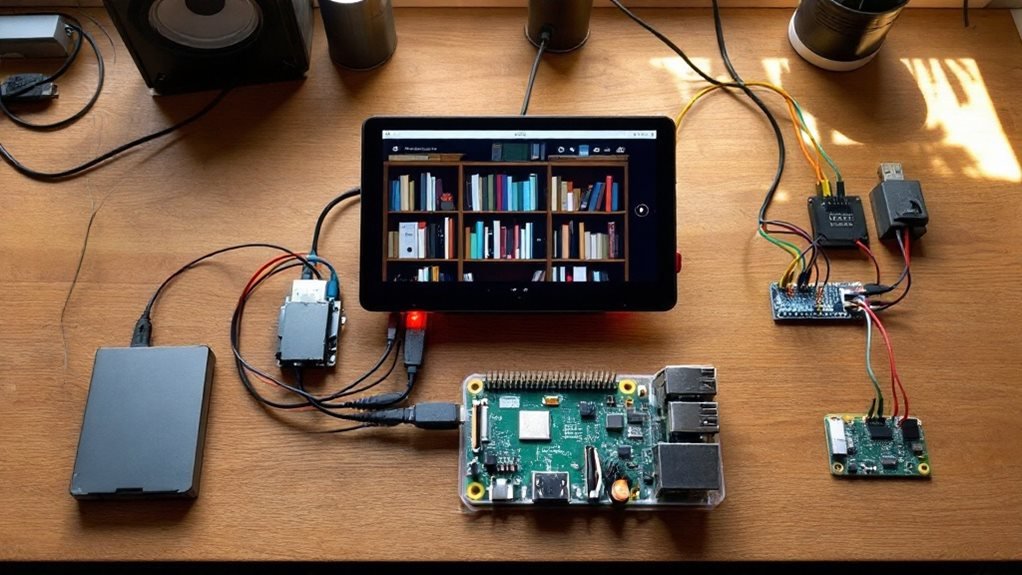
Raspberry Pi Digital Library transforms your single-board computer into a powerful ebook management system through Calibre software. The installation starts with a system update using ‘sudo apt-get update’ to ensure current package versions. The command ‘sudo apt-get install calibre’ downloads and sets up the latest version. Calibre’s versatility is demonstrated by its cross-platform compatibility across operating systems. Python programming enhances the software’s functionality through custom scripts and automation.
Calibre’s Welcome wizard launches automatically after installation. This setup tool helps you choose your library’s home – either the default location or an external drive for more storage space. You’ll configure essential settings like metadata preferences and folder organization to keep your digital collection neat.
Your Pi-powered library springs to life with features that make book management simple. The drag-and-drop interface lets you add popular formats like EPUB, MOBI, and AZW files. The system fetches book details from online databases, keeping your collection organized with accurate information. You can access your books remotely through Calibre’s content server and add extra features with plugins. The digital library runs smoothly on the Raspberry Pi’s hardware, making it an ideal choice for home librarians and book enthusiasts.
Configuring the Content Server
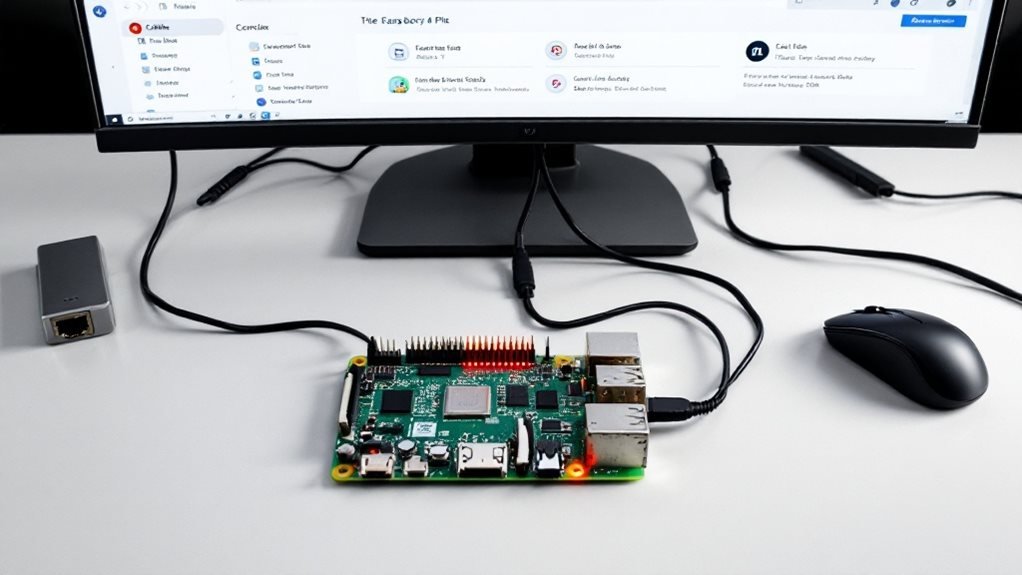
A Raspberry Pi Digital Library is a powerful home server solution that shares your ebook collection through Calibre’s content server. The setup transforms your Pi into a web-based library that’s accessible from any device. The Edimax wireless adapter enables reliable WiFi connectivity for remote library access.
Setting up your digital library starts with installing Calibre on your Pi. Launch the server with:
calibre-server --with-library=/path/to/your/library --daemonizeThe library needs secure user access controls. Create user accounts by:
- Stopping the server: ‘sudo systemctl stop calibre-server’
- Running the user management tool
- Setting up usernames and passwords in Preferences
Your Raspberry Pi Digital Library won’t lose its settings after reboots. Add this startup command to either:
- crontab
- systemd (for Ubuntu systems)
The server needs these key components:
- COPS interface for better browsing
- Web server (nginx or Apache) on port 8080
- SSL certificate for encrypted connections
Test your library by typing ‘http://{Your-Pi-IP}:8080’ in any browser on your network. Your books will appear in a clean, organized interface that lets readers sort, search, and download titles easily.
For remote access, set up port forwarding on your router and use HTTPS to keep your library secure. Your Pi now serves as a dedicated ebook server that works like popular commercial services but stays under your control.
Building Your Digital Collection
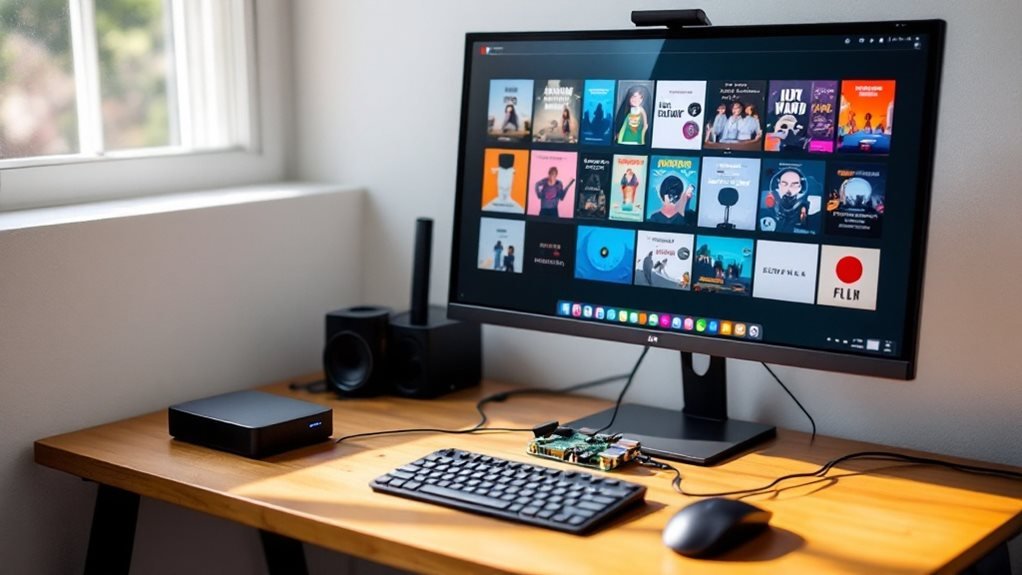
A Raspberry Pi Digital Library is a powerful way to store and manage your ebook collection. This guide shows you how to build one step by step.
Your digital library needs a strong foundation. Start with a Raspberry Pi 4 or Pi 3 Model B+, paired with a 5V/3A power supply and ethernet connection for best results. The Pi’s compact size makes it perfect for a home server, while its low power usage keeps costs down. MySQL database provides robust storage for your growing book collection.
Create your library structure like this:
- Main folder: ‘/var/www/html/ebooks’
- Storage: ‘~/storage/eBooks’
Moving your books is straightforward. If you’re using Calibre (a popular ebook manager), find your current library by clicking any book and selecting “Show in folder.” Transfer these files to your Pi using FileZilla or WinSCP. These tools make copying files safe and quick.
COPS software turns your Pi into a smart library server. After installing COPS, update its settings file to match your setup:
- Open config_local.php
- Set your library path
- Save changes
Your Pi library lets you:
- Browse books by author, title, or genre
- Access your collection from any device
- Keep your books organized and backed up
Set file permissions using:
chmod 755 /var/www/html/ebooks
chmod 644 /var/www/html/ebooks/*
Adding new books is simple – drop them in your storage folder. Your Pi handles the rest, making them available across your network.
Remote Access and Sharing
Raspberry Pi digital libraries are secure, accessible systems that let you manage your content from anywhere. Your digital collection connects through multiple proven methods, each suited for different tasks and situations.
Your Pi digital library works through Raspberry Pi Connect, offering straightforward browser-based access without IP address lookup. You’ll need the latest 64-bit OS Bookworm and Wayland display server. SSH provides encrypted command-line control – vital for library maintenance and backend tasks. Using a static IP address ensures your digital library maintains consistent connectivity.
The digital library’s desktop interface streams through VNC viewing for full remote control. Install TigerVNC on your device after enabling VNC in Pi settings. Samba sharing turns your Pi library into a network drive for Windows users, making content updates quick and simple. Strong passwords and regular updates keep your digital collection safe. These access methods help you run your Pi digital library smoothly from any device.
For example:
- Browser access: http://raspberrypi.local
- SSH command: ssh pi@raspberrypi.local
- VNC viewer address: raspberrypi.local:1
- Samba network path: aspberrypi\share
These connection options work across Windows, Mac, Linux, and mobile devices, making your Pi digital library a truly universal system.
Maintenance and System Updates
A Raspberry Pi Digital Library is a system that needs consistent maintenance to work at its best. You’ll boost your library’s reliability by following these essential steps.
Your Raspberry Pi Digital Library updates start with the command ‘sudo apt update’ to get fresh package lists. Next, run ‘sudo apt full-upgrade’ to install new software versions. These commands keep your digital collection safe and fast. Over 35,000 Debian software packages are available to enhance your digital library.
The library’s automated updates can run at night when usage is low. Create a simple bash script with update commands:
#!/bin/bash
sudo apt update
sudo apt full-upgrade -y
sudo reboot
Your SD card health affects the library’s stability. Check it monthly with tools like F3 or badblocks. Here’s what to watch for:
- Slow read/write speeds
- Random system freezes
- Missing or corrupt files
Back up your library by creating an image with tools like Win32DiskImager or dd. Store this backup on a separate drive.
The config.txt file controls your library’s performance settings:
over_voltage=2
arm_freq=1400
gpu_freq=400
Heat can slow down your library. Add a small fan or heatsinks to keep temperatures below 70°C (158°F). If your library acts up, check these common issues:
- Power supply output (needs 5V/2.5A minimum)
- SD card connection
- System logs for errors
These steps create a stable, reliable Raspberry Pi Digital Library that’ll serve your needs for years.
Frequently Asked Questions
Can I Run Multiple Calibre Libraries on the Same Raspberry Pi Server?
Yes, you can run multiple Calibre libraries on a single Pi server. Just guarantee proper disk partitioning strategies and storage management considerations. You’ll need to assign unique ports and directories for each library instance.
What Happens to My Library if the Raspberry Pi Loses Power?
Without a battery backup, you’ll risk database corruption during power outages. Install a UPS for protection. Your library can recover from most outages, but it’s essential to implement proper power outage recovery procedures.
How Many Simultaneous Users Can Access the Digital Library at Once?
Your Pi’s concurrent user capacity typically ranges from 20-30 users, but you’ll need to monitor storage performance impact. The exact number depends on your Pi model’s RAM and how you’ve optimized your system.
Does Converting Ebook Formats Affect the Original File Quality?
When you convert ebook formats, you’ll notice that file compression effects and conversion quality can impact readability. However, if you use proper tools and maintain clean source files, you’ll preserve the original quality.
Can I Sync My Kindle Highlights and Notes With the Raspberry Pi Library?
You’ll need external scripts since Raspberry Pi doesn’t natively sync Kindle data. However, you can set up cloud synchronization options and remote access capabilities to manage your highlights through third-party services or custom scripts.
Summing Up
You’ve now built your own digital library using a Raspberry Pi, giving you access to your entire book collection from anywhere. With Calibre’s powerful features and your Pi’s reliability, you’ll have a sustainable way to organize and enjoy your digital content. Remember to perform regular backups and system updates to keep everything running smoothly. Your DIY library server stands ready to serve your reading needs for years to come.
