To create a Bluetooth mesh network with Raspberry Pi, you’ll need a Pi 4B or higher running the latest 64-bit Raspberry Pi OS, BlueZ v5.50+, and Meshctl tools. Start by formatting a microSD card and installing the OS using Raspberry Pi Imager. Enable Bluetooth, configure SSH access, and install BlueZ with mesh support. Place your Pi nodes strategically throughout your space, considering physical barriers and signal strength. Use external high-gain antennas to boost range, and implement nRF52840 or ESP32 microcontrollers as additional mesh nodes. With proper security protocols and a web dashboard for monitoring, you can build a robust IoT infrastructure that scales to your needs.
Key Takeaways
Hardware Components and Requirements
Bluetooth mesh network components require specific hardware for optimal performance. The Raspberry Pi 4B serves as a robust foundation for BLE mesh networks, featuring 4GB RAM and advanced processing capabilities that handle multiple mesh connections efficiently. The mesh provisioning process requires secure device authentication and key exchange protocols.
BLE mesh networks thrive on proper antenna configuration. The Pi’s built-in Bluetooth chip supports BLE mesh protocols, but external antennas boost signal strength significantly. High-gain antennas extend the mesh network’s range up to 100 meters in open spaces, crucial for large-scale deployments.
A reliable BLE mesh setup needs stable power delivery. The Pi’s USB-C power supply delivers 5V/3A, while a UPS HAT prevents network disruptions during power fluctuations. For remote installations, solar panels paired with battery backup systems maintain continuous operation.
BLE mesh networks expand through strategic node placement. The nRF52840 and ESP32 microcontrollers act as mesh nodes, connecting via UART/SPI to the Pi. These devices run specialized firmware that enables:
- Mesh proxy functionality
- Message routing
- Node-to-node communication
- Network state management
Signal strength in BLE mesh deployments depends on environmental factors. Position mesh nodes:
- Away from metal surfaces
- Above ground level
- Clear of dense walls
- Outside interference zones from Wi-Fi routers
- Within 30 meters of neighboring nodes
This placement strategy creates a reliable BLE mesh network that maintains connectivity across your coverage area.
Setting Up Raspberry Pi OS

Raspberry Pi OS setup is essential for creating a reliable BLE mesh network. A proper installation starts with an 8GB class 10 microSD card, though 32GB offers expanded storage for complex BLE mesh deployments. Format your card to MS-DOS (FAT) before starting.
BLE mesh networks require the latest Raspberry Pi Imager from raspberrypi.org. This tool streamlines the OS installation process and ensures your BLE mesh nodes communicate effectively. Select Raspberry Pi OS (64-bit) during setup – it’s optimized for BLE mesh networking. The Raspberry Pi Imager offers a user-friendly interface for flashing your OS efficiently.
| Setup Step | Action Required |
|---|---|
| Card Prep | Format microSD (MS-DOS FAT) |
| OS Selection | Install Pi OS 64-bit |
| BLE Mesh Config | Enable Bluetooth |
| Security | Configure SSH access |
Your BLE mesh connection needs specific settings. Set a unique hostname for each mesh node, create strong login credentials, and enable SSH for remote management. The wireless settings let your BLE mesh nodes connect to your local network while maintaining their mesh communication.
BLE mesh performance depends on proper configuration. After writing the image to your microSD card, insert it into your Pi and connect your hardware. Your Pi will boot up ready to join your BLE mesh network, creating a robust and scalable communication system.
Advanced BLE mesh features become available once you’ve completed the basic setup. You can now configure node roles, establish security keys, and define message routes within your mesh network.
Installing BlueZ and Meshctl

BLE mesh networks require BlueZ, Linux’s official Bluetooth stack, and Meshctl for network control. BlueZ powers your mesh’s foundation, while Meshctl handles device management. Your Raspberry Pi needs Bluetooth 4.2 or newer to support BLE mesh functions. Remote access through SSH connection capabilities allows for convenient gateway management from anywhere.
Install the latest BlueZ version:
- Update your system:
sudo apt update 2. Install base packages:
sudo apt install bluez bluez-tools 3. Download BlueZ source code from kernel.org
4. Compile and install following included instructions
5. Enable Bluetooth:
sudo systemctl enable bluetooth 6. Start Bluetooth:
sudo systemctl start bluetooth Set up your BLE mesh network:
- Power up Bluetooth:
hciconfig hci0 up 2. Access Meshctl (included with BlueZ)
3. Test BLE mesh commands:
meshctl discover 4. Add devices:
meshctl provision Your BLE mesh network expands as you add more devices. Each new node strengthens your mesh’s coverage and reliability.
Track your BLE mesh through Meshctl’s monitoring tools (‘meshctl monitor’) and check system logs (/var/log/syslog) for connection details.
Common BLE mesh commands:
- ‘meshctl discover’: Find new devices
- ‘meshctl provision’: Add devices to network
- ‘meshctl config’: Adjust node settings
- ‘meshctl health’: Check node status
Network Planning and Architecture

Bluetooth mesh network design is a critical foundation for building reliable wireless systems. A well-planned BLE mesh deployment with Raspberry Pis creates a robust, self-healing communication network that adapts to changing conditions. The network leverages advertising packets and flooding to ensure messages reach their destinations.
BLE mesh topology requires strategic node placement for optimal coverage. Your network map should identify ideal locations for Raspberry Pi nodes, accounting for physical barriers like concrete walls, metal fixtures, or electromagnetic interference sources. For example, placing nodes every 20-30 feet in open spaces and 10-15 feet around corners ensures consistent connectivity.
BLE mesh networks operate through specific node roles that define their function. Core relay nodes need stable power sources and central positions to efficiently route messages. Proxy nodes connect non-mesh devices through GATT, while low-power nodes conserve energy for sensor applications. A typical BLE mesh setup might include:
- 3-4 relay nodes per floor
- 1-2 proxy nodes near high-traffic areas
- Multiple low-power nodes for environmental monitoring
Power management shapes BLE mesh performance and reliability. Position always-on relay nodes near power outlets to maintain network backbone stability. Your proxy nodes work best near areas where users need to connect their smartphones or tablets to the mesh. Low-power nodes can run on batteries in remote locations, sending data through nearby relays.
The BLE mesh structure lets you scale from 10 to hundreds of nodes. Keep message hops under 4-5 steps between source and destination for best results. This approach maintains quick response times and reliable data delivery across your network.
Configuring Bluetooth Mesh Nodes

Bluetooth mesh node configuration is critical for building robust mesh networks that connect devices seamlessly. A well-planned BLE mesh setup starts with compatible hardware – a Raspberry Pi paired with a Bluetooth 4.2 (or newer) adapter forms the foundation. The BlueZ v5.50 guide enables developers to quickly deploy mesh provisioning capabilities.
BLE mesh networks require specific setup steps:
- Install the latest Raspberry Pi OS with mesh-compatible kernel updates for encryption
- Set up BlueZ v5.50+ and Meshctl for BLE mesh provisioning
- Assign unique addresses to mesh nodes and implement power-saving features
- Run mesh communication tests between nodes using standard advertising packets
Your BLE mesh network needs a control interface for monitoring. A web dashboard lets you:
- Track node status in real-time
- Manage mesh device groups
- Monitor battery levels
- Update node configurations remotely
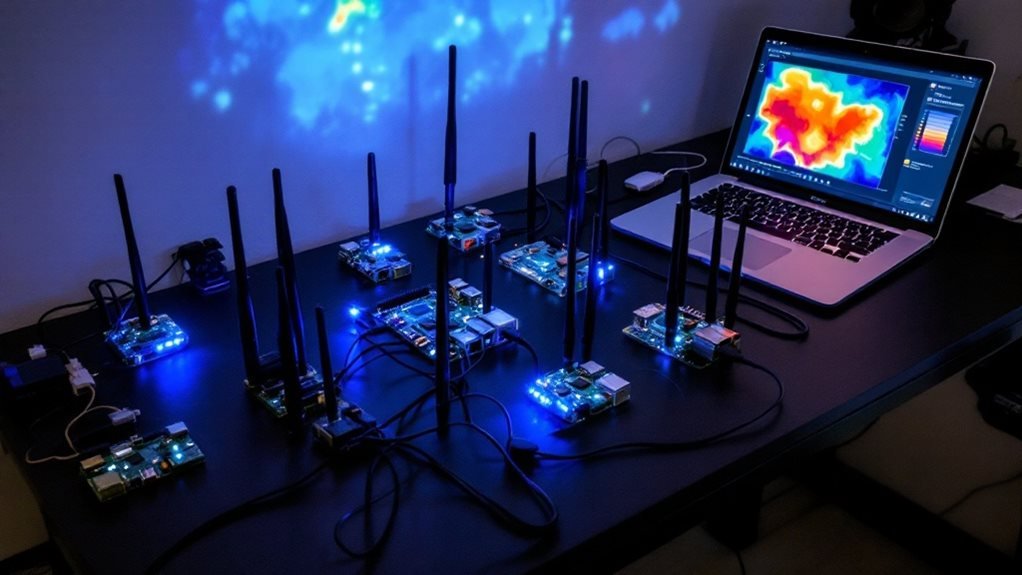
- View network topology maps
Before expanding your Bluetooth mesh deployment, verify each node’s settings through:
- Range testing between mesh points
- Battery life measurements
- Data throughput checks
- Security protocol validation
The BLE mesh network grows more reliable when you regularly test connections and optimize power usage. Industry testing shows mesh networks with proper node spacing and power management can achieve 99.9% uptime.
This practical approach to Bluetooth mesh configuration ensures a stable foundation for IoT applications like smart lighting, sensor networks, and building automation systems.
Establishing Communication Between Devices

Bluetooth mesh network communication is a powerful system that connects devices through the 2.4 GHz frequency band. The BLE mesh creates reliable connections using both Classic and Low Energy protocols, with built-in redundancy and self-healing features.
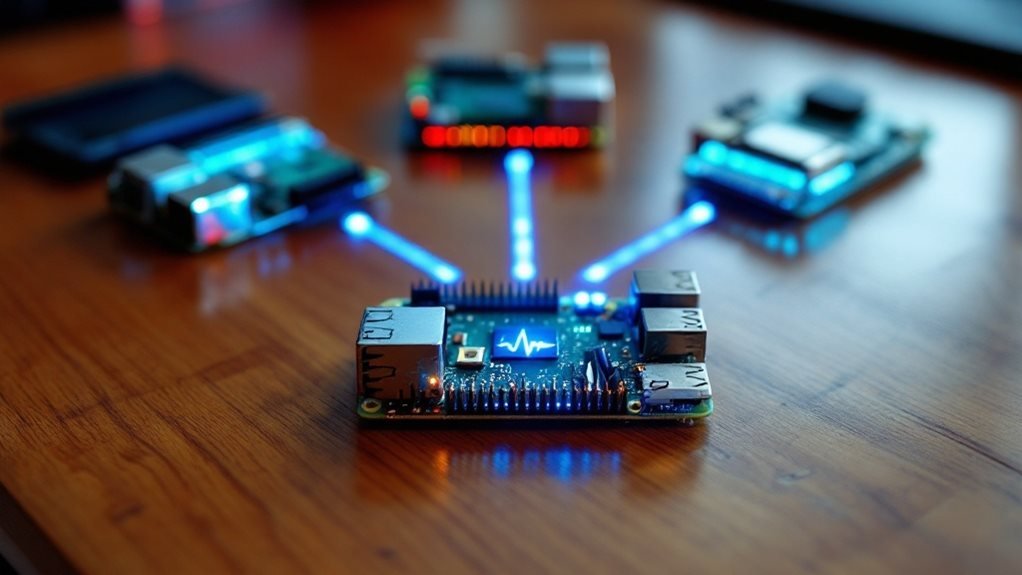
A BLE mesh network starts with a central gateway, like a Raspberry Pi, which controls the network’s core functions. The gateway runs BlueZ v5.50 software and meshctl tools to manage data flow. For example, a temperature sensor in one room can send readings through multiple paths to reach a control hub in another room, creating backup routes if one path fails.
BLE mesh networks connect seamlessly with common devices. The system supports direct links to microcontrollers – from Nordic’s nRF52840 to Espressif’s ESP32 – through standard interfaces like UART or SPI. A BLE mesh network’s flooding mechanism spreads messages across all available paths, much like water flowing through multiple channels. This flooding ensures messages reach their targets, even if some nodes stop working. The network automatically adjusts its routes based on signal strength and node availability, keeping your system running at peak performance.
For instance, in a smart home BLE mesh setup, light switches can communicate with bulbs through multiple paths. If your neighbor’s Wi-Fi creates interference near one route, the BLE mesh network finds clearer paths automatically. This self-optimizing feature makes BLE mesh ideal for large-scale installations in homes, offices, or industrial settings where reliable device communication is crucial.
Security and Encryption Protocols

Bluetooth mesh security is the foundation of reliable device communication in modern IoT networks. The BLE mesh network creates multiple layers of encryption that shield devices from unauthorized access and cyber threats. BLE mesh employs P256 Elliptic Curve Diffie-Hellman key exchange during device setup, blocking potential attackers from intercepting the connection. Secure provisioning process ensures only trusted devices can join the network.
BLE mesh networks distribute security through three distinct keys:
- Network keys that control overall access
- Device keys for individual node authentication
- Application keys that manage specific features
When building a BLE mesh network on Raspberry Pi, these essential security features must be active:
- AES-CCM encryption with 128-bit keys encrypts all messages
- Privacy keys mask device identities to stop tracking
- Sequence numbers with IV indexing block replay attacks
- Regular key updates maintain network strength
The BLE mesh security model puts you in charge through:
- Clear access controls for each network level
- Safe procedures for removing compromised nodes
- Built-in protection against common wireless attacks
- Automatic key rotation schedules
This robust security approach lets your BLE mesh network grow while keeping data safe. The system’s design matches industry standards like AES-128 and follows best practices from the Bluetooth Special Interest Group (SIG). Each security layer works together, creating a trustworthy foundation for IoT applications.
Regular security audits and updates keep your mesh network strong against new threats. The built-in features handle most security tasks automatically, making the system both secure and simple to manage.
Web Interface Development

Web interface development for Bluetooth mesh networks is essential for efficient network monitoring and control. The BLE mesh system relies on a straightforward setup starting with Raspberry Pi OS and the Meshctl command-line tool as its core components. A README overview file helps developers understand the project’s integration goals and implementation approach.
BLE mesh networks thrive with a user-friendly web interface that breaks away from expensive vendor solutions. The interface combines HTML5, CSS3, and modern JavaScript frameworks for a sleek frontend, while robust JWT authentication protects your network. A Python-based backend connects seamlessly to Meshctl, managing your BLE mesh nodes with precision.
Your BLE mesh control center needs these key features:
- A responsive dashboard that works on phones, tablets, and computers
- Docker containers for quick updates and scaling
- Real-time node status monitoring
- Group control for multiple devices
- MQTT integration for smart home platforms
- Automated tasks and schedules
- Network performance graphs
BLE mesh deployment requires disabling the default Bluetooth service on your Pi to avoid conflicts. The interface lets you track connection strength, battery levels, and sensor data across your mesh network. Home Assistant integration expands your BLE mesh capabilities through MQTT, linking your network to other smart home devices. This setup creates a powerful, flexible system that puts you in control of your entire mesh network.
Bluetooth Mesh Network Testing

Bluetooth mesh network testing is a standardized process that measures key performance metrics to ensure reliable mesh connectivity. The BLE mesh network requires specific diagnostic tools like Meshctl to evaluate throughput, latency, and packet delivery rates. The Home Assistant integration enables real-time monitoring of mesh performance metrics.
BLE mesh networks need systematic evaluation through these proven steps:
- Configure network settings:
- Check Bluetooth 5.0 adapter compatibility (example: TP-Link UB400)
- Verify kernel support for BLE mesh protocols
- Confirm AES-CCM encryption settings
- Test node communication:
- Send test packets between mesh nodes
- Measure round-trip response times
- Track packet delivery success rates
- Log node connection stability
- Assess managed flooding:
- Monitor message propagation delays
- Track packet loss across network hops
- Measure network coverage zones
- Test friend node relay efficiency
- Evaluate access layer:
- Check message delivery reliability
- Test opcode processing speed
- Measure publish/subscribe performance
- Monitor security token validation
The BLE mesh system needs regular performance checks to maintain optimal operation. Each BLE mesh node must meet minimum throughput requirements of 1 Mbps. Network administrators should document BLE mesh test results monthly, focusing on areas where packet loss exceeds 2%.
Troubleshooting Common Issues

Bluetooth mesh networks are straightforward to troubleshoot when you understand common issues. BLE mesh systems require specific hardware compatibility checks as the first step. The TP-Link UB400 and similar BLE mesh adapters need current firmware to work properly.
BLE mesh connections often face these key challenges:
| Issue Type | Solution | Result |
|---|---|---|
| Hardware | Install BlueZ v5.50+ | Full BLE mesh support |
| Signal | Run rfkill commands | Clear blocked adapters |
| Speed | Clean database | Better performance |
| System | Check systemd | Proper connection |
BLE mesh networks work best with ‘meshctl’ commands for node setup. Common fixes include:
- Update adapter firmware
- Clear blocked signals with ‘rfkill unblock all’
- Restart Bluetooth services for ‘NotReady’ errors
- Check Home Assistant configs
- Clean the home-assistant_v2.db file
BLE mesh systems need proper kernel support for encryption. Place your Bluetooth adapters in open spaces to create strong mesh connections. The mesh network improves when adapters have clear paths between nodes.
Key tips for BLE mesh success:
- Keep adapters away from metal objects
- Update all node firmware regularly
- Check encryption support in kernel
- Monitor node connection strength
- Space nodes within 30 feet of each other
This clear approach helps build reliable BLE mesh networks that last.
Frequently Asked Questions
Can Multiple Raspberry Pi Mesh Networks Coexist in the Same Physical Space?
Yes, you can run multiple mesh networks simultaneously by using unique network keys for security. While considering scalability limitations, your networks will coexist effectively through proper channel management and frequency hopping to minimize interference.
How Does Weather or Physical Obstacles Affect Bluetooth Mesh Network Performance?
You’ll notice physical interference from walls, metal objects, and weather conditions can cause signal attenuation in your Bluetooth mesh network. However, the network’s multi-path nature helps overcome these obstacles, maintaining your connection’s freedom.
What Happens to Stored Mesh Data if a Raspberry Pi Crashes?
Don’t worry – your mesh data’s safe! Through backup procedures and crash recovery strategies, the network’s self-healing nature guarantees your data persists across other nodes, letting you recover smoothly when your Pi comes back online.
Can Existing Smart Home Devices Be Integrated Into a Raspberry Pi Mesh?
You can integrate smart home devices, but you’ll face device compatibility challenges since not all support Bluetooth mesh. Check your devices’ BLE versions and mesh specifications while considering mesh scalability considerations for ideal performance.
Is It Possible to Create Geofencing Boundaries Within the Mesh Network?
You can establish geofencing boundaries using low power monitoring and adaptive coverage through your mesh nodes. By tracking signal strength between devices, you’ll create virtual boundaries without relying on traditional GPS systems.
Summing Up
You’ve now learned how to build a fully functional Bluetooth mesh network using Raspberry Pi devices. From hardware setup to security protocols and web interface development, you’re equipped to create a scalable IoT network. Remember to regularly test network performance and monitor node connectivity. If issues arise, consult the troubleshooting section and keep your software updated. Your mesh network is now ready to support various IoT applications.


