

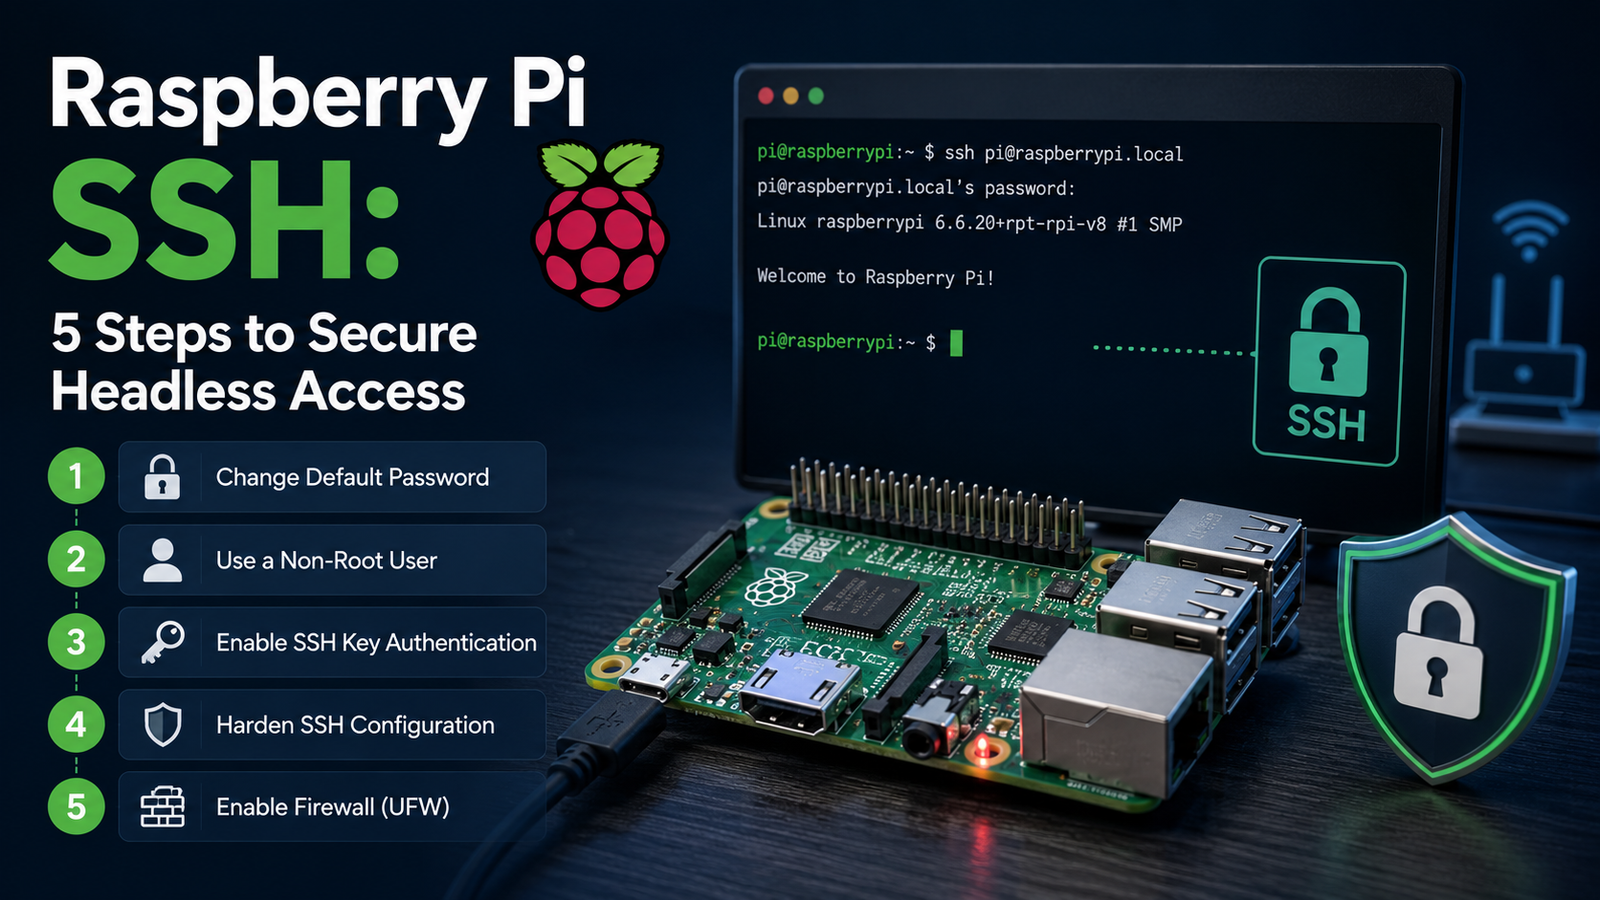
Raspberry Pi SSH is the standard way to connect to and manage a Pi without a keyboard, mouse, or monitor. SSH is enabled in Raspberry Pi Imager’s advanced settings before flashing, which means a headless Pi is reachable over the network on the first boot with no additional configuration. This guide covers enabling SSH via Imager, the first connection from Windows, macOS, and Linux, setting up key-based authentication with ed25519 keys, disabling password login, and hardening the SSH daemon configuration. For a static IP before running SSH, see Raspberry Pi Static IP: Router Reservation, nmcli, and nmtui Guide.
Last tested: Raspberry Pi OS Bookworm Lite 64-bit | May 2026 | Raspberry Pi 4 Model B (4GB) and Raspberry Pi 5 (8GB) | OpenSSH 9.2
Key Takeaways
- Raspberry Pi Imager is the simplest way to enable SSH. In its advanced settings (the gear icon or Ctrl+Shift+X) you set SSH, username, password, hostname, and optionally a public key in one step before flashing. The older method of dropping an empty
sshfile into the boot partition still works on Bookworm, but it also needs auserconf.txtfile to create the login account, because current Raspberry Pi OS ships with no default user. - Disable password authentication only after confirming that key-based login works in a separate terminal session. Running
sudo systemctl restart sshwhile still logged in via password does not lock you out immediately, but if key login fails and you close the session, recovering requires physical access to the Pi or reflashing. Test key login in a second terminal before disabling passwords. - The hardening steps in this guide (disabling passwords, tightening sshd, Fail2ban) are optional. Key authentication alone is a solid baseline for a Pi on a trusted local network. Apply the rest based on how exposed the Pi is, and never expose SSH directly to the internet without keys and a VPN or Tailscale.
Enabling Raspberry Pi SSH with Raspberry Pi Imager
Download and install Raspberry Pi Imager from raspberrypi.com/software. Insert a microSD card, select the OS and storage device, then open the advanced options before clicking Write. On Windows and macOS the button is labelled “Next,” which opens a “Use OS customisation?” dialog. Click “Edit Settings.”
In the General tab, set the hostname, username, and password. In the Services tab, enable SSH and choose either password authentication or public key authentication. For public key authentication, paste the contents of your existing public key (typically ~/.ssh/id_ed25519.pub or ~/.ssh/id_rsa.pub on the client machine) into the field. If you do not have a key pair yet, generate one first (covered in the next section) then return to Imager.
For headless WiFi, set the network in the same Imager panel. The old wpa_supplicant.conf drop method no longer works on Bookworm, which uses NetworkManager instead of dhcpcd. Imager configures SSH and WiFi together, which is why it is the recommended path for new builds.
Flash the card, insert it into the Pi, and power on. The Pi is usually reachable over SSH within about a minute of boot, though the first boot can take longer while the OS expands the filesystem and finishes setup. Connect using the hostname set in Imager:
ssh youruser@yourpi.localIf .local resolution does not work (common on some Windows configurations without an mDNS responder), use the IP address instead. Find the Pi’s IP from the router’s DHCP client list or by scanning: nmap -sn 192.168.1.0/24.
Expected result: The first connection shows a host key fingerprint prompt. Type yes to accept and add the Pi to ~/.ssh/known_hosts. The prompt changes to youruser@yourpi:~$. If the connection is refused, SSH may still be starting. Wait 30 seconds and retry. If it times out, confirm the Pi is on the network with a ping: ping yourpi.local.

SSH Key Authentication on Raspberry Pi
Key-based authentication is more secure than passwords and more convenient once configured. The private key stays on the client machine; the public key is placed on the Pi. Authentication happens without typing a password.
Generate an ed25519 key pair on the client machine (not on the Pi). ed25519 is the current default in OpenSSH: it uses a much smaller key than RSA-2048, is faster to verify, and provides comparable or stronger security. See the OpenSSH documentation for the algorithm details.
ssh-keygen -t ed25519 -C "yourpi-$(date +%Y)"Accept the default path (~/.ssh/id_ed25519) or specify a custom path. Set a passphrase to protect the private key. The passphrase encrypts the local key file. It is not transmitted over the network. If you use a passphrase, add the key to an agent (ssh-add ~/.ssh/id_ed25519) so you are not prompted on every connection.
Copy the public key to the Pi with ssh-copy-id:
ssh-copy-id -i ~/.ssh/id_ed25519.pub youruser@yourpi.localOn Windows without ssh-copy-id, copy the key manually:
type $env:USERPROFILE\.ssh\id_ed25519.pub | ssh youruser@yourpi.local "mkdir -p ~/.ssh && cat >> ~/.ssh/authorized_keys"Test key login in a new terminal session before changing any sshd configuration:
ssh -i ~/.ssh/id_ed25519 youruser@yourpi.localExpected result: The connection succeeds without prompting for a password (only the local key passphrase if set). The prompt shows the Pi’s shell. If it still asks for a password, check permissions on the Pi: ~/.ssh must be 700 and ~/.ssh/authorized_keys must be 600:
chmod 700 ~/.ssh
chmod 600 ~/.ssh/authorized_keys
SSH Config and Hardening on Raspberry Pi
Everything in this section is optional. Key authentication on a trusted LAN is already a reasonable baseline. The steps below reduce exposure further and are worth applying if the Pi is reachable from other networks. Each one is reversible with physical access, so test before you rely on it.
Once key login is confirmed, disable password authentication in the SSH daemon config. Open the sshd config on the Pi:
sudo nano /etc/ssh/sshd_configSet or confirm these lines (uncomment and change as needed):
PasswordAuthentication no
PermitRootLogin no
PubkeyAuthentication yes
AuthorizedKeysFile .ssh/authorized_keys
X11Forwarding no
MaxAuthTries 3
LoginGraceTime 20
On Bookworm, some settings may be overridden by drop-in files in /etc/ssh/sshd_config.d/, which are read after the main file. Check for conflicting settings before restarting:
grep -r "PasswordAuthentication" /etc/ssh/
sudo sshd -T | grep -Ei "passwordauth|permitroot|pubkey"
The sshd -T command prints the effective configuration after all drop-ins are merged, so it is the reliable way to confirm what the daemon will actually enforce. Restart the SSH daemon to apply changes:
sudo systemctl restart sshExpected result: In a separate terminal, attempt to connect with a password: ssh -o PubkeyAuthentication=no youruser@yourpi.local. The connection should be refused with “Permission denied (publickey).” If key login still works from the first terminal, the hardening is complete.
Client-Side SSH Config
A ~/.ssh/config file on the client avoids typing the full connection string each time. Create or edit ~/.ssh/config:
Host mypi
    HostName yourpi.local
    User youruser
    IdentityFile ~/.ssh/id_ed25519
    ServerAliveInterval 60

Host labpi
    HostName 192.168.1.100
    User chuck
    IdentityFile ~/.ssh/id_ed25519
    Port 22
With this file, connecting is as simple as ssh mypi. The config supports multiple Pis with different usernames, keys, and ports, and ProxyJump chains for reaching Pis behind a jump host.
Fail2ban for SSH
Fail2ban monitors auth logs and bans IPs after repeated failed attempts. Install on the Pi:
sudo apt install -y fail2ban
sudo systemctl enable --now fail2ban
On Debian-based systems the sshd jail is usually enabled by default, typically with a 10-minute ban after 5 failed attempts within a 10-minute window. Those values and whether the jail is actually active vary by package version and configuration, so confirm the effective settings rather than assuming protection is on:
sudo fail2ban-client status
sudo fail2ban-client status sshd
If status sshd reports the jail is missing or reads no failures on a busy host, the log backend may need adjusting on Bookworm. Add backend = systemd to the [sshd] section of /etc/fail2ban/jail.local, then restart Fail2ban. To change the ban policy, set bantime, findtime, and maxretry in the same file. See the Fail2ban documentation for the full options.
Troubleshooting Raspberry Pi SSH Connection Problems
Connection refused. SSH is not running or not enabled. On the Pi (with physical access or serial console): sudo systemctl status ssh. If inactive, start it: sudo systemctl enable --now ssh. Confirm the port is not blocked by UFW: sudo ufw status. If UFW is active, allow SSH: sudo ufw allow ssh.
Connection timeout. The Pi is unreachable. Confirm it is on the network with ping yourpi.local or ping [ip]. If no response, check that the Pi booted successfully (activity LED pattern) and that the network cable is seated or WiFi credentials are correct. For WiFi, confirm the SSID and password were set correctly in Imager before flashing.
Host key verification failed. The Pi’s host key changed (common after reflashing). Remove the old key from the client:
ssh-keygen -R yourpi.local
# Or by IP:
ssh-keygen -R 192.168.1.100
Permission denied (publickey). Key login failing is almost always a permissions issue on the Pi. Check:
# On the Pi:
ls -la ~/.ssh/
# ~/.ssh should be drwx------ (700)
# authorized_keys should be -rw------- (600)

# Check the authorized_keys file contains the correct public key:
cat ~/.ssh/authorized_keys
Also confirm there are no conflicting PasswordAuthentication directives in /etc/ssh/sshd_config.d/ that override the main config, using sudo sshd -T to see the merged result.
SSH slow to connect. A slow connection has several possible causes, so diagnose before changing daemon settings. A reverse-DNS lookup on the server is one common cause: if the delay happens right before the password or key prompt, add UseDNS no to /etc/ssh/sshd_config and restart SSH. If the client stalls earlier, try GSSAPIAuthentication no in the client ~/.ssh/config for that host. Other causes include WiFi or routing latency and slow IPv6 resolution (force IPv4 with ssh -4 to test). Run ssh -v and watch where the connection pauses to identify which stage is slow.
FAQ
How do I enable SSH on Raspberry Pi?
In Raspberry Pi Imager, open the advanced settings (gear icon or Ctrl+Shift+X), go to the Services tab, and enable SSH before clicking Write. Set a username and password in the General tab at the same time. This is the simplest method on current Raspberry Pi OS Bookworm. The older method of dropping an empty ssh file into the boot partition still works, but on Bookworm it also needs a userconf.txt file in the boot partition to create the login account, since there is no default user. On an already-running Pi, enable SSH with sudo raspi-config (Interface Options, SSH) or sudo systemctl enable --now ssh.
What is the default Raspberry Pi SSH username and password?
There is no default. Current Raspberry Pi OS Bookworm requires credentials to be set in Raspberry Pi Imager before flashing. The old default username pi and password raspberry no longer exist. If an image is flashed without setting credentials, the first-boot setup wizard requires creating a user before SSH becomes accessible.
How do I find my Raspberry Pi’s IP address for SSH?
The hostname set in Imager resolves via mDNS as hostname.local on macOS and Linux without any additional configuration. On Windows, .local resolution may need an mDNS responder (Bonjour, installed with iTunes or Apple devices), though recent Windows 10 and 11 builds include limited mDNS support. If .local does not resolve, find the IP from the router’s DHCP client list, or scan the network with nmap -sn 192.168.1.0/24. You can also read it directly on the Pi with hostname -I. Raspberry Pi network interfaces use several registered OUI prefixes, including B8:27:EB, DC:A6:32, E4:5F:01, 28:CD:C1, and D8:3A:DD. The exact prefix depends on the production batch rather than mapping one-to-one to a model.
How do I SSH into Raspberry Pi from Windows?
Windows 10 (1809+) and Windows 11 include the OpenSSH client built in. Open PowerShell or Command Prompt and run ssh youruser@yourpi.local. No third-party client (PuTTY, MobaXterm) is required, though those remain options. For key generation on Windows, run ssh-keygen -t ed25519 in PowerShell. Keys are stored in C:\Users\yourname\.ssh\. The ~/.ssh/config shortcut works in Windows PowerShell using the same syntax as Linux.
Is it safe to expose Raspberry Pi SSH to the internet?
Not recommended without additional protection. A Pi with SSH port-forwarded to the internet starts receiving automated brute-force attempts quickly, often within hours. If remote access is required, use Tailscale instead of port forwarding. It creates a private encrypted network between the Pi and your devices with no port exposure. If SSH must be exposed directly, disable password authentication, run Fail2ban, and consider a non-standard port. Changing the port cuts down automated scan noise but is not a real security control on its own, so treat it as a supplement to keys and access limits, not a substitute. For the complete Tailscale setup, see Tailscale Raspberry Pi: Complete Secure Remote Access Guide.
References:
- OpenSSH documentation: openssh.com/manual.html
- Raspberry Pi Imager: raspberrypi.com/software
- Raspberry Pi OS remote access (SSH) documentation: raspberrypi.com/documentation/computers/remote-access.html
- Fail2ban documentation: fail2ban.org
About the Author
Chuck Wilson has been programming and building with computers since the Tandy 1000 era. His professional background includes CAD drafting, manufacturing line programming, and custom computer design. He runs PidiyLab in retirement, documenting Raspberry Pi and homelab projects that he actually deploys and maintains on real hardware. Every article on this site reflects hands-on testing on specific hardware and OS versions, not theoretical walkthroughs.
Last tested hardware: Raspberry Pi 4 Model B (4GB) and Raspberry Pi 5 (8GB). Last tested OS: Raspberry Pi OS Bookworm Lite 64-bit. OpenSSH 9.2, May 2026.