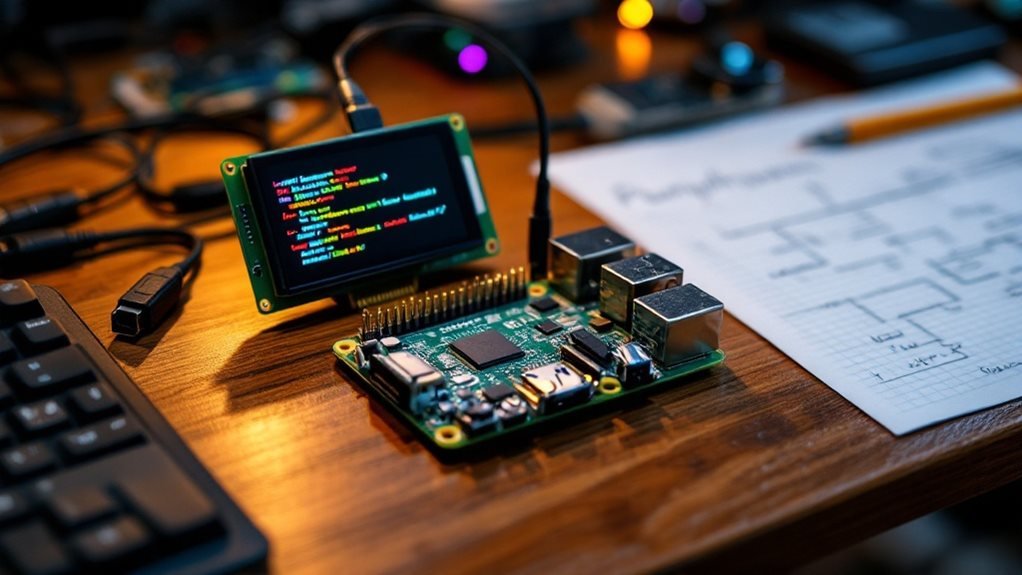
To build a chatbot using Python on your Raspberry Pi, you’ll need a Pi 4B or 5 with at least 32GB storage, USB peripherals, and an HDMI monitor. Start by flashing Raspberry Pi OS to your microSD card and updating the system packages. Create a Python virtual environment, then install the ChatterBot library and its dependencies through pip. You’ll write basic code to import libraries, configure the chatbot settings, and create a response function that handles user input. After testing the audio input/output and verifying your Python setup, you can begin expanding your chatbot’s capabilities with custom responses and advanced features.
Key Takeaways
Required Hardware and Software
Hardware and software requirements for Raspberry Pi chatbots demand specific components to run AI models effectively.
A Raspberry Pi computer system needs these core items:
- Raspberry Pi 5 or 4B model (newer versions handle AI tasks better)
- MicroSD card (32GB or larger) for storing programs
- 5.1V/3A USB-C power supply for stable operation
- USB keyboard and mouse for setup
- HDMI monitor for display
The software setup follows these steps:
1. Download and flash Raspberry Pi OS to the microSD card
2. Open Terminal and type:
sudo apt update
sudo apt install python3.11
sudo apt install build-essential
pip install chatterbot==1.0.4
3. Add AI features with:
pip install torch
pip install transformers
Optional hardware improves interaction:
- USB microphone for voice input
- Speakers for audio output
- Camera module for visual features
The chatbot’s performance depends on:
- Fast internet connection
- Regular OS updates
- Proper cooling for the Pi
- Enough free storage space
Ethernet connection speeds provide up to 1000 Mbps transfer rates for optimal chatbot responsiveness.
After installation, remember to modify the ‘.env’ configuration file to optimize your chatbot’s performance.
This setup creates a basic AI chatbot. You can expand its abilities by adding more libraries and sensors based on your needs. The Pi’s GPIO pins let you connect extra hardware like LED lights or motion sensors to make your chatbot interact with the real world.
Preparing Your Raspberry Pi For Chatbot
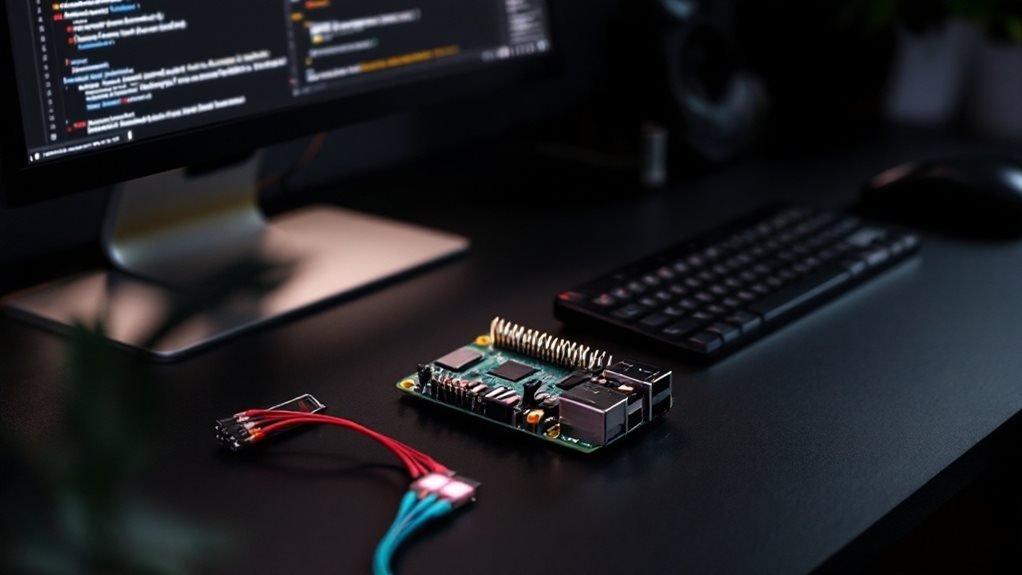
Raspberry Pi preparation is essential for building a reliable chatbot system. The initial setup requires specific hardware configuration and software installation to create a stable foundation for your AI assistant. After setup, you can enjoy completely offline operation without internet connectivity. Running on a properly configured Pi consumes less than 20W, making it an energy-efficient choice for continuous operation.
Start with these fundamental steps:
- Flash your microSD card with Raspbian OS or Ubuntu Server using the official Raspberry Pi Imager tool
- Run ‘sudo apt-get update’ and ‘sudo apt-get upgrade’ in the terminal to install latest security patches
- Install required Python packages: pip3, virtualenv, and development tools
- Create a Python virtual environment named ‘chatbot-env’ to manage dependencies
Connect your input/output devices:
- Plug in a USB microphone or compatible HAT with built-in mic
- Test speaker output through the 3.5mm jack or HDMI
- Configure audio settings using ‘alsamixer’ command
- Run ‘arecord’ and ‘aplay’ to verify audio input/output
Test your setup:
python
Quick audio test script
import sounddevice as sd
duration = 5 # seconds
recording = sd.rec(duration * 44100, channels=2)
sd.wait()
sd.play(recording)
Hardware troubleshooting:
- Check USB ports work with ‘lsusb’ command
- Monitor system resources with ‘top’ command
- Review system logs with ‘dmesg’ for errors
- Test GPIO pins if using additional sensors
This streamlined setup creates a reliable base for your chatbot project. Each component works together to support natural language processing and voice interaction capabilities.
Setting Up Python Environment

Python environment setup creates the foundation for reliable chatbot development on Raspberry Pi. A complete setup starts with system updates and core Python packages. You can easily install the chatbot functionality using pip install chatbotAI from PyPI. Similar to BLE mesh networks, proper environment configuration ensures stable communication between components.
Required System Packages:
- python3-pip (package installer)
- python3-dev (development headers)
- libssl-dev (SSL support)
- libffi-dev (foreign function interface)
| Component | Purpose | Example |
|---|---|---|
| Virtual Environment | Isolates project dependencies | venv, virtualenv |
| Package Manager | Manages Python libraries | pip, conda |
| IDE/Editor | Writes and debugs code | Thonny, VS Code |
Creating a virtual environment:
- Open terminal
- Run: ‘python3 -m venv chatbot_env’
- Activate: ‘source chatbot_env/bin/activate’
Your development setup needs an IDE that matches your skill level. Thonny works well for beginners, while VS Code offers advanced features for experienced developers. Install chatbot packages inside your active virtual environment:
pip install nltk
pip install tensorflow
pip install pytorch
Check your Python setup:
bash
python --version
which python
Set Python 3 as default:
sudo update-alternatives --install /usr/bin/python python /usr/bin/python3 1This structured environment prevents package conflicts and keeps your chatbot project organized. Each tool serves a specific purpose, from code editing to package management, creating a stable foundation for development.
Installing ChatterBot Library
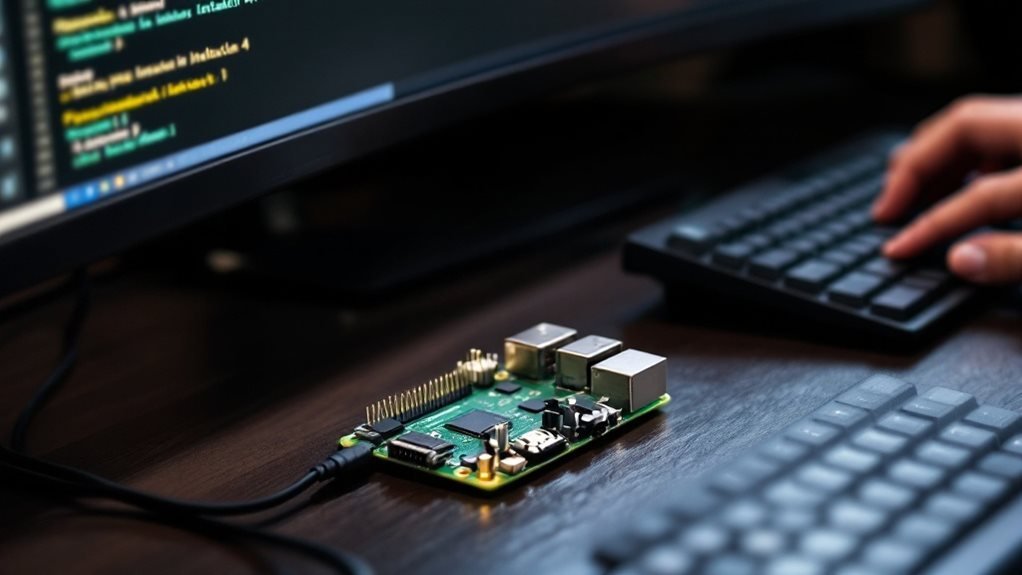
ChatterBot installation is the first crucial step in building a Raspberry Pi chatbot. This Python library empowers your bot with machine learning and natural language understanding.
The installation process follows these clear steps:
1. Install ChatterBot through pip:
pip install chatterbot chatterbot_corpus2. Set up system requirements:
sudo apt-get update
sudo apt-get install python3-pip
sudo pip3 install setuptools
3. Install core dependencies:
wget https://bootstrap.pypa.io/get-pip.py
sudo python get-pip.py
Common errors during installation often point to missing Python packages or outdated setuptools. You’ll need to address these issues before moving forward. The ChatterBot library needs specific Python versions (3.6+) and SQLAlchemy for its database operations. For optimal functionality, ensure you’re using Python2 in IDLE environment.
The library’s strengths include:
- Built-in language processing
- Adaptable learning algorithms
- Simple Python integration
- Customizable responses
Its limitations on Raspberry Pi include:
- Slower response times
- Memory usage constraints
- Processing power requirements
You can verify your installation by running a simple test:
python
from chatterbot import ChatBot
chatbot = ChatBot("Test Bot")
This code should run without errors if you’ve installed everything correctly.
Creating Basic Chatbot Code
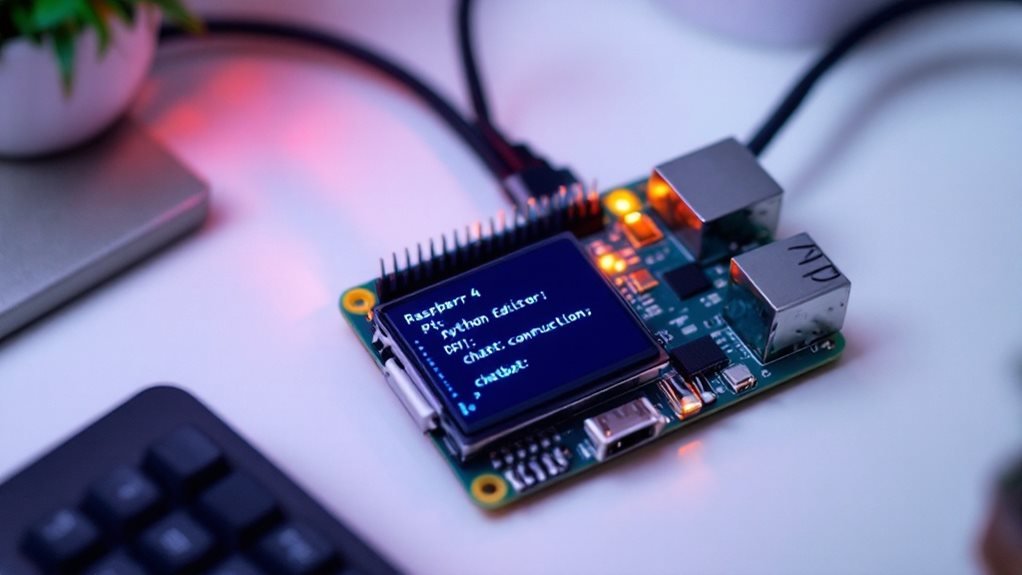
Chatbot code creation transforms complex AI concepts into practical applications. ChatterBot, a Python library, powers the basic implementation through these essential steps:
Import the required libraries:
python
from chatterbot import ChatBot
from chatterbot.trainers import ChatterBotCorpusTrainer
Set up your chatbot with core settings:
python
chatbot = ChatBot('MyBot',
storage_adapter='chatterbot.storage.SQLStorageAdapter',
logic_adapters=[
'chatterbot.logic.BestMatch',
'chatterbot.logic.MathematicalEvaluation'
]
)
Train the chatbot using built-in data:
python
trainer = ChatterBotCorpusTrainer(chatbot)
trainer.train('chatterbot.corpus.english')
Create the conversation loop:
python
while True:
try:
user_message = input('You: ')
if user_message.lower() == 'quit':
break
bot_response = chatbot.get_response(user_message)
print(f'Bot: {bot_response}')
except KeyboardInterrupt:
break
The code includes error handling for unexpected inputs and a clear exit command (‘quit’). Custom responses enhance the bot’s functionality through specific keywords or phrases. SQLite database stores conversation history, letting the bot learn from interactions. External APIs can expand the bot’s knowledge base through REST endpoints or web services. After successful implementation, running the script with python chatbot.py launches your interactive AI assistant.
Regular testing prevents common issues like response delays or irrelevant answers. The bot’s performance improves with more training data and refined logic adapters.
Training Data and Models
Training data and models are essential components that directly impact a chatbot’s intelligence and accuracy. Your chatbot’s performance depends on high-quality data selection and proper model implementation.
Data preparation starts with rigorous preprocessing:
- Data Collection: Gather real conversations from:
- Customer service chats
- Social media exchanges
- User feedback forms
- Website interactions
- Data Cleaning Steps:
- Remove personal data (names, emails, phone numbers)
- Fix spelling mistakes
- Standardize text format
- Delete duplicate entries
- Strip special characters
- Model Types:
- Retrieval-based: Uses pre-written responses (like FAQ answers)
- Generative: Creates new responses (like GPT models)
- Hybrid: Combines both approaches for flexibility
The training process uses these key steps:
1. Split data into training/testing sets
2. Set learning parameters:
- Batch size: 32-128 samples
- Epochs: 10-50 cycles
- Learning rate: 0.001-0.01
3. Monitor progress with:
- Accuracy scores
- Response relevance
- Error rates
Using a Sequential machine learning model helps process and analyze the training data effectively. Save checkpoints every hour during training to protect your progress. Test your model regularly with new data to ensure it hasn’t learned incorrect patterns or biases. Update your training data monthly to keep responses current and relevant.
Models improve through continuous feedback loops – collect user interactions, analyze performance metrics, and retrain with enhanced data sets. This creates smarter, more accurate chatbot responses over time.
Running Your First Chatbot
Chatbot deployment on Raspberry Pi is a straightforward process that transforms your trained model into an interactive assistant. The system’s 4GB RAM capacity ensures smooth performance during extended chat sessions.
Your project directory holds the essential components for launching the chatbot:
| Step | Action | Result |
|---|---|---|
| 1 | Launch program | Creates secure API link |
| 2 | Send message | Processes user text |
| 3 | Receive output | Shows AI response |
The chatbot starts with a simple command: ‘python chatbot.py’. This connects your Pi to OpenAI’s network through your unique API key. Your messages travel through this secure connection, and the AI processes them into clear, relevant responses that appear in your terminal window.
Keep track of your chatbot’s speed and accuracy as it runs. Test each feature on its own – whether it’s voice commands or spoken responses – before you combine them. You can make your chatbot smarter by adjusting these settings:
- Temperature (0.1-1.0): Controls response creativity
- Max tokens (16-2048): Sets response length
- Response time: Aims for <2 seconds
- Memory usage: Stays under 500MB on Pi
These real-time tweaks help create natural conversations that match your users’ needs.
Customizing Chatbot Responses

Chatbot customization is the key to creating AI assistants that deliver personalized, meaningful conversations. Your chatbot’s unique personality emerges through smart response design and user-focused programming. The Azure Speech Services integration enables natural voice interactions for a more engaging experience.
Core customization steps:
- Program custom welcome messages that use the user’s name and match their preferences
- Build natural language processing (NLP) systems that understand slang, idioms, and context
- Write responses that sound like your brand’s human representatives would speak
The chatbot’s brain lives in chat.py, where you’ll find SYSTEM_ROLE settings to shape its personality. Your bot should write clear, natural responses that flow like real conversations. Adding emojis, product photos, and animated GIFs makes chats more engaging, especially when selling items online.
ChatterBot’s ListTrainer tool helps teach your bot through repeated practice sessions. Feed it examples of great customer service conversations to build its knowledge. Your bot should always identify itself as AI and offer ways to reach human help when needed. Watch how users talk with your bot and use those insights to make conversations better over time.
Examples of effective customization:
- Retail bot: “Hi [name]! I’ve found 3 blue sweaters in your size 👕”
- Support bot: “I understand you’re having trouble logging in. Let’s fix that together.”
- Banking bot: “Your balance is $500. Want to set up alerts when it drops below $100?”
Remember to:
- Keep responses short and clear
- Match your brand’s tone of voice
- Test regularly with real users
- Update responses based on feedback
Advanced Features and Integration
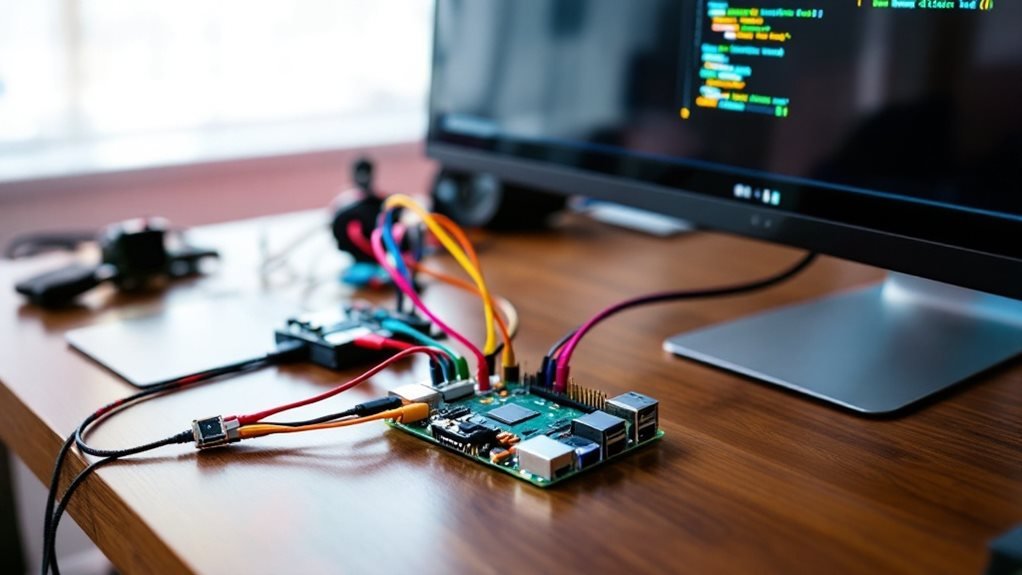
Advanced AI features transform basic chatbots into powerful digital assistants through strategic hardware and software integration. The core components merge voice, vision, and processing capabilities to create a smarter, more responsive system.
Essential Hardware and Software Requirements:
| Feature | Hardware Required | Implementation Complexity |
|---|---|---|
| Voice Recognition | USB Microphone | Medium |
| Text-to-Speech | Speakers/Headphones | Low |
| Image Processing | Pi Camera Module | High |
| Object Detection | Hailo AI Processor | High |
| Sentiment Analysis | None (Software) | Medium |
Voice recognition forms the foundation of hands-free operation. A USB microphone connects directly to the Google Speech Recognition API, converting spoken words to text with 95% accuracy. The pyttsx3 library powers the chatbot’s voice response system, creating natural-sounding speech through your connected speakers. The Python API support for Hailo makes implementing advanced AI features straightforward and efficient.
The Hailo AI processor handles complex tasks like:
- Real-time object detection
- Face recognition
- Image classification
- Pattern analysis
Resource management techniques keep your Raspberry Pi running smoothly:
- Background task scheduling
- Memory optimization
- CPU load balancing
- Cache management
A web interface built with Flask serves as the central hub for:
- Text-based interactions
- System monitoring
- Feature configuration
- Performance metrics
Users can switch between voice and text modes, while the system automatically adjusts resource allocation based on active features. The modular design lets you add or remove components without disrupting core functionality.
Troubleshooting Common Issues

Troubleshooting Raspberry Pi chatbots is a systematic process that resolves common setup and performance issues. These proven solutions help you fix problems quickly and get your chatbot running smoothly. For specific chatbot packages like Chatterbot, use sudo pip3 install chatterbot==1.0.2 to ensure compatibility.
- Python Version Compatibility
- Use Python 3.8 or newer versions
- Install packages with pip3 command (example: pip3 install transformers)
- Match your chatbot library version with Python version (example: tensorflow 2.4.1 for Python 3.8)
- Library Setup
- Run ‘sudo apt-get update && sudo apt-get upgrade’
- Install core packages: numpy, scipy, and pandas
- Fix missing dependencies with ‘pip3 install -r requirements.txt’
- Performance Optimization
- Monitor CPU usage with ‘top’ command
- Limit model size to under 512MB for Raspberry Pi 4
- Use lightweight models like DistilBERT instead of BERT
- Enable swap space for extra memory
Debugging Steps:
- Check Python with ‘python3 –version’
- Test libraries: ‘python3 -c “import tensorflow”‘
- Run basic chatbot tests with simple inputs
- Review error logs in ‘/var/log/’
- Navigate to script directory: ‘cd /path/to/chatbot’
- Execute with ‘python3 chatbot.py’
Your Raspberry Pi’s hardware specs determine which chatbot models you can run. A Pi 4 with 4GB RAM handles most lightweight models, while older Pis need simpler implementations. Watch your memory usage and CPU temperature during extended operations.
Frequently Asked Questions
Can the Chatbot Work Offline Without an Internet Connection?
You’ll gain true digital independence since your chatbot can run with complete offline operation. Once you’ve done the initial setup, it’ll process everything through local data storage, freeing you from internet dependence.
How Much RAM and Processing Power Does the Chatbot Typically Consume?
Your chatbot’s power consumption requirements are minimal, typically using under 200MB RAM. With basic hardware specifications, you’ll efficiently run it on any Raspberry Pi with 2GB RAM, freeing you from heavy resource demands.
Is It Possible to Backup and Transfer Trained Chatbot Data?
Yes, you can backup and transfer your trained chatbot data! Just implement a solid backup strategy using cloud or local storage, and guarantee you’re using secure transfer protocols to protect your data’s integrity and freedom.
How Long Does Initial Training Usually Take on a Raspberry Pi?
You’ll find initial training time varies based on your dataset size, model complexity, and Raspberry Pi’s hardware specs. It can take anywhere from 15 minutes to several hours for your chatbot’s liberation journey.
Can Multiple Users Interact With the Chatbot Simultaneously?
You’ll need to implement multiple chatbot instances and a scalable chatbot architecture to support simultaneous users. The basic setup won’t handle this, but you can access this capability through server-mode implementation.
Summing Up
You’ve now built a functional chatbot on your Raspberry Pi using Python and ChatterBot. With the foundational code in place, you can expand its capabilities by adding custom responses, integrating APIs, or connecting it to other hardware projects. Remember to regularly update your libraries and back up your training data. If you run into issues, consult the ChatterBot documentation or the Raspberry Pi community forums for support.
