To install a DSI display on your Raspberry Pi, you’ll need a compatible display, a 15-pin FPC cable, and the latest Raspberry Pi OS. First, download and flash the OS to your microSD card using Raspberry Pi Imager. Connect the display to your Pi’s DSI port, ensuring the cable’s writing faces down for proper orientation. Power up your Pi with a 5V/3A adapter, as DSI displays require additional power. Modify the config.txt file to enable display settings and install appropriate drivers for your kernel version. While the basic setup is straightforward, comprehending the complete configuration process will help you maximize your display’s performance.
Key Takeaways
Hardware Components and Requirements
Raspberry Pi DSI display setup is a straightforward process when you understand the essential hardware requirements. The display connects through a specialized 15-pin MIPI DSI port on your Pi, which uses a 1mm pitch vertical FPC ribbon connector. Each display’s brightness capability levels vary, with some models achieving up to 1000 nits.
The Raspberry Pi DSI display interface needs specific components to work with various screen options. While the official 7-inch Raspberry Pi DSI display works right out of the box, third-party displays often use 20-pin or 22-pin connectors that need adapters. You’ll need:
- A DSI adapter board for pin conversion
- Voltage regulators (3.3V and 5V)
- Stabilizing capacitors
- Compatible FPC cables
A Raspberry Pi DSI display connection must match the exact specifications for reliable performance. The Pi’s 1mm connector pitch differs from many third-party displays that use 0.5mm pitch, requiring careful cable selection. Power delivery runs through either:
The MIPI DSI protocol compatibility shapes how your Raspberry Pi DSI display performs. Screens must support single or dual-lane data transmission – most modern displays use dual-lane for better refresh rates. Common examples include:
- Official 7″ touchscreen (800×480)
- Third-party 5″ displays (800×480)
- High-resolution 10.1″ panels (1920×1200)
Your Raspberry Pi DSI display choice impacts the final image quality and power requirements. Verify voltage needs, connector types, and protocol support before purchase to ensure compatibility with your Pi model.
Preparing Your Raspberry Pi
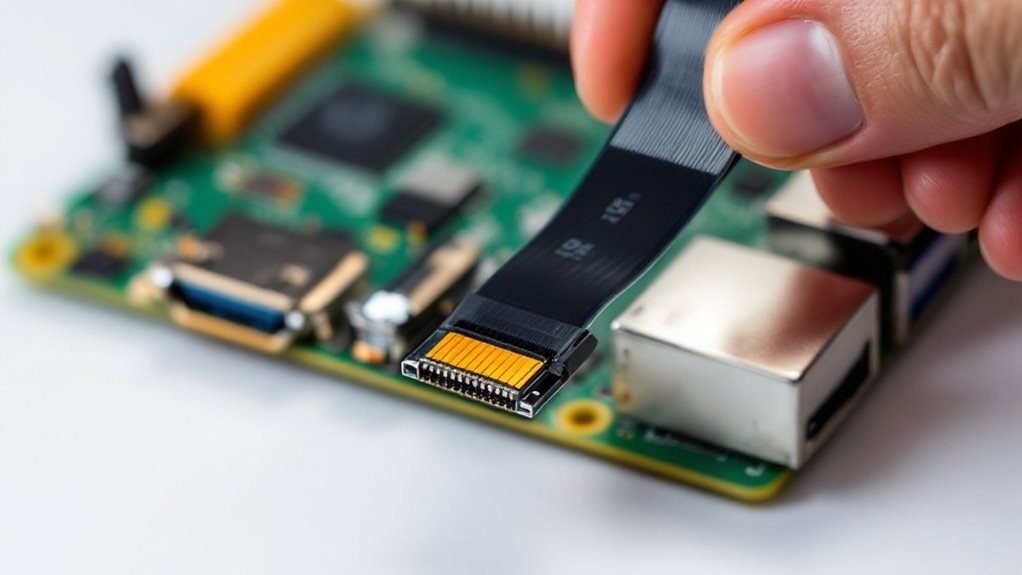
Raspberry Pi DSI display setup requires proper preparation of your single-board computer. The initial phase focuses on establishing a reliable foundation for connecting your DSI display.
A quality microSD card serves as your Pi’s brain. Install the latest Raspberry Pi OS using the official Raspberry Pi Imager – a tool designed specifically for writing operating systems to SD cards. Select your Pi model and preferred OS version, then verify the installation to ensure your DSI display will work smoothly. Connect your Pi to a standard HDMI monitor for initial setup before switching to the DSI display.
Your Pi needs the right power supply to handle the DSI display’s requirements. A 5V/3A power adapter matches most Pi models and prevents display flickering or instability. Connect essential peripherals (keyboard, mouse, temporary HDMI monitor) while your Pi is off. The DSI display needs consistent power, so a reliable power supply is crucial.
Remote configuration of your Raspberry Pi DSI display becomes easier with SSH access. Enable SSH by creating an empty file named ‘ssh’ on the boot partition of your microSD card. Your DSI display setup benefits from this wireless access, letting you manage settings without a direct connection.
The Raspberry Pi DSI display connection requires a clean boot-up sequence. Power on your Pi and wait for the desktop environment to load. Your DSI display installation can proceed once you see the main screen on your temporary monitor. The built-in DSI display connector on your Pi provides a direct interface for the screen, offering better performance than HDMI alternatives.
Note: These steps focus on your Raspberry Pi DSI display setup. Follow them in order to avoid common pitfalls and ensure a successful installation.
Display Driver Compatibility Check
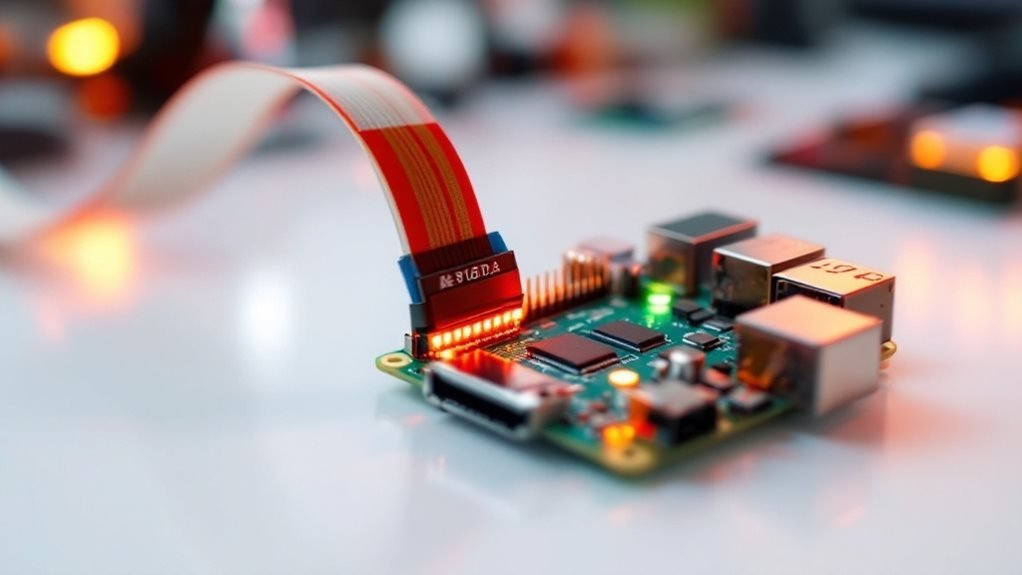
Raspberry Pi DSI display compatibility depends on three vital hardware verification steps. DSI displays connect through specialized ports that aren’t available on every Pi model, so checking compatibility is crucial.
Raspberry Pi DSI display connections vary by model type. Current Pi boards like the Pi 4B support a single DSI1 port, while the Pi 5 and Compute Modules feature dual DSI ports. For optimal display performance, disable FBTFT drivers before installing DSI displays. Keep in mind that Pi Zero and Zero 2 W can’t work with DSI displays due to hardware limitations.
Driver support shapes your Raspberry Pi DSI display setup success. Linux’s mainline kernel includes drivers for popular displays like the 7-inch Raspberry Pi DSI display, Ilitek ILI9881C panels, and Sitronix ST7701 screens. Bridge chips, such as the Texas Instruments SN65DSI83, also have built-in support.
Your Raspberry Pi DSI display might need a custom driver if it’s not in the kernel. Creating a driver involves:
- Reading the display’s technical datasheet
- Understanding DSI protocol timing
- Writing C code for Linux kernel integration
- Testing display initialization sequences
- Contributing your work to the Pi community
This hands-on development process expands Raspberry Pi DSI display options for everyone. While challenging, custom driver creation lets you use unique displays with your Pi projects.
The growing collection of supported Raspberry Pi DSI display modules makes digital signage, touchscreens, and high-resolution interfaces more accessible to makers and developers.
SD Card Setup Process
SD card setup is critical for Raspberry Pi DSI display installations. The Raspberry Pi DSI display requires specific configuration steps to work properly.
| Step | Primary Action | Tools Needed | Key Consideration |
|---|---|---|---|
| 1 | OS Download | Web Browser | DSI Display Support |
| 2 | Image Writing | Raspberry Pi Imager | SD Card Format |
| 3 | Config Setup | Text Editor | Display Settings |
| 4 | Installation | Card Reader | Safe Removal |
Your Raspberry Pi DSI display connection starts with downloading the right operating system from raspberrypi.org. The Raspberry Pi DSI display works best with the latest Raspberry Pi OS, which includes built-in display drivers.
Writing the OS image requires Raspberry Pi Imager, a more reliable tool than Win32DiskImager. The tool formats your SD card and installs the necessary files for your DSI display setup. The display delivers smooth performance with a 60Hz refresh rate.
The next step involves configuring your Raspberry Pi DSI display settings. Open the config.txt file in the boot folder and add these lines:
dtoverlay=vc4-kms-v3d
display_default_lcd=1
Your DSI display needs these specific settings to work with different Raspberry Pi models:
- Pi 4: max_framebuffer_width=1920
- Pi 3: max_framebuffer_width=1280
- Pi Zero: max_framebuffer_width=800
Insert the configured SD card into your Pi. The Raspberry Pi DSI display should light up during boot. If you don’t see anything, double-check the ribbon cable connection and config settings.
Remember to power off your Pi before connecting or disconnecting the DSI display cable to prevent damage to your screen or board.
Connecting Display to Board
Raspberry Pi DSI display connections require precise steps and specific components for successful setup. The essential parts include a 15-pin FPC cable (or DSI-Cable-12cm), mounting hardware, and compatible display board.
The Raspberry Pi DSI display installation begins with proper positioning. Place your Pi board face-down on the display unit, making sure the connection points match. The 5V 600mA power supply is required for optimal display performance. The DSI display cable connects to the board’s DSI port – look for the metal contacts facing the right direction to prevent damage.
Your Raspberry Pi DSI display needs power through the 4-pin header, which handles both power supply and I2C signals. This connection powers the screen and enables touch features on compatible models. The official Raspberry Pi 7″ DSI display serves as a prime example of a fully-supported screen that works right out of the box.
To activate your DSI display, you’ll need to update the config.txt file. Open the file and add the display overlay commands matching your screen model. Many Raspberry Pi DSI displays need specific drivers – these install through your network connection. The Pi’s firmware supports certain DSI displays by default, but check your screen’s compatibility first. Common DSI display issues stem from loose connections or incorrect cable orientation, so double-check these points during setup.
Power and Cable Management
Power and cable management is crucial for a Raspberry Pi DSI display to function reliably. The Raspberry Pi DSI display draws up to 300mA through the 3.3V rail at full brightness. When connected to a Pi 4B, the system needs about 750mA at 5V. Using two DSI displays simultaneously requires careful consideration, as the 3.3V power rail may become overloaded and prevent system boot.
Raspberry Pi DSI display setups need careful power planning. You’ve got two main power options. The first uses GPIO pins with jumper wires, though this can strain your Pi’s power system. The second, better choice uses a separate micro USB power supply for the DSI display, ensuring stable power delivery. Pi 4 owners should use a USB-C power supply rated at 12.5W or higher to power both the Pi and DSI display.
The Raspberry Pi DSI display’s cable setup needs careful handling. Connect the display through its DSI connector, keeping the FFC as the only data link if you’re using external power. The Raspberry Pi DSI display shouldn’t backpower your Pi – this can break your system. To protect your DSI display setup, mount all cables firmly to stop physical stress and keep connections solid. The DSI display cables should stay clear of interference sources and heat-generating components.
A well-managed Raspberry Pi DSI display installation includes proper cable routing and strain relief. Label your power and data connections clearly to avoid mix-ups during maintenance. Keep spare FFC cables handy in case you need quick replacements for your DSI display setup.
Software Configuration Steps
Raspberry Pi DSI display configuration requires specific steps to ensure reliable operation. The DSI display setup begins with downloading the correct Waveshare DSI LCD driver for your kernel version. Users can verify their kernel version through the ‘uname -a’ command before installing the driver. For optimal performance, ensure you are using kernel 6.1.0 or lower as newer versions may cause compatibility issues.
| Configuration Area | Action Required | Performance Impact |
|---|---|---|
| Driver Setup | Install matching kernel driver | Essential for DSI display operation |
| Display Settings | Modify config.txt settings | Optimizes DSI screen performance |
| Touch Interface | Enable touchscreen drivers | Provides interactive control |
A Raspberry Pi DSI display needs proper config.txt modifications to work. The display’s settings in this file control resolution, refresh rate, and other vital parameters. Your DSI screen won’t function correctly without these changes.
The DSI display interface on Raspberry Pi supports VNC connectivity, letting you manage your screen remotely. For touchscreen functions, install matchbox-keyboard – it’ll transform your DSI display into a responsive input device. You can adjust your DSI screen’s brightness through terminal commands or Waveshare’s interface.
Your Raspberry Pi DSI display setup needs a system reboot after making changes. The config.txt file must match your specific DSI screen model and Pi version. This matching ensures your display runs at peak performance.
Advanced DSI display users can fine-tune additional parameters:
- Backlight intensity control
- Screen orientation settings
- Touch sensitivity adjustments
- Color calibration options
These specifications help your Raspberry Pi DSI display deliver crisp visuals and responsive touch input.
Screen Resolution and Orientation
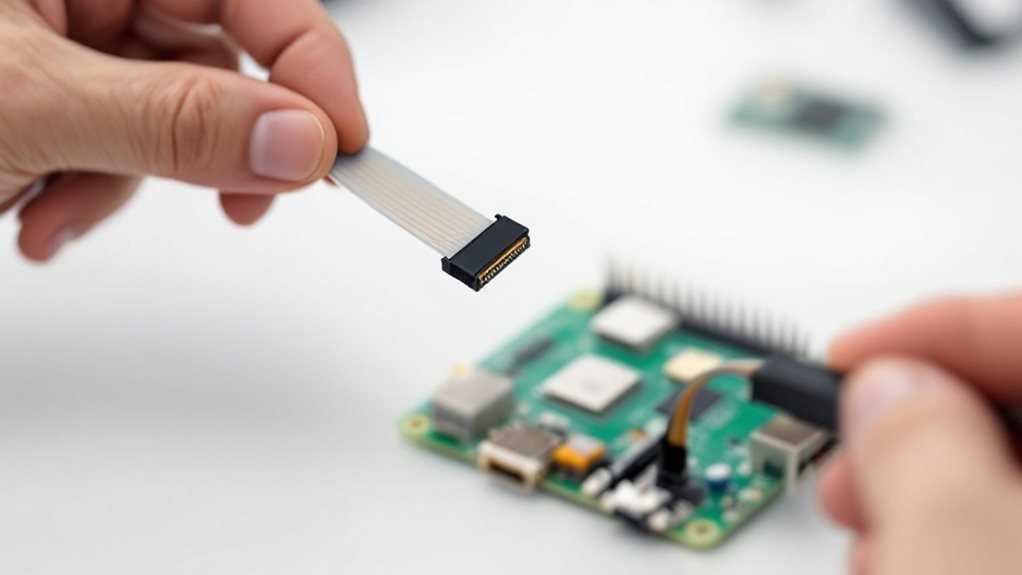
Screen resolution and orientation settings are crucial for the Raspberry Pi DSI display’s optimal performance. The DSI display comes with a native resolution of 800×480 pixels, but you can expand beyond these specs. Users can configure custom resolutions up to 1920×1080 by modifying two key parameters in ‘/boot/config.txt’: ‘framebuffer_width’ and ‘framebuffer_height’. The DSI ribbon cable must be properly inserted with the writing facing down for correct display functionality.
The Raspberry Pi DSI display’s orientation features let you position it horizontally, vertically, or at custom angles. Your DSI display’s default view depends on its physical mounting position, but you can change this through ‘/boot/config.txt’. For example, setting ‘display_rotate=1’ rotates the screen 90 degrees, while ‘display_rotate=2’ flips it 180 degrees.
The DSI display’s visual capabilities shine with its 24-bit color depth and expansive viewing angles. Your Raspberry Pi DSI display delivers clear images from 140 degrees side-to-side and 120 degrees up-and-down. The display’s brightness control works through PWM and I2C interfaces, giving you precise adjustment options. However, the latest Raspberry Pi BOOKWORM OS mightn’t support all DSI display features.
Most Raspberry Pi DSI display models include extra features like touch input and protective glass. These displays connect directly to the board’s DSI port, creating a secure and reliable connection. Your DSI display setup process becomes straightforward with the built-in drivers in Raspberry Pi OS, making it a plug-and-play solution for most users.
Display Testing and Verification
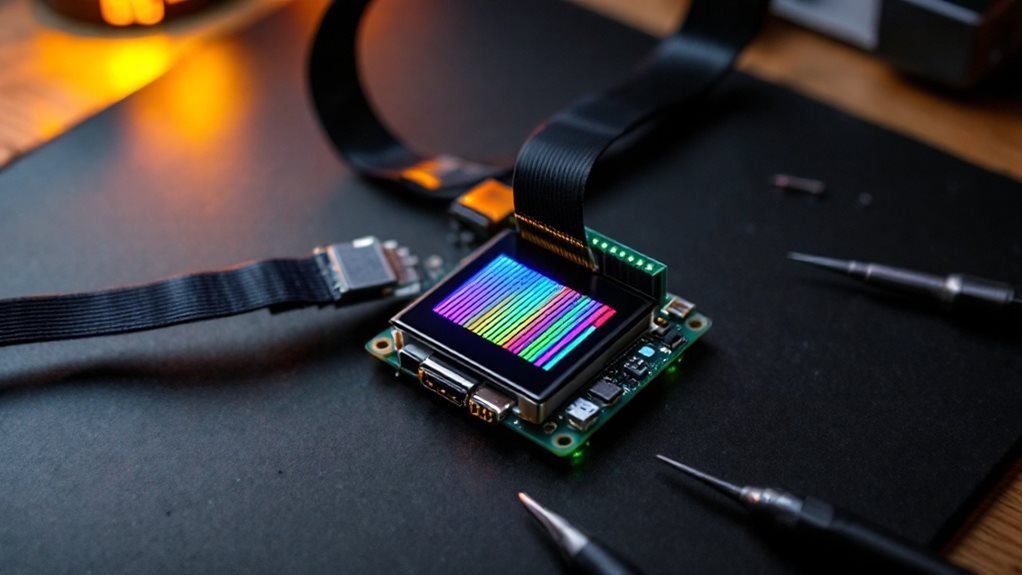
Display testing and verification is crucial for ensuring your Raspberry Pi DSI display performs optimally. The Raspberry Pi DSI display requires specific checks to validate its functionality and image quality. Your testing process starts with basic display connectivity and extends to advanced performance metrics. Use the squeekboard on-screen keyboard for thorough input testing on Raspberry Pi OS Bookworm.
The Raspberry Pi DSI display’s touchscreen requires thorough testing – tap, swipe, and pinch gestures should register instantly and accurately. Your display should respond like a high-quality tablet screen, with no lag or dead zones. Run the built-in Raspberry Pi DSI display diagnostics to check for dead pixels, color accuracy, and brightness uniformity. The display settings menu lets you adjust brightness, contrast, and color balance to match your workspace lighting.
Your Raspberry Pi DSI display’s performance depends on proper cooling and power management. Monitor CPU temperature while running graphics-intensive tasks – it shouldn’t exceed 85°C (185°F). The display needs a stable 5V/2.5A power supply for flicker-free operation.
Common issues with Raspberry Pi DSI displays include screen tearing, touchscreen calibration drift, and intermittent connection loss. Fix these by:
- Updating display drivers
- Checking ribbon cable connections
- Adjusting screen refresh rates
- Calibrating touch sensitivity
- Installing cooling solutions
Connect through VNC or SSH to troubleshoot your Raspberry Pi DSI display remotely. Test the virtual keyboard’s responsiveness – it’s essential for touchscreen applications. The display should maintain consistent performance across different apps and use cases.
Common Issues and Solutions
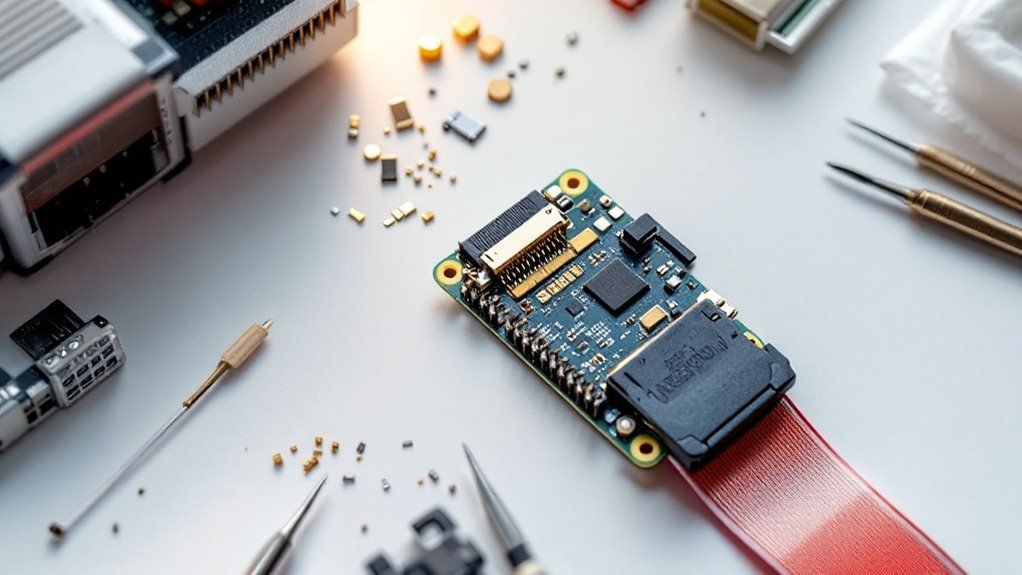
Raspberry Pi DSI display troubleshooting is a step-by-step process to resolve common issues. Your Raspberry Pi DSI display needs specific attention to both hardware and software setup for optimal performance.
Physical connection issues with your Raspberry Pi DSI display start at the cable level. The DSI ribbon cable must face downward, with text visible, and lock securely into the connector. While the Raspberry Pi DSI display works with most Pi models, it’s not compatible with the Pi Zero. A reliable 2 Amp 5V power supply drives the DSI display, with precise jumper connections: red wire to 5V, green to SDA, yellow to SCL, and black to GND.
The Raspberry Pi DSI display depends on proper software configuration. Run these terminal commands to update your system:
sudo apt-get update
sudo apt-get upgrade
Check your DSI display settings in ‘/boot/config.txt’. Many Raspberry Pi DSI display problems stem from outdated drivers or incorrect configuration files. The latest BOOKWORM OS version might affect your DSI display performance, so verify compatibility before upgrading.
Your Raspberry Pi DSI display’s lifespan increases with proper handling. Touch components only when the system’s off to prevent static damage. If your DSI display shows no image, dim output, or distorted colors, check both power supply and cable connections first. Bad power can make your DSI display flicker or fail to start.
Test your Raspberry Pi DSI display with these specific steps:
- Inspect cable orientation
- Confirm power supply ratings
- Verify OS compatibility
- Check configuration settings
- Test with known working cables
Frequently Asked Questions
Can I Use Multiple DSI Displays Simultaneously on One Raspberry Pi?
You can’t run multiple DSI displays on one Raspberry Pi due to hardware limitations. Power consumption considerations and thermal management strategies would be challenging, and there’s only one DSI port available for connection.
Will the DSI Display Work When Booting From USB Instead of SD?
Yes, you’ll find your DSI display works perfectly when booting from USB! You won’t notice any difference in boot time performance or power consumption considerations compared to SD card booting – you’re free to choose either method.
Does Using a DSI Display Affect the Performance of GPIO Pins?
No, your DSI display won’t affect GPIO pin performance. You’ll face no power consumption impact or GPIO pin limitations since DSI uses a separate interface. You’re free to use all GPIO pins alongside your display.
Can I Switch Between DSI and HDMI Displays Without Reconfiguring Settings?
You’ll need to adjust settings when switching between displays – it’s not automatic. For smooth dual display management and display resolution switching, you’ll want to modify your config.txt file each time you change.
What Happens to DSI Display Functionality During OS System Updates?
During updates, your DSI display behavior may temporarily pause or flicker. You’ll notice system resources being allocated to the update process, but don’t worry – your display should automatically resume functioning once updates complete.
Summing Up
You’ve now successfully installed your DSI display on your Raspberry Pi. If you’ve followed each step carefully, you’re ready to enjoy a fully functional screen. Don’t forget to regularly update your display drivers to maintain ideal performance. If you’re experiencing any issues, double-check your connections and software configurations. With your display up and running, you can now explore the full potential of your Raspberry Pi setup.
